The Nik Collection of apps offer an inspiring way to creatively edit your photos.
This blog post is part of the DxO series of posts using DxO PureRAW, DxO PhotoLab, and DxO Nik Collection. Read my separate posts for each of these applications:
[ DxO Workflow | DxO PureRAW | DxO PhotoLab | Nik Collection ]
Disclaimer
The DxO Labs applications were provided for review purposes, but all opinions are my own.
You can use my name “TAKU” at checkout (without quote marks) for 15% off any of their products from their website.


Nik Collection 8
Nik Collection consists of several different modules that provide a plethora of creative editing tools. There are so many different ways to edit your images using this collection you’ll thoroughly enjoy this to set your imagination free.
The collection consists of the following:
- Nik Color Efex
- Nik Silver Efex
- Nik Analog Efex
- Nik Dfine
- Nik HDR Efex
- Nik Sharpener (Presharpener and Sharpener Output)
- Nik Viveza
These plugins can be started as standalone applications, or can be initiated via other applications. As of this writing, they are compatible with Adobe Photoshop, Lightroom, Canva Photo, and DxO PhotoLab.
As plugins though, they are only capable of opening up .jpg or .tif files, and not RAW files of any kind. Given this, it makes sense to edit your RAW files as much as you can, then send it to these plugins to apply your creative edits.
Nik Color Efex
Likely one of the more popular module of the collection is Nik Color Efex. This program provides an abundance of editing options, including ready-made presets to help you get started. You can fine-tune any setting to your liking and save your own preset for future use.

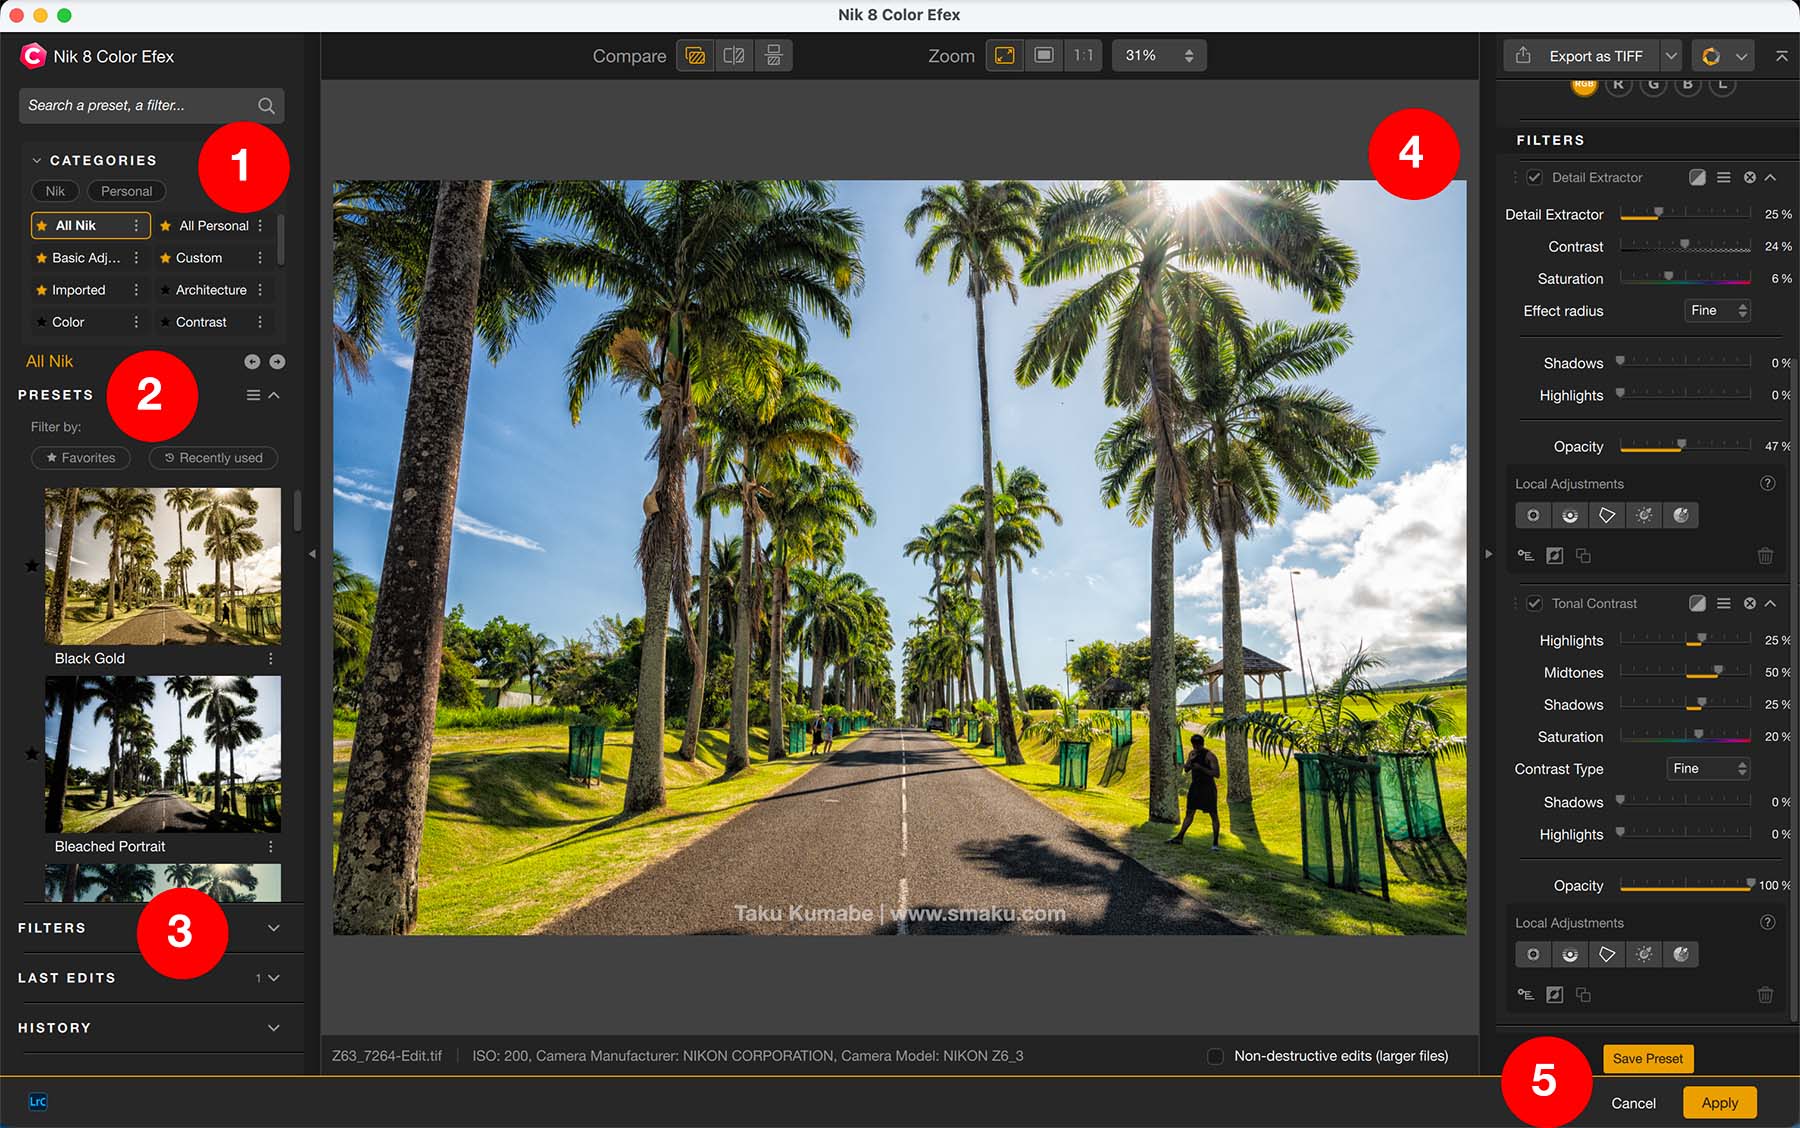
The user interface for most of the DxO apps are very similar. I’ve outlined the main components here:
- Category of Presets that acts as a filter for displaying the type of presets at number 2.
- The Presets section will display all the presets in the selected category of 1. The thumbnail previews help a lot in seeing how your image will look.
- Filters are effects you can apply to your image.
- The settings for each applied Filter is shown here, stacked on top of one another. You can stack a total of 15 filters.
- You can click on Apply to apply your Filters and go back to the host application that opened Nik Color Efex.
Tip
Presets are simply a predefined collection of filters. If you select a Preset from the left panel, you can see all the Filters it uses on the right panel. There are 61 Presets and Filters for you to choose from.
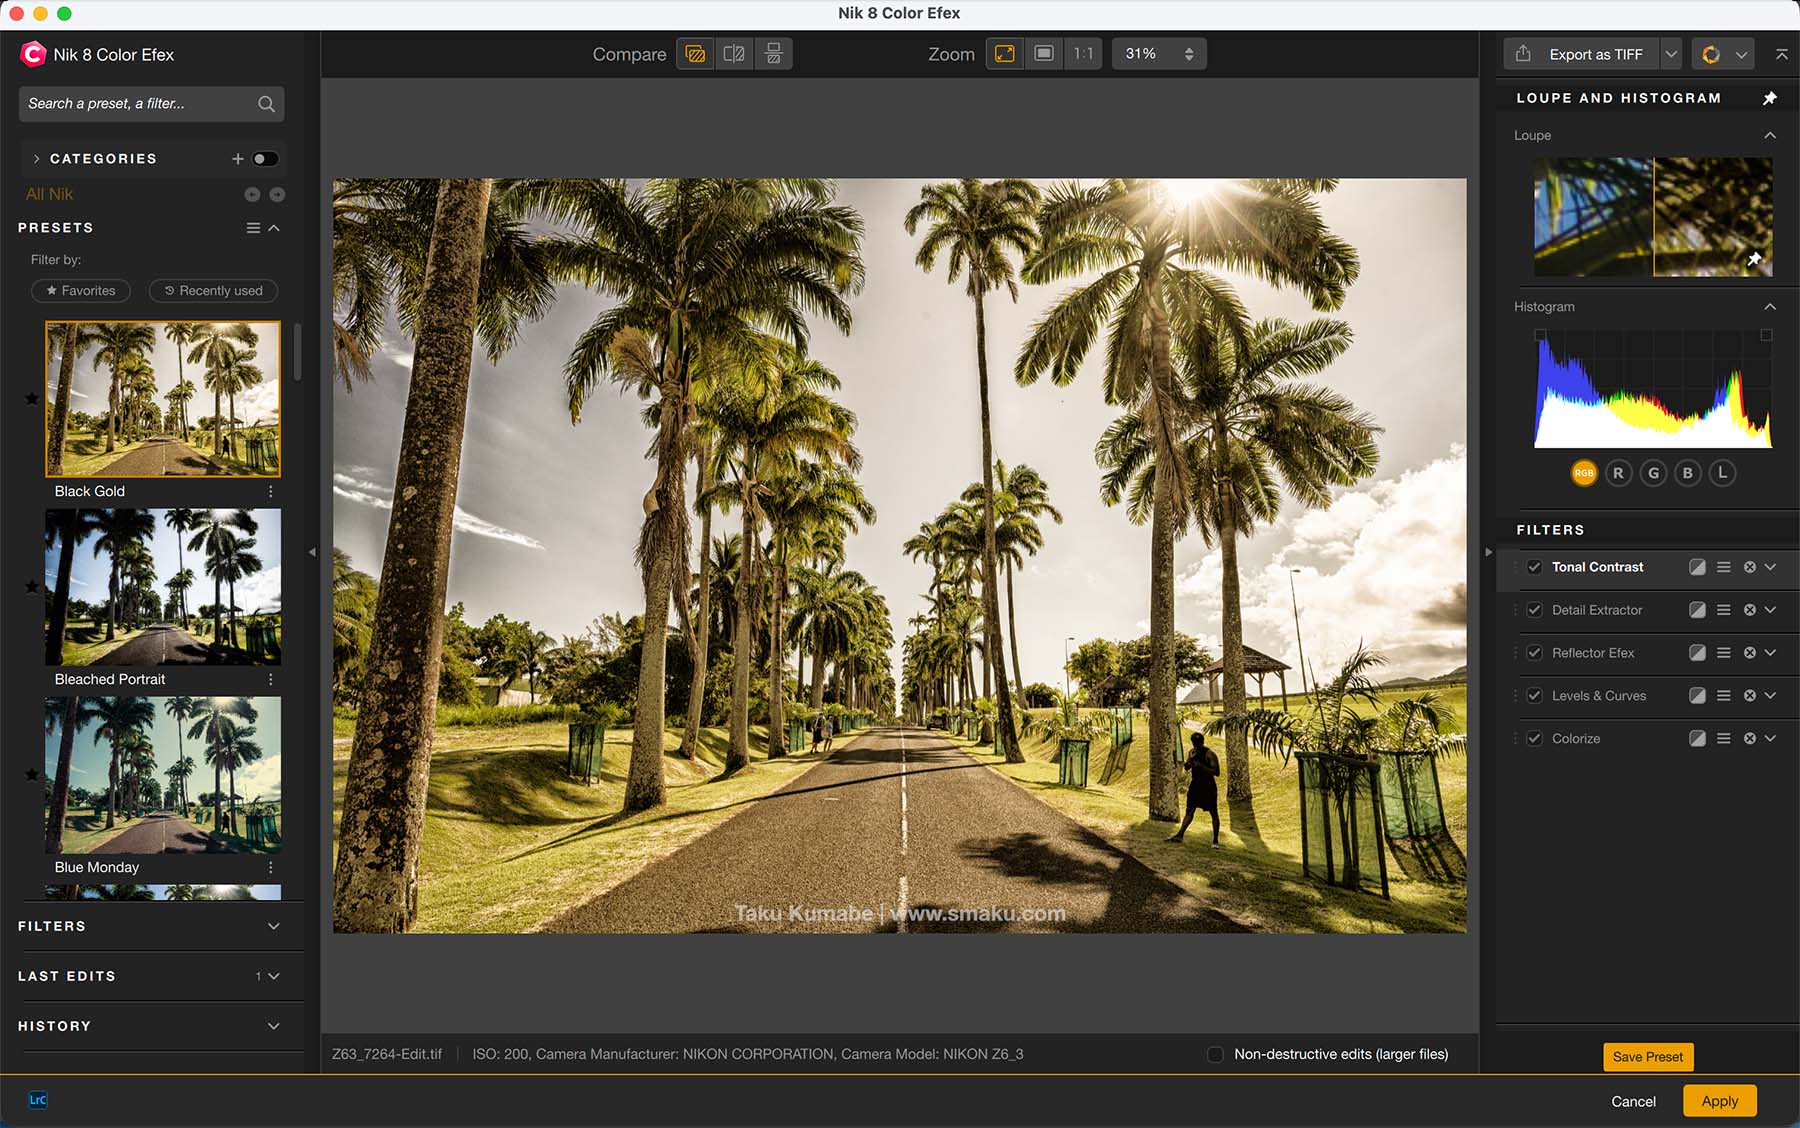
Select a Preset from the left panel and you can further edit the settings on the right panel.
You can add any combination of Filters from the left panel to make your own personal Preset which you can save to use again.

Final Thoughts
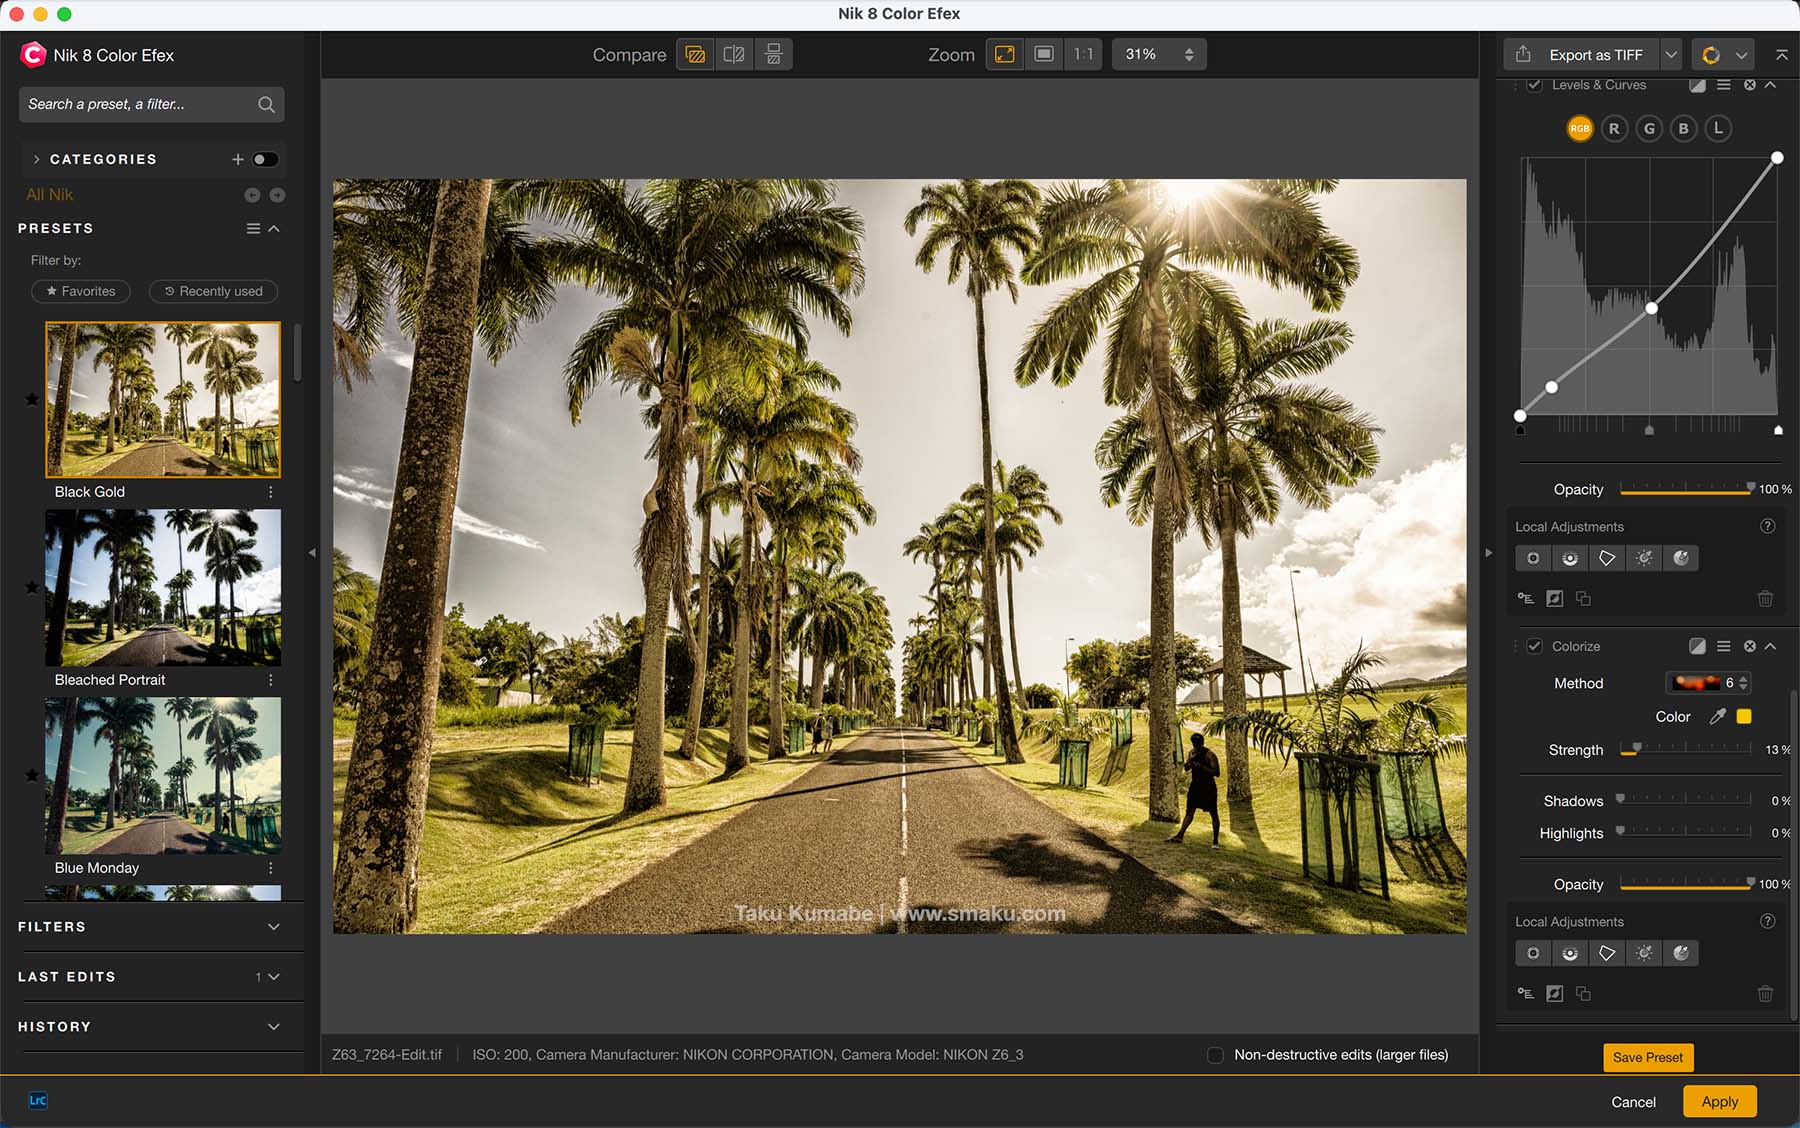
I hope you can see how the combination of creative edits is endless. With predefined Presets that are fully customizable, you can create the look that you’re looking for. These edits can be globally applied, or targeted using the Local Adjustments section, as seen in the image above.
I do enjoy seeing all the variety of colour edits here, but what really gives me a creative boost is the black and white counterpart to this application, Nik Silver Efex.
Nik Silver Efex
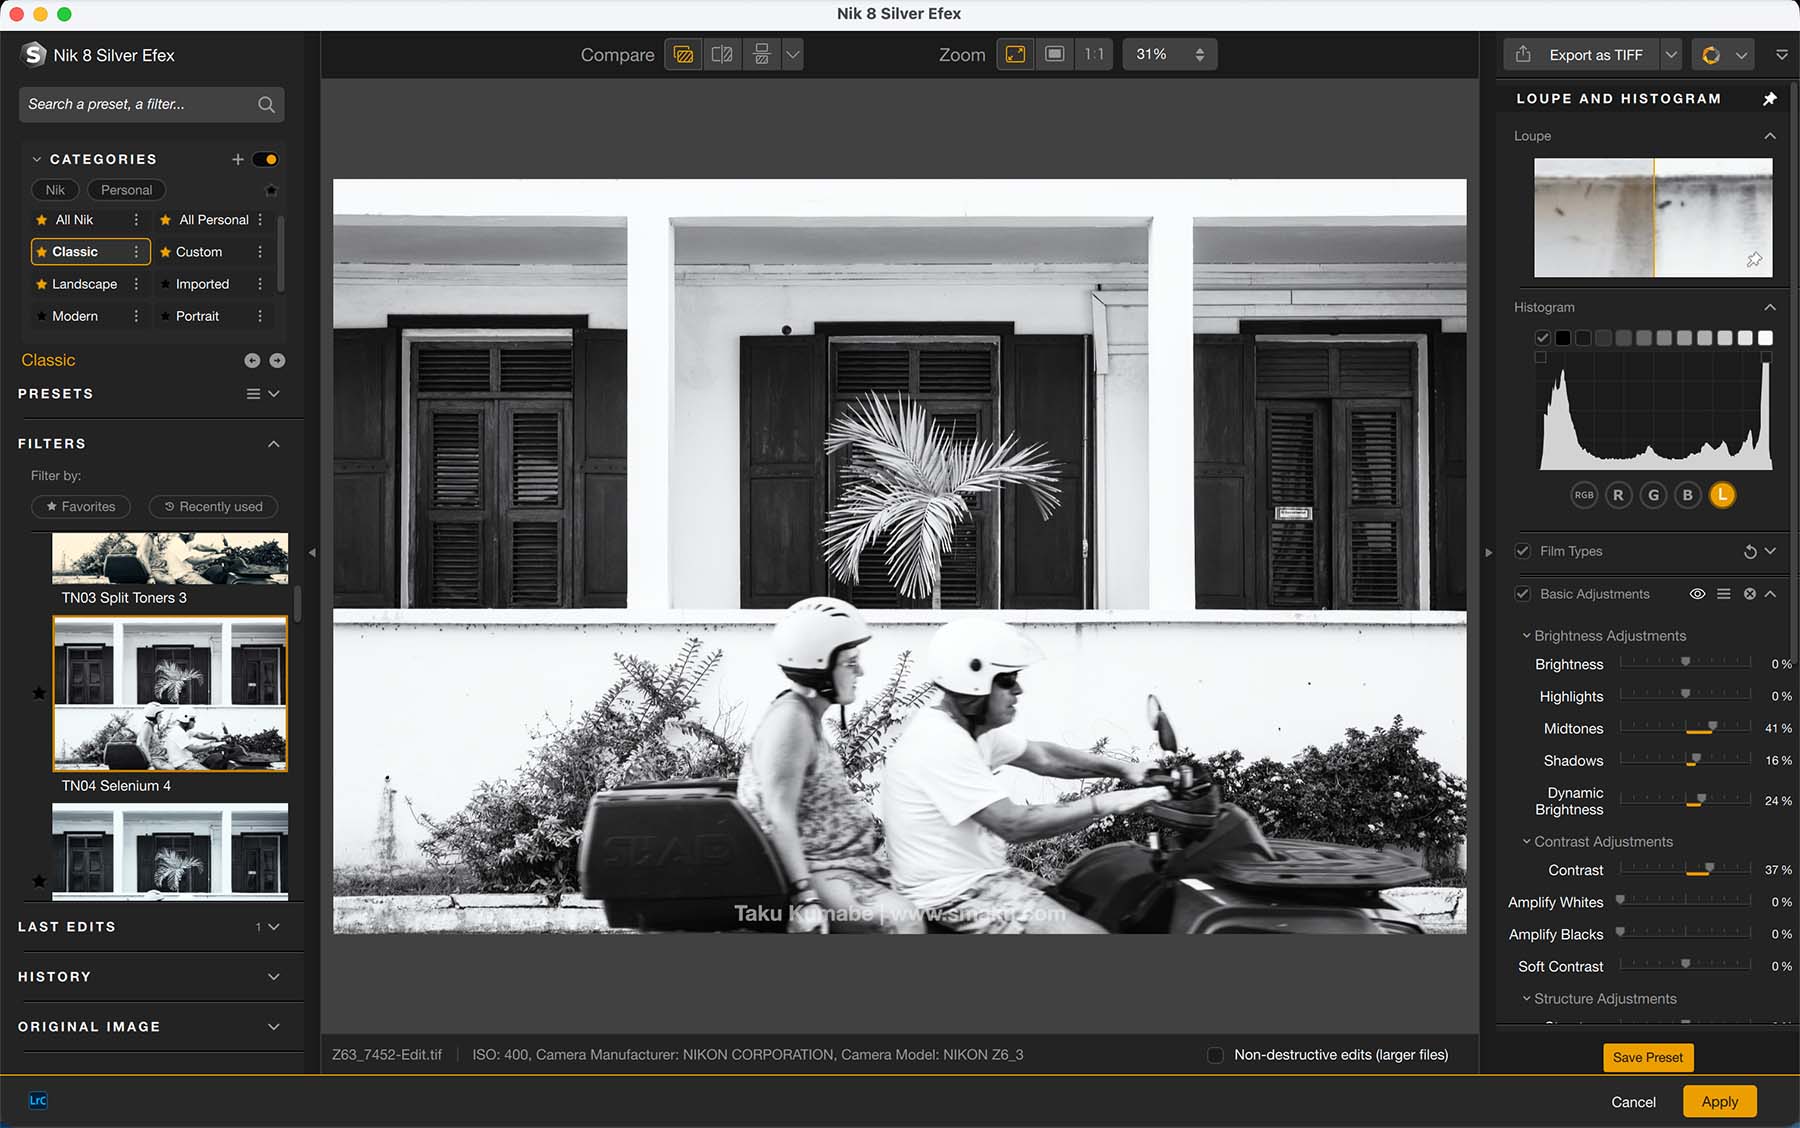
Nik Silver Efex is essentially the same application as the Color Efex counterpart, but with a concentration of black and white Presets and Filters.
It’s this set of Presets that I was drawn to when I first used the application back in 2006. I loved the classic black and white looks these Presets offer and this new release doesn’t disappoint.
Final Thoughts
Nik Silver Efex is likely my favourite creative application from the Nik Collection. The starting point for these Presets are to my liking, and I can further tweak them to the precise way that I want. For others, Nik’s Color Efex might act the same way, so either way, you have both editing styles covered with just these two applications alone.
Nik Analog Efex
If you want to edit your photos with specific analog effects, Nik’s Analog Efex has you covered. Note, this doesn’t provide specific film looks like Fuji Fortia or Kodak E200, but rather gives you creative effects like Bokeh Style, Light Leaks, Textures, Frames, and Multilens. For film simulations, you can look at Nik FilmPack 8.
The included Presets are a great way to start here as it gives you a lot of creative ideas on what you can do when you combine all these Filters.
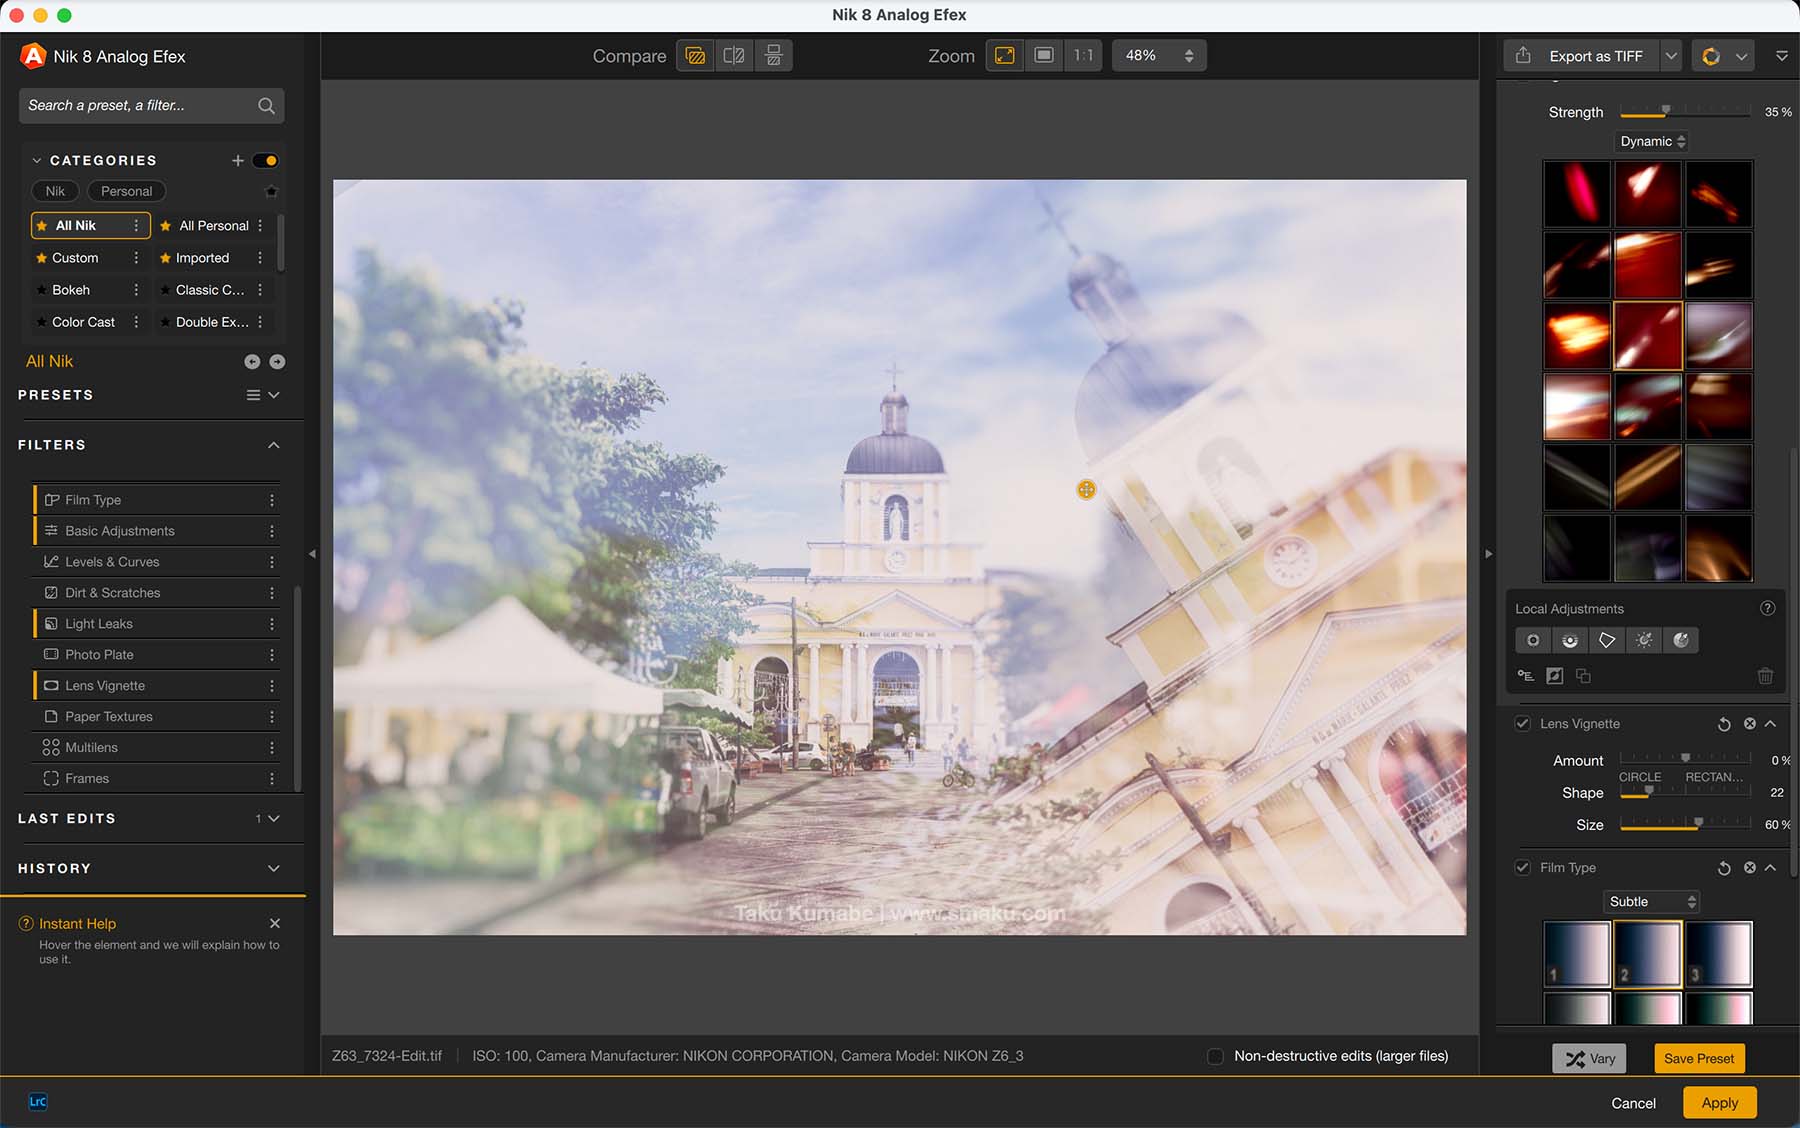
I love the Multiple Exposure Presets that are provided. It automatically overlays another exposure of your image in a creative way, opening up new ways in how you can see your image.
Final Thoughts
When I first opened Nik Analog Efex, I thought what a breath of fresh air this was. It had some really creative options allowing you to edit your images in ways I had not seen in any other program. The Multilens and Multiple Exposure Presets are super fun to play with, giving you fresh ideas for your images.
Nik Dfine
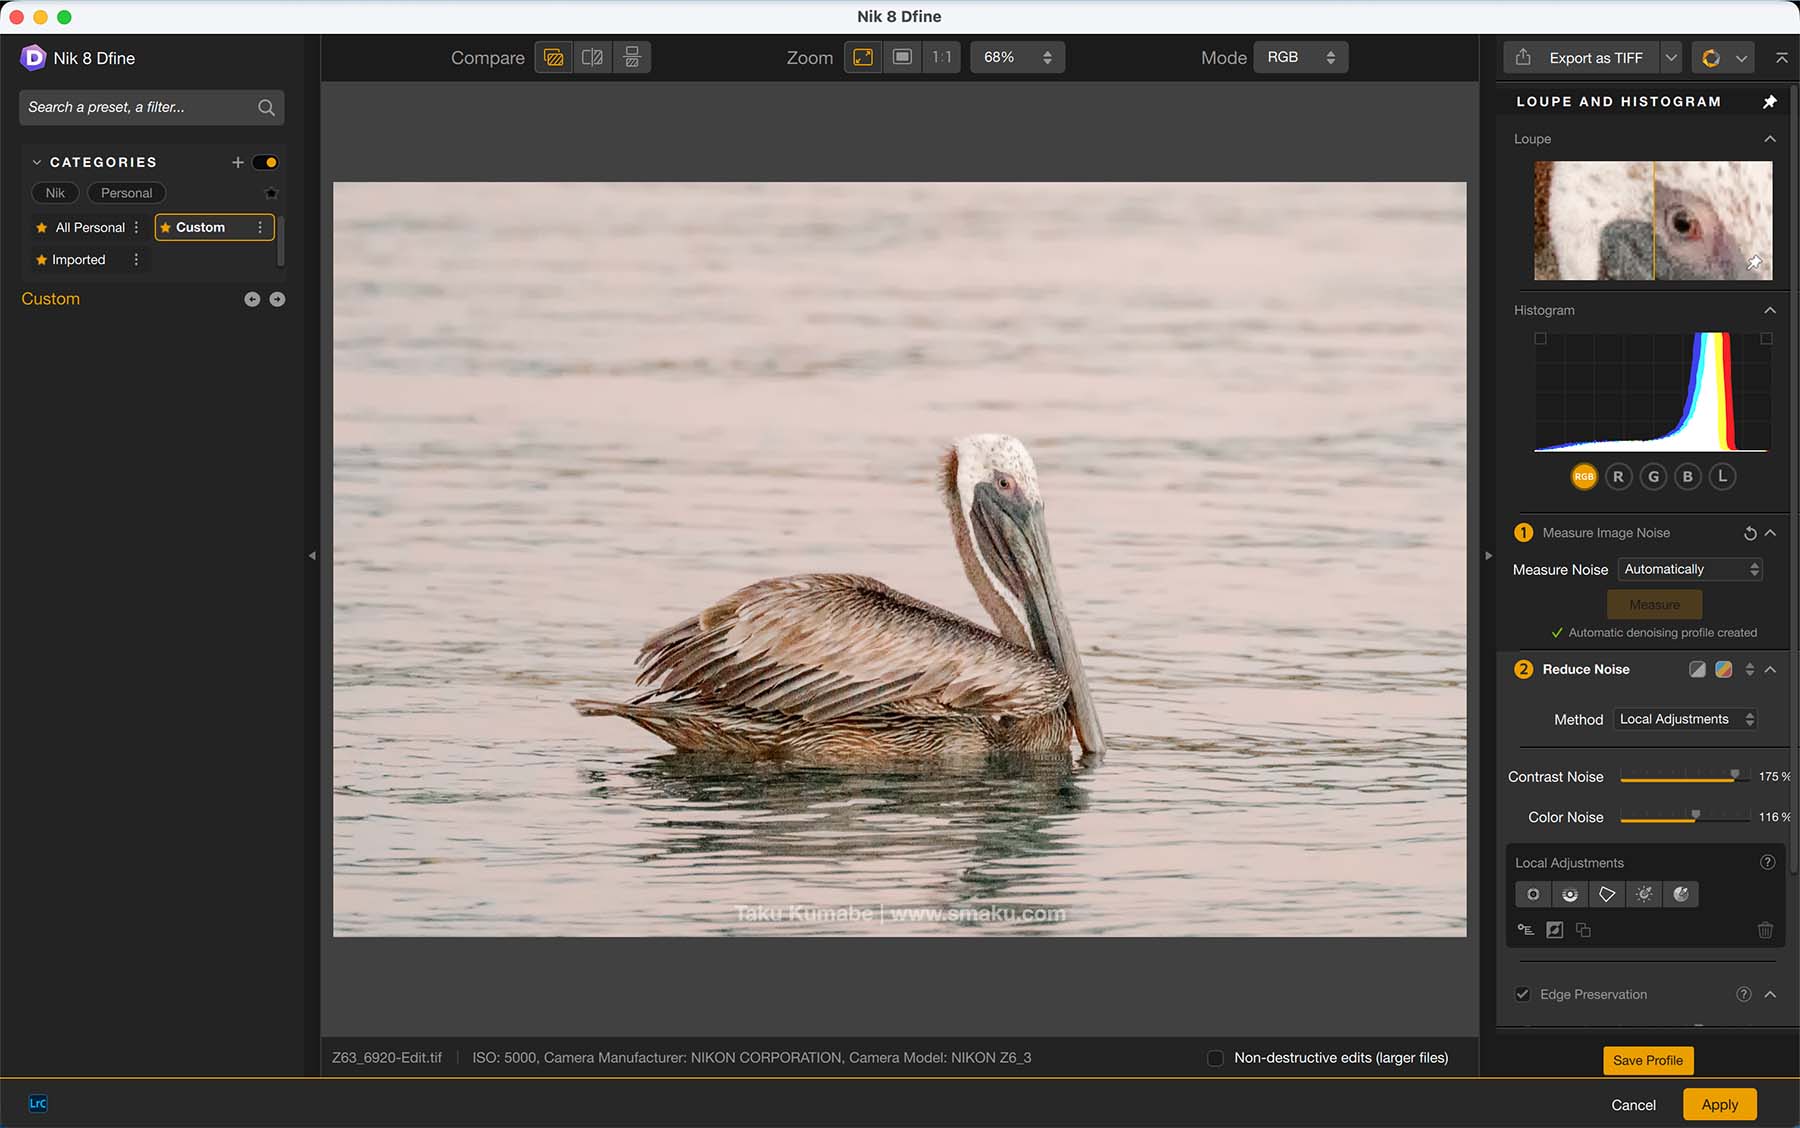
Nik Dfine is more a technical applications than it is a creative one. It provides noise reduction for your image using Nik’s own algorithm.
Don’t mistaken this with DxO Labs’ own noise reduction algorithm inside Nik PhotoLab 9. These are completely different algorithms, which might confuse newcomers to the DxO set of applications.
A little history on Nik
The Nik line of applications has a long history of owners. Originally made by Nik Multimedia Inc. in the 1990s, it was later bought out by Google. In 2017, Google sold the Nik line of software to DxO Labs, which now owns and updates this line, alongside their DxO line of software.
I can only assume DxO left this inside their Nik line of applications so that those who purchase just the Nik Collection will still have a denoising application to use.
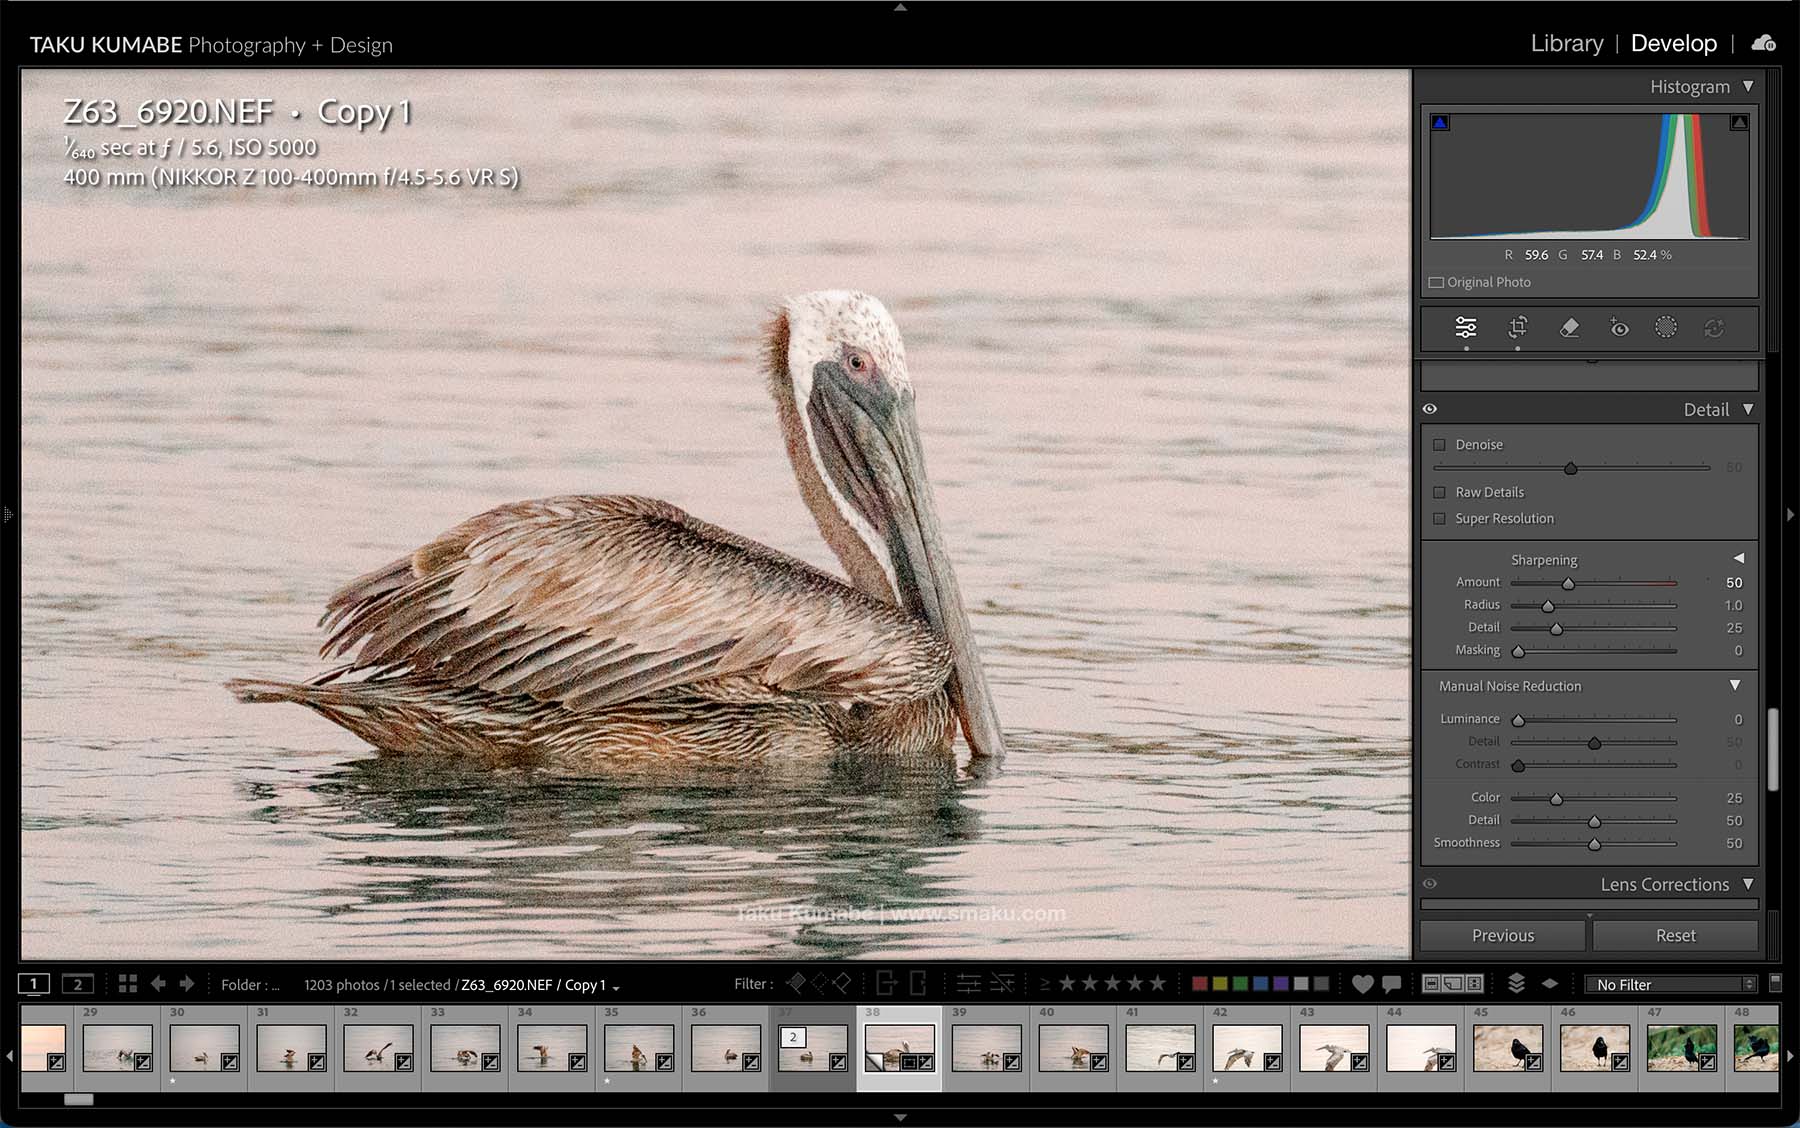
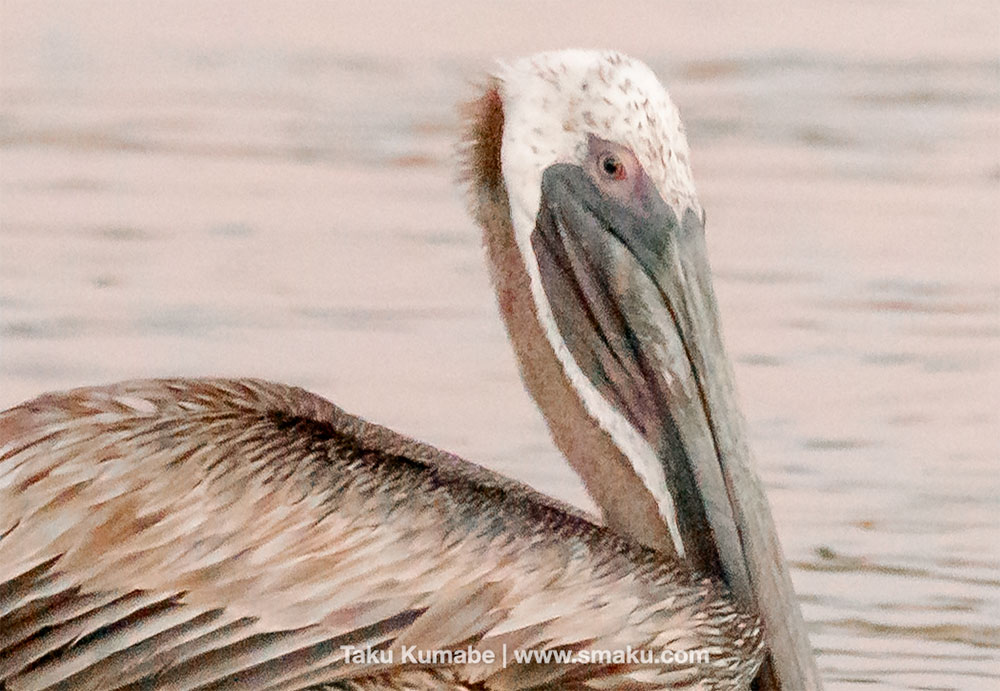
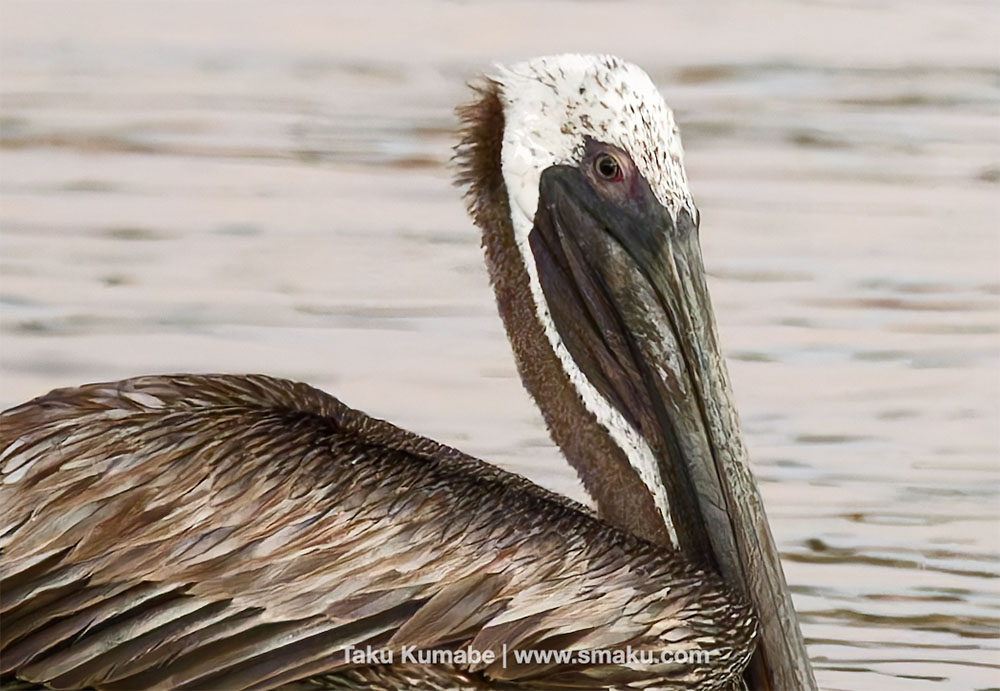
Before opening your image inside Nik Dfine, make sure to turn off any noise reduction in your host software. Here in Lightroom, I’ve set the Luminance noise reduction to 0 so that I can have Dfine reduce noise.
Whether the Nik Dfine noise reduction is comparable to the DxO noise reduction, I have yet to test out completely. But from first inspection, it seems as though Nik Dfine applies a more subtle noise reduction to my images.
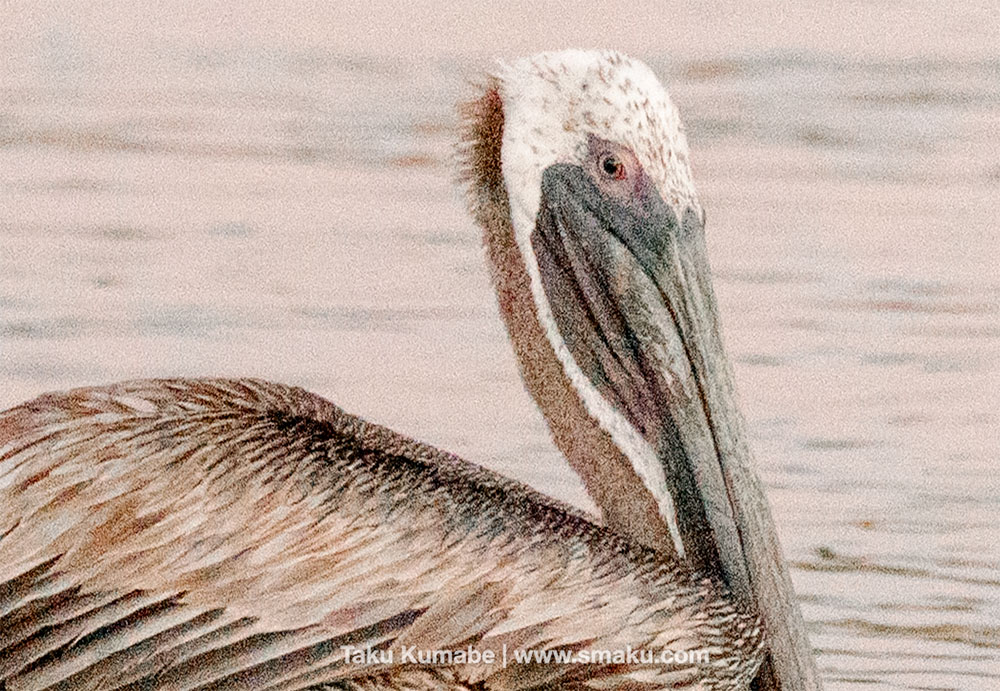
See the 100% view noise reduction image comparison below. Note that some sharpening has been applied to the DxO PhotoLab image.

Final Thoughts
While I haven’t done extensive testing on the Nik Dfine noise reduction, a quick comparison reveals that the DxO PhotoLab noise reduction does a better job at reducing noise in your image. If you have both Nik Dfine and DxO PhotoLab, I would use the latter noise reduction application as it provides a better overall result.
Nik Sharpener
Nik Sharpener includes two different sharpening applications:
- Nik Presharpener for sharpening your RAW file before editing.
- Nik Output Sharpener for your last step in preparing your file—you can sharpen to your output needs.
Nik Presharpener
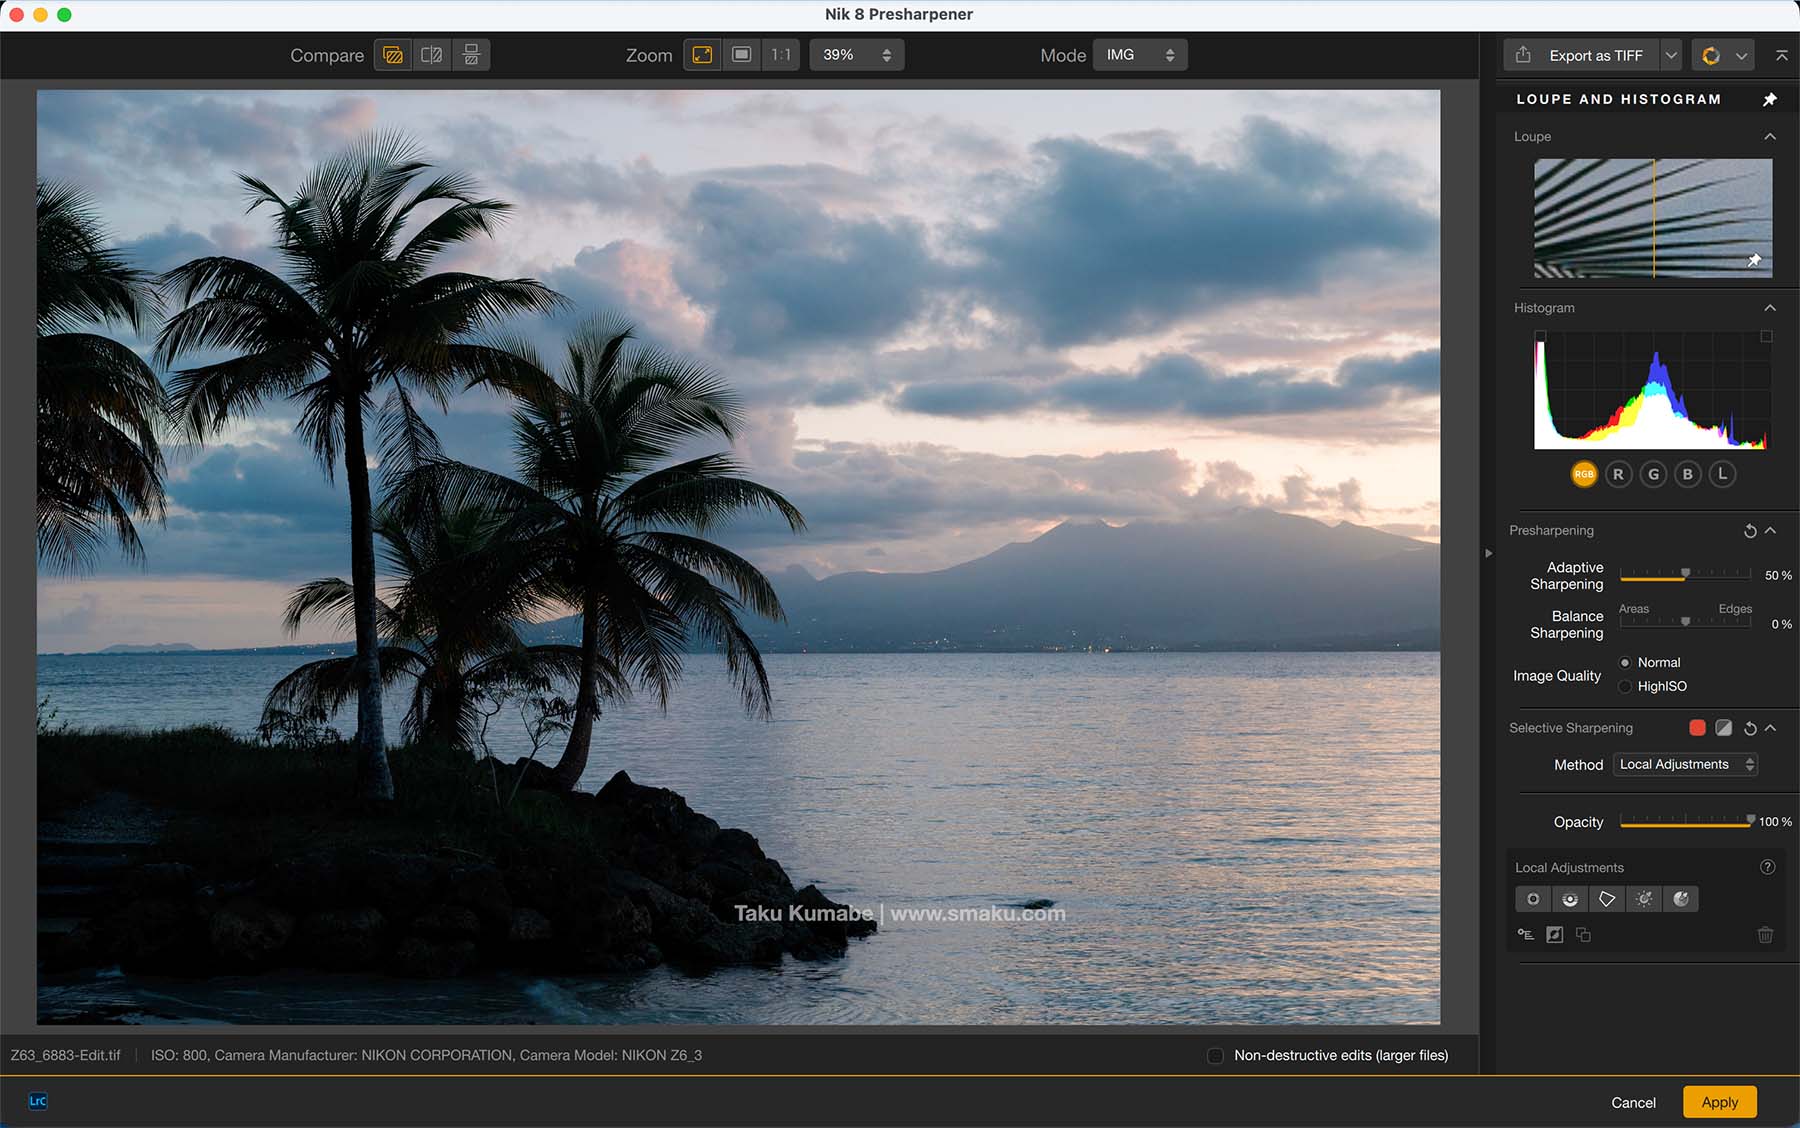
If you are already using Adobe Photoshop to import your RAW images, it already applies a certain amount of sharpening to your images. Consider this your presharpener—otherwise I don’t think this step is particularly needed since the last step of sharpening can take its place.
Moreover, as a Presharpener plugin, it only accepts TIF or JPG files, which defeats the purpose of using RAW files to begin with. You want to be able to edit your files as a RAW file and not a TIF file.
Nik Sharpener Output
The Sharpener Output is useful as a final step in your file preparation—especially if you are going to print your images.
Files should be sharpened a bit before printing in order to accommodate the ink absorption in the printing process. Using just the default settings of the Output Sharpener, you can see how much it is already sharpening the image.

Final Thoughts
Sharpening may not necessarily be something you think about doing in your workflow, but it is something that should be done, especially if you are going to print your image. While I would be hesitant in using the Presharpener in my workflow, mainly because it converts my RAW file to a TIF file, the Sharpener Output is something we should all consider depending on your use-case. And just from the default settings alone I do believe the Nik Output Sharpener does a good job of doing just this.
Nik Viveza
Nik Viveza alters your image’s colours and tones, along with changing the contrast and micro-contrast.

I want to say this application allows you to fine-tune your image in ways that others don’t, but from my limited testing it seems like all of the functionality are included within Adobe Lightroom. As a plugin, the RAW file is imported into Nik Viveza as a TIF, therefore any editing done afterward is done on the TIF file.
Final Thoughts
I don’t think this application would fit anywhere in my workflow as the functionality is already available in Adobe Lightroom. Moreover, I do not want to apply additional edits on a TIF file. For those that do not have Adobe Lightroom though, this would be used before your final sharpening. Depending on what other edits you perform on the image though (Nik Color Efex, for example), you may not even need this application for that particular image.
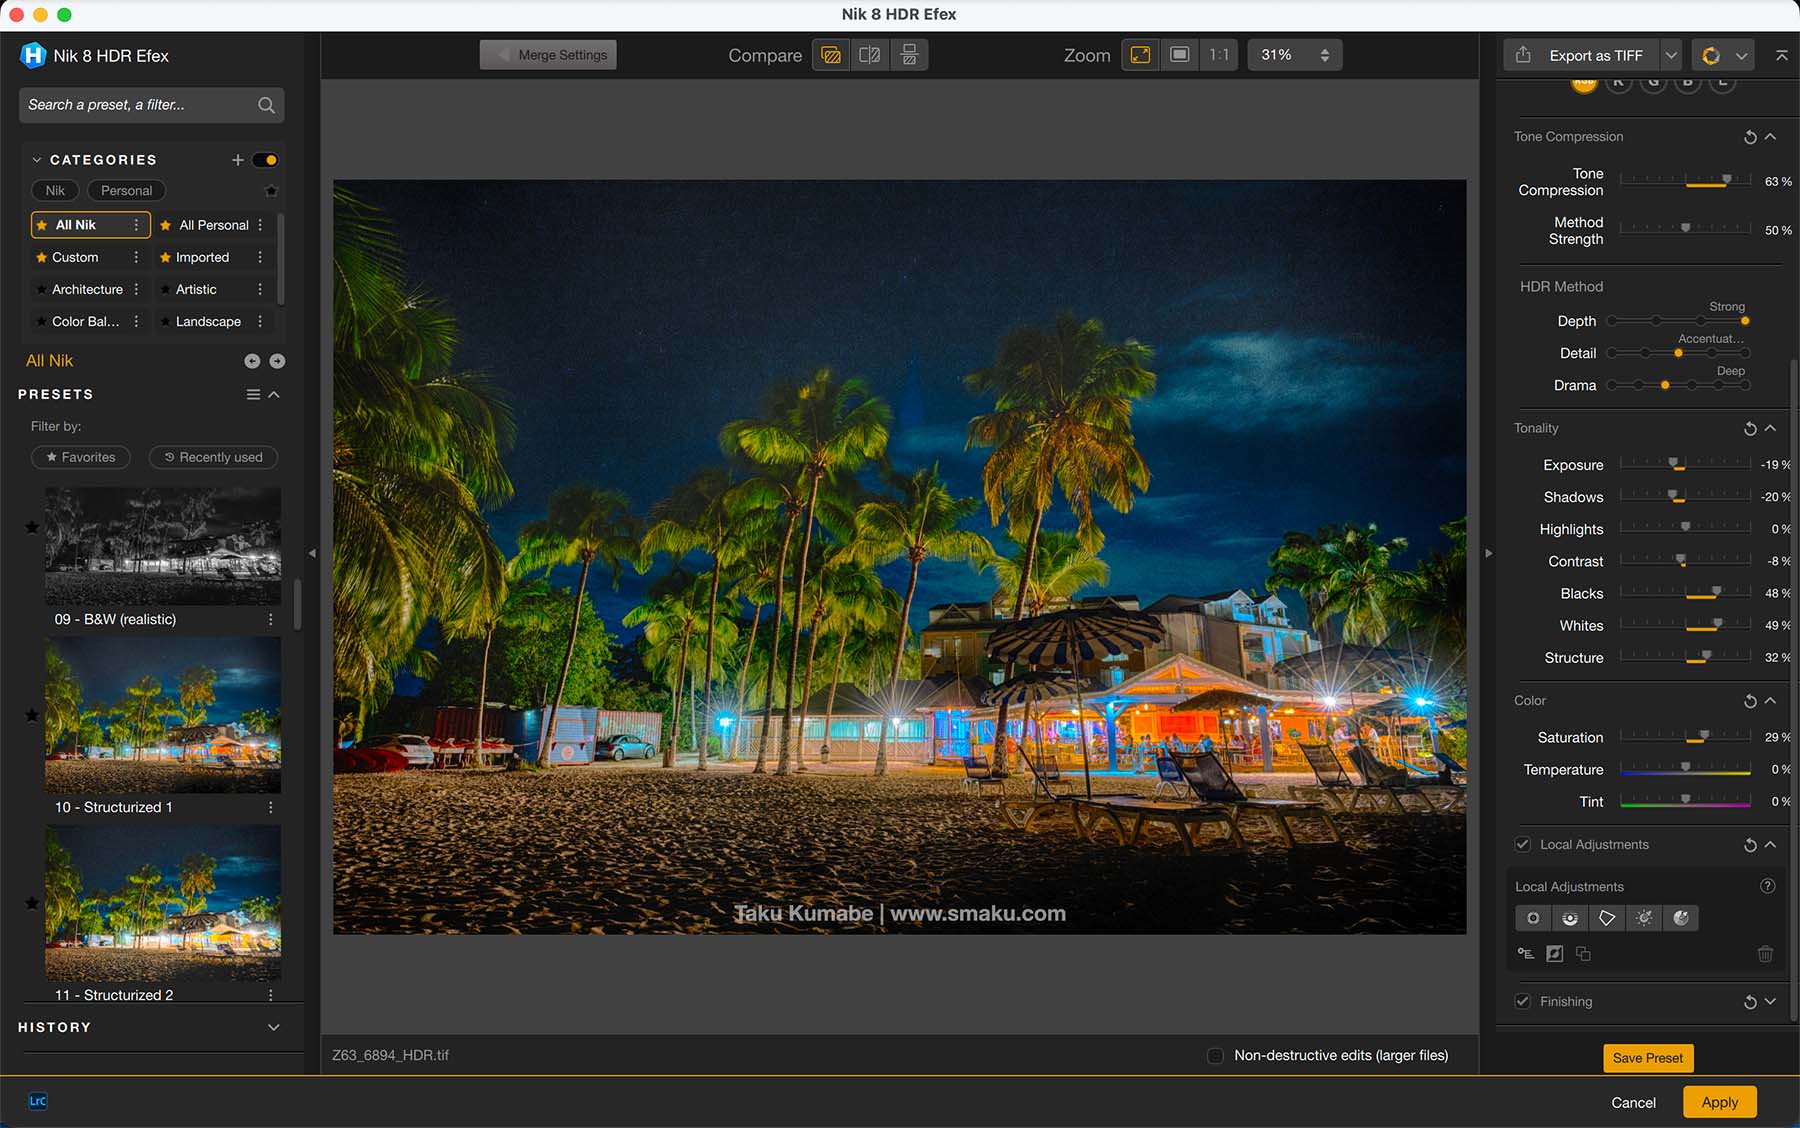
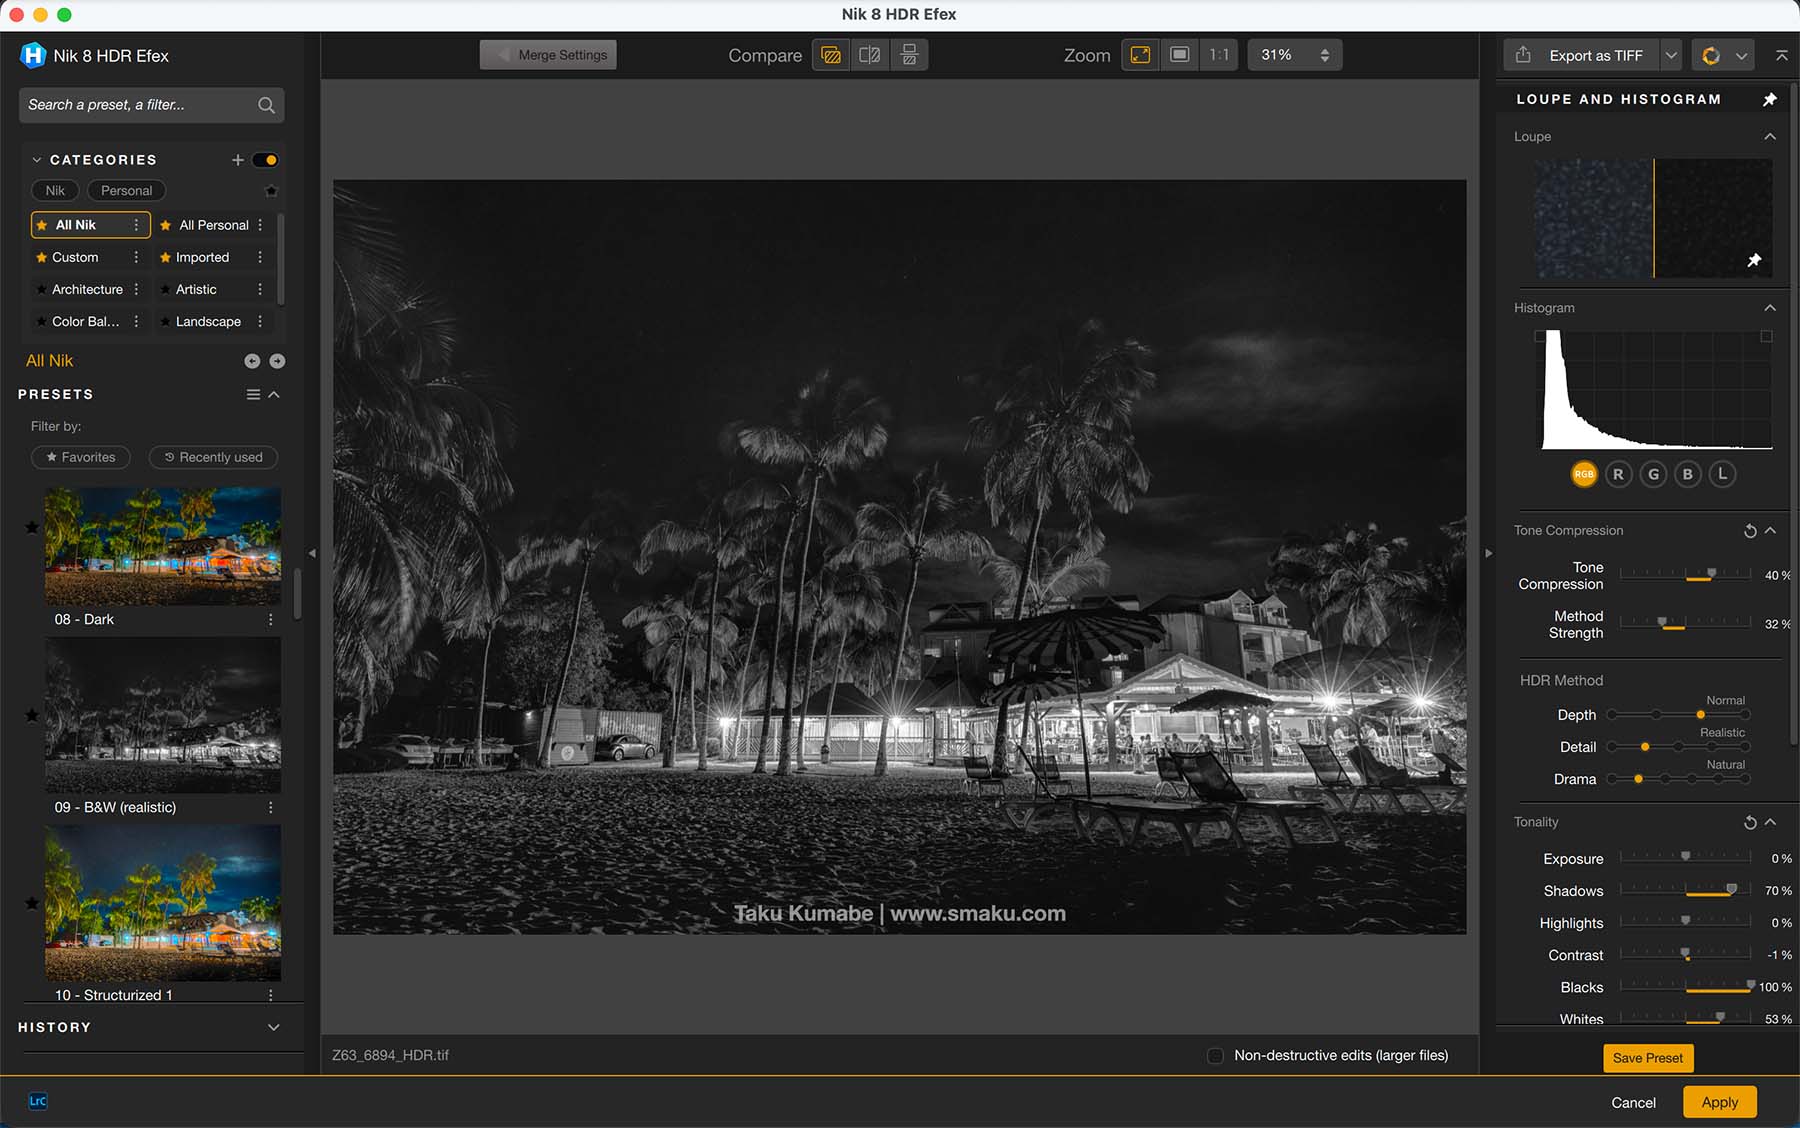
Nik HDR Efex
HDR stands for High Dynamic Range. By combining multiple files at different exposures, you’re able to create a final image with increased dynamic range. Depending on how this is combined though, I often find the resulting image to be too artificial.
The Nik HDR Efex offers several different Presets that might be of interest to many though. I find the B&W Realistic option to be effective in creating an interesting final image.
Final Thoughts
I don’t perform a lot of HDR editing in my workflow but in the off chance I do, I know this applicatino would be able to handle my HDR needs, without the need to use Adobe Photoshop—which to some, might be all that’s needed!
Do you use Nik Collection in your workflow? Let me know in the comments!
Use my name TAKU for 15% off any products from DxO on their website: