The DxO Labs series of applications provides a complete solution to your photo editing workflow.
This blog post covers the overall DxO Labs workflow using DxO PureRAW, DxO PhotoLab, and Nik Collection. Read my separate posts for each of these applications:
[ DxO Workflow | DxO PureRAW | DxO PhotoLab | Nik Collection ]
Disclaimer
The DxO Labs applications were provided for review purposes, but all opinions are my own.
You can use my name “TAKU” at checkout (without quote marks) for 15% off any of their products from their website.


About DxO Labs
DxO Labs may not be a household name like Adobe Photoshop or Lightroom, but it’s been making photographic applications for over 20 years. In fact, I remember when I was tinkering around with Silver Efex back in 2006. I swooned over the collection of black and white filters that transformed my images into instant classics.
Fast forward 20 years later and I was approached by them to review their latest release of applications. Who could say no to something that may have ignited my love for black and white photography?
To be clear, this review isn’t for DxO’s latest release of FilmPack—their application for analog filters. But over the last little while I’ve been enjoying trying to create a new workflow for editing my images using:
- DxO PureRAW
- DxO PhotoLab
- Nik Collection
So, if you’re tired of using Adobe Lightroom as your photo editor or just want to try a new workflow, read along as you’ll be pleasantly surprised to see the capabilities of these applications. Each of these applications serve a different purpose so you’ll have to understand which one fits your needs the most.
If you’re used to Adobe Lightroom as your photo editor, you can still take advantage of the benefits of these applications within your overall workflow.
Summary of DxO Labs Applications
All of DxO Labs’ applications are available with perpetual licenses and no subscriptions. That means you pay once to get access to their current version and you can keep using it. They provide free updates for one year, and offer discounted upgrade offers to their existing customers. Each application offers a slightly different approach in your editing workflow, so pay attention to what works best for you.
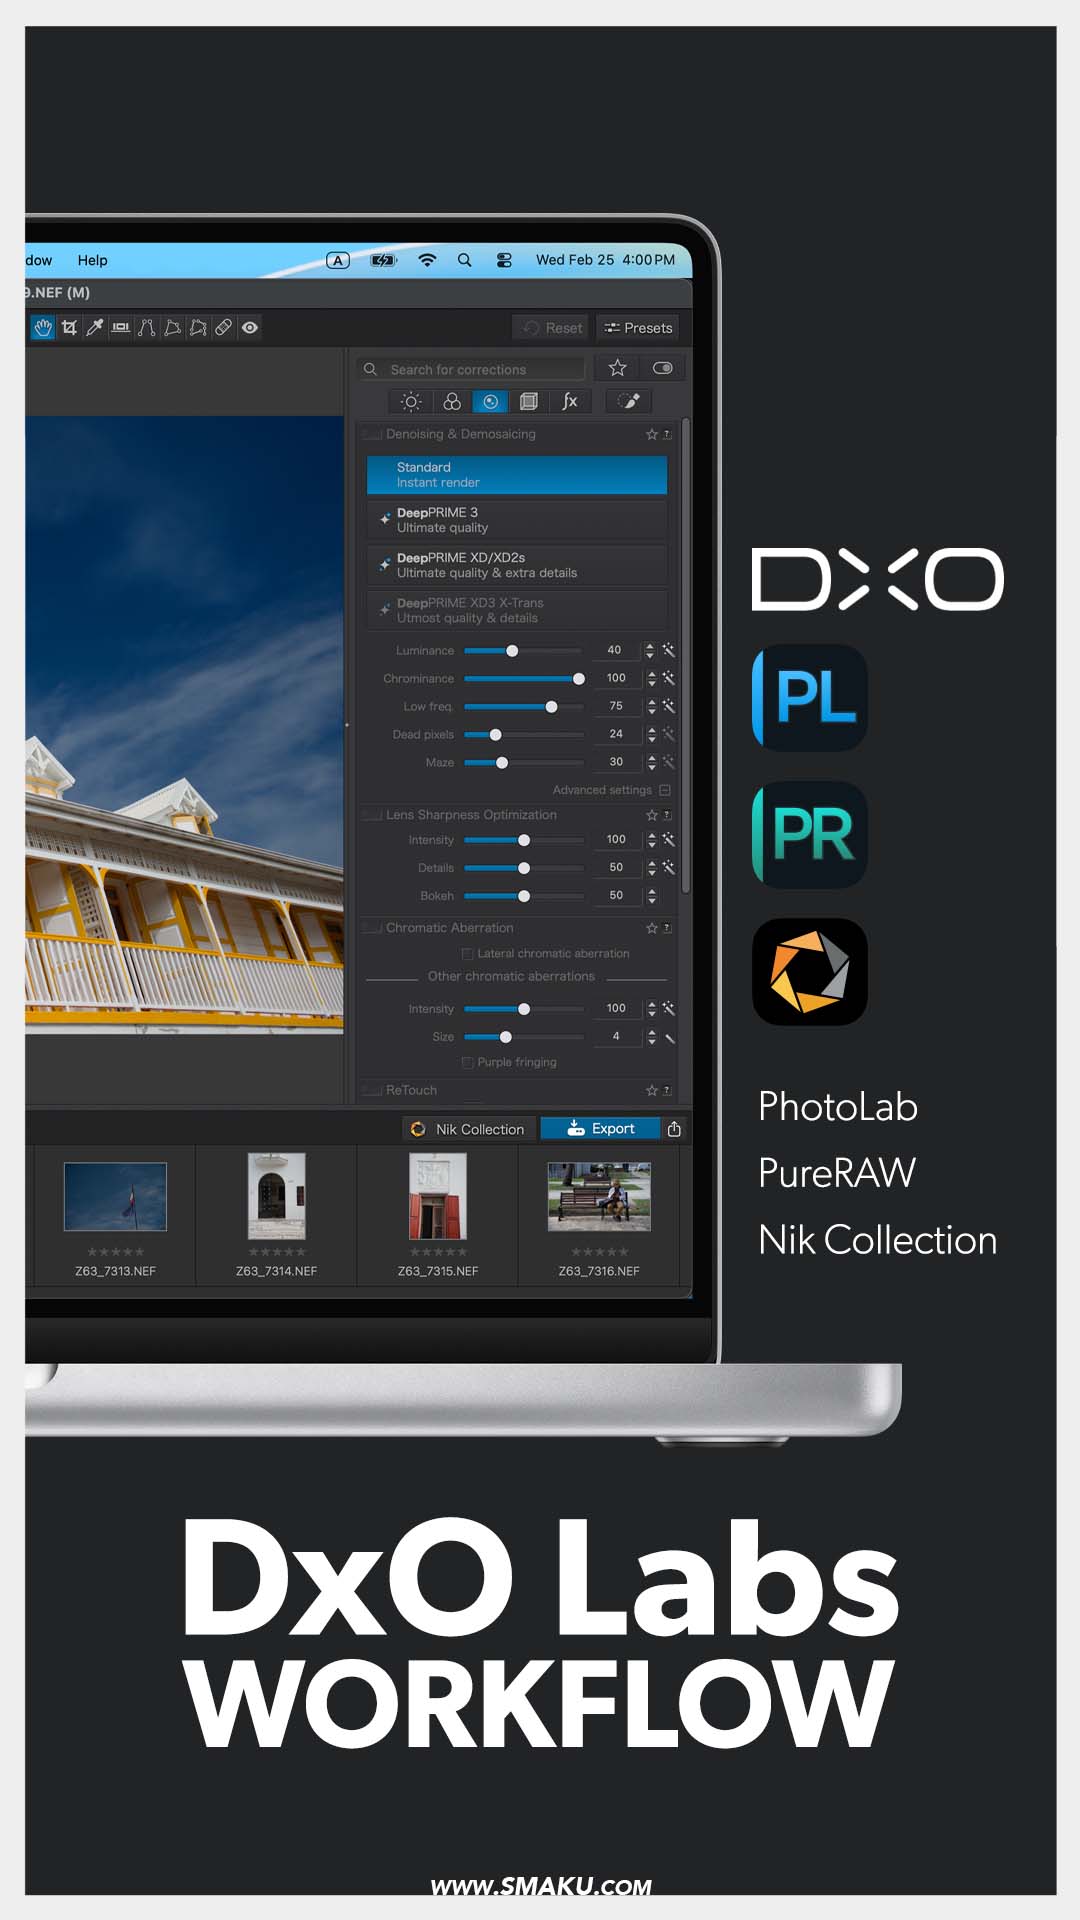
DxO PureRAW
An application providing industry leading noise reduction, lens sharpening and optimization, detail enhancements, and reduction for lens distortion, chromatic aberrations, and vignetting for your RAW files, so you can have a superior starting point to creatively edit your files.
Workflow: Standalone application to (batch) open RAW files for editing. Colour and creative edits are done in a separate application.
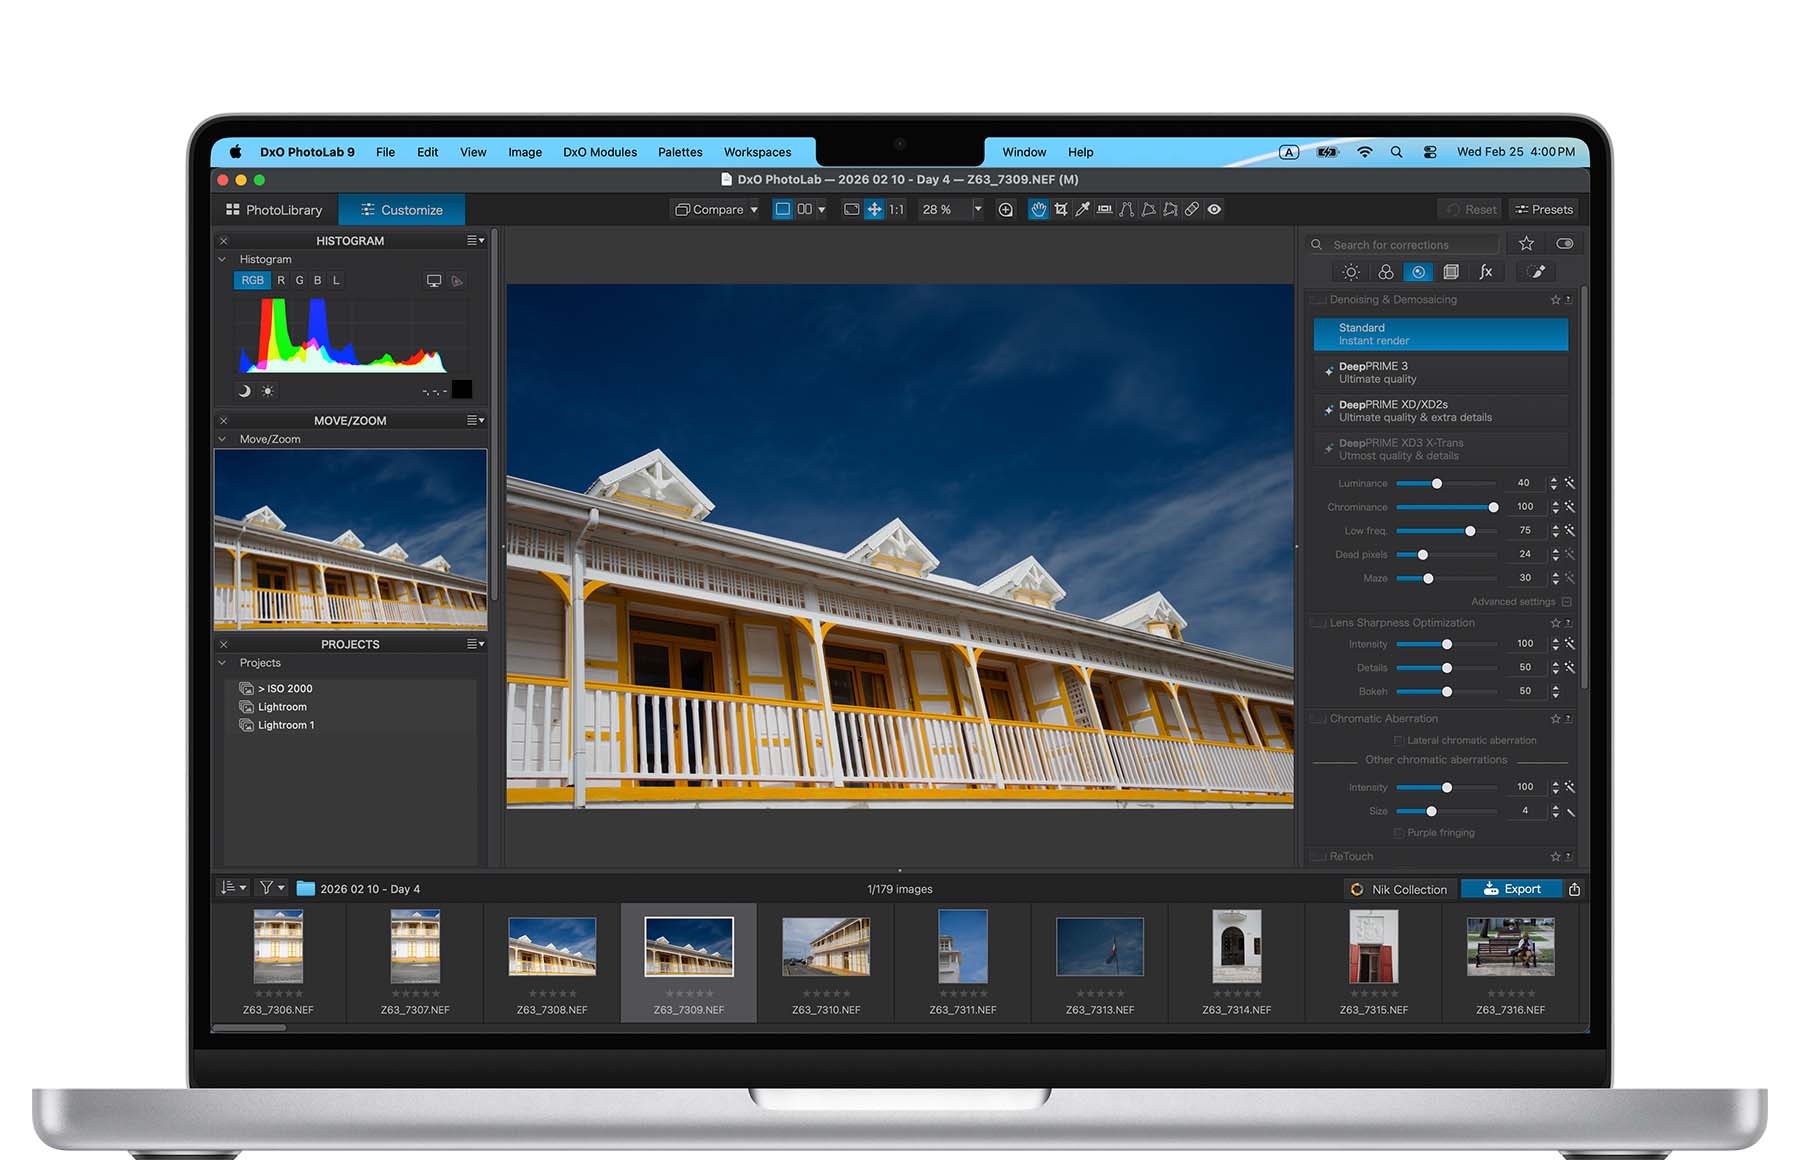
DxO PhotoLab
A complete solutions application providing file management, noise reduction, lens sharpening and optimization, masking, and local adjustments. Uses the same processing engine as PureRAW.
Workflow: Standalone application that sees your computer’s folder structure, allowing you to do file management, edit RAW files for colour, and apply noise reduction and lens sharpening.
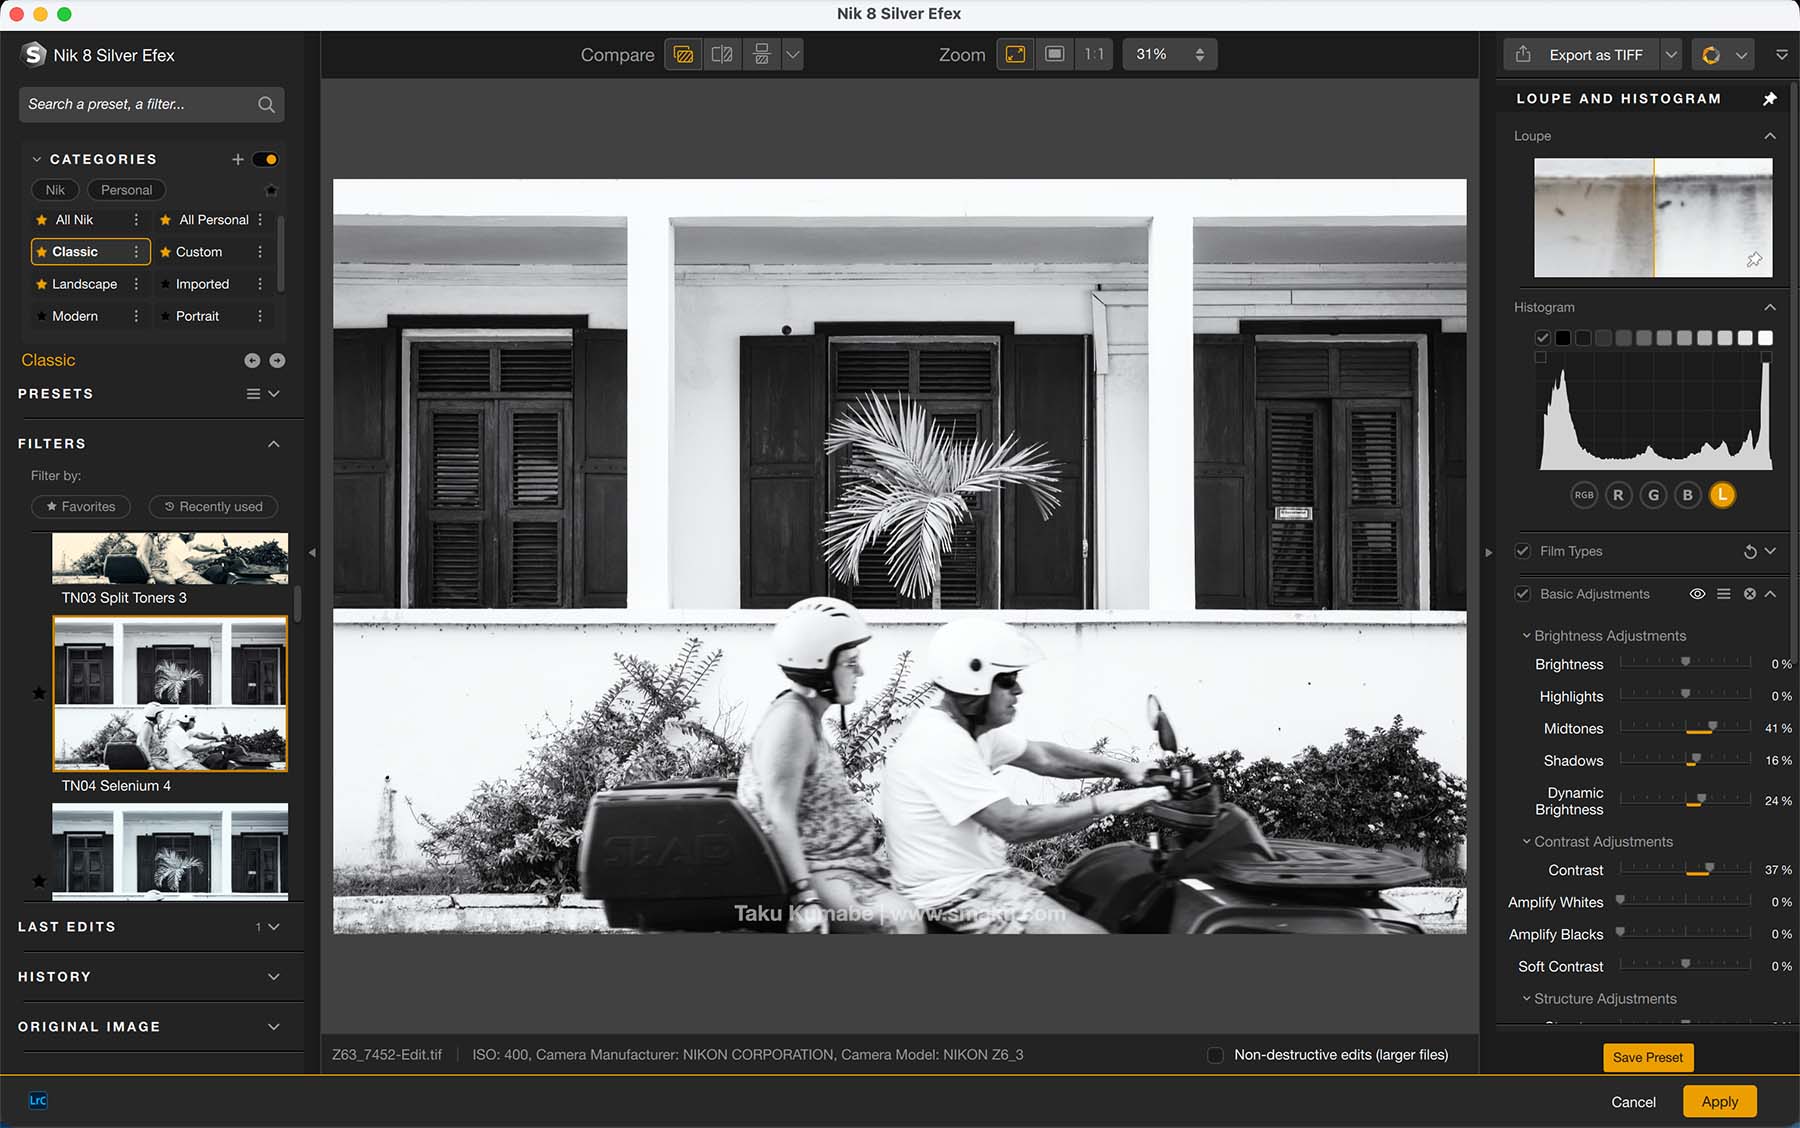
Nik Collection 8
A plugin suite for Adobe Photoshop and other applications to transform your images using advanced colour tools. The collection itself consists of seven different applications including Nik Color Efex, Nik Silver Efex, and Nik Analog Efex.
Workflow: Plugin application that is compatible with Adobe Photoshop (via Plugins panel), Lightroom, Canva Photo, and each plugin is also a standalone application.

DxO Labs Workflow
You will not need DxO PureRAW and DxO PhotoLab in one workflow since the two do similar things using the same processing engine. DxO PureRAW offers batch processing, which is not available in DxO PhotoLab.
Given the nature of these three applications, there’s certain workflows that should be followed:
Use DxO PhotoLab as your main app
- Open file in DxO PhotoLab, process the colours, apply noise reduction and any other setting to your liking. Export final image as TIF or JPG to your computer.
- [Optional] Export directly to Nik Collection plugins to creatively edit your image. Export final image to desktop, or
- [Optional] Export directly to Nik Sharpener Output to sharpen the final image to your liking.
Use DxO PureRAW as your main app
- Open your RAW file(s) inside DxO PureRAW and apply noise reduction settings to optimize your RAW file.
- Export to Nik Collection plugin for creative editing.
- [Optional] Export to Nik Sharpener Output for final image.
Adobe Lightroom Workflow
Use DxO for Creative Edits only
- File management inside Adobe Lightroom
- Edit image inside Adobe Lightroom for proper exposure, colour and white balance, and apply noise reduction and sharpening within Lightroom.
- Export image to Nik Color Efex, Nik Silver Efex, or Nik Analog Efex for creative editing.
- [Optional] Use Nik Sharpener Output to sharpen the final image to your liking.
Use DxO for Noise Reduction and lens optimization only
- File management inside Adobe Lightroom
- Transfer RAW file to DxO PureRaw or PhotoLab for Noise Reduction and Sharpening. Note, no Adobe Lightroom edits will be transferred to the DxO application. Do one of the following in Lightroom:
- File > Plug-in Extras > Transfer to DxO PhotoLab; you will need to Synchronize folder to re-import back the DNG file to the Adobe Lightroom library.
- File > Plug-in Extras > Process Instantly with DxO PureRaw 5; resulting DNG will be re-imported back to Adobe Lightroom
- Edit your DNG file in Adobe Lightroom to your liking or export directly to Nik Plugin for creative edits.
Use DxO for Noise Reduction and Creative Edits
- File management inside Adobe Lightroom
- Edit your file to your liking in Lightroom. Do not apply noise reduction or sharpening.
- Right click and select Edit in DxO PhotoLab
- Apply Noise Reduction and Sharpening as required
- Export final image, or export directly to Nik Collection for additional creative edits.
Notes
When transferring your RAW file to DxO (File > Plug-in Extras > Transfer to PhotoLab) your Adobe Lightroom edits will not be transferred as the demosaicing process needs to be performed on a RAW file. Therefore this process must happen at the start of your workflow.
If you opt to right click and select Edit in DxO PhotoLab, your file will be exported as a TIF with all of your Lightroom edits applied, so editing in DxO PhotoLab should come later in your workflow.

Final Thoughts
The DxO Labs line of applications offer a lot of editing opportunities for the technical and creatives alike. Which application works for you will depend on your current workflow.
You can read up on each individual application on my separate blog posts: DxO PureRAW, DxO PhotoLab, Nik Collection.
Invest in EITHER OF PureRAW or PhotoLab, since the core noise reduction and lens optimization functionality is available in both applications. For creative editing, Nik Collection or DxO FilmPack will be what you should be looking at.
I appreciate the high level of customization these applications offer users, while their presets are useful for those that just want one-click edits.
Adobe Lightroom, on the other hand, offers a similar workflow, but using just the one application. Whether Lightroom’s individual tasks such as lens optimization or noise reduction are as good as DxO’s processing, I have yet to fully test out.
As it was several decades ago, the Silver Efex still has a soft spot for me. Their black and white conversions are still enjoyable to use and are capable of making instant classics out of your images!
Do you use DxO Labs applications? Let me know in the comments what you like about it.
You can use my name TAKU at checkout on their website for 15% off your purchase: