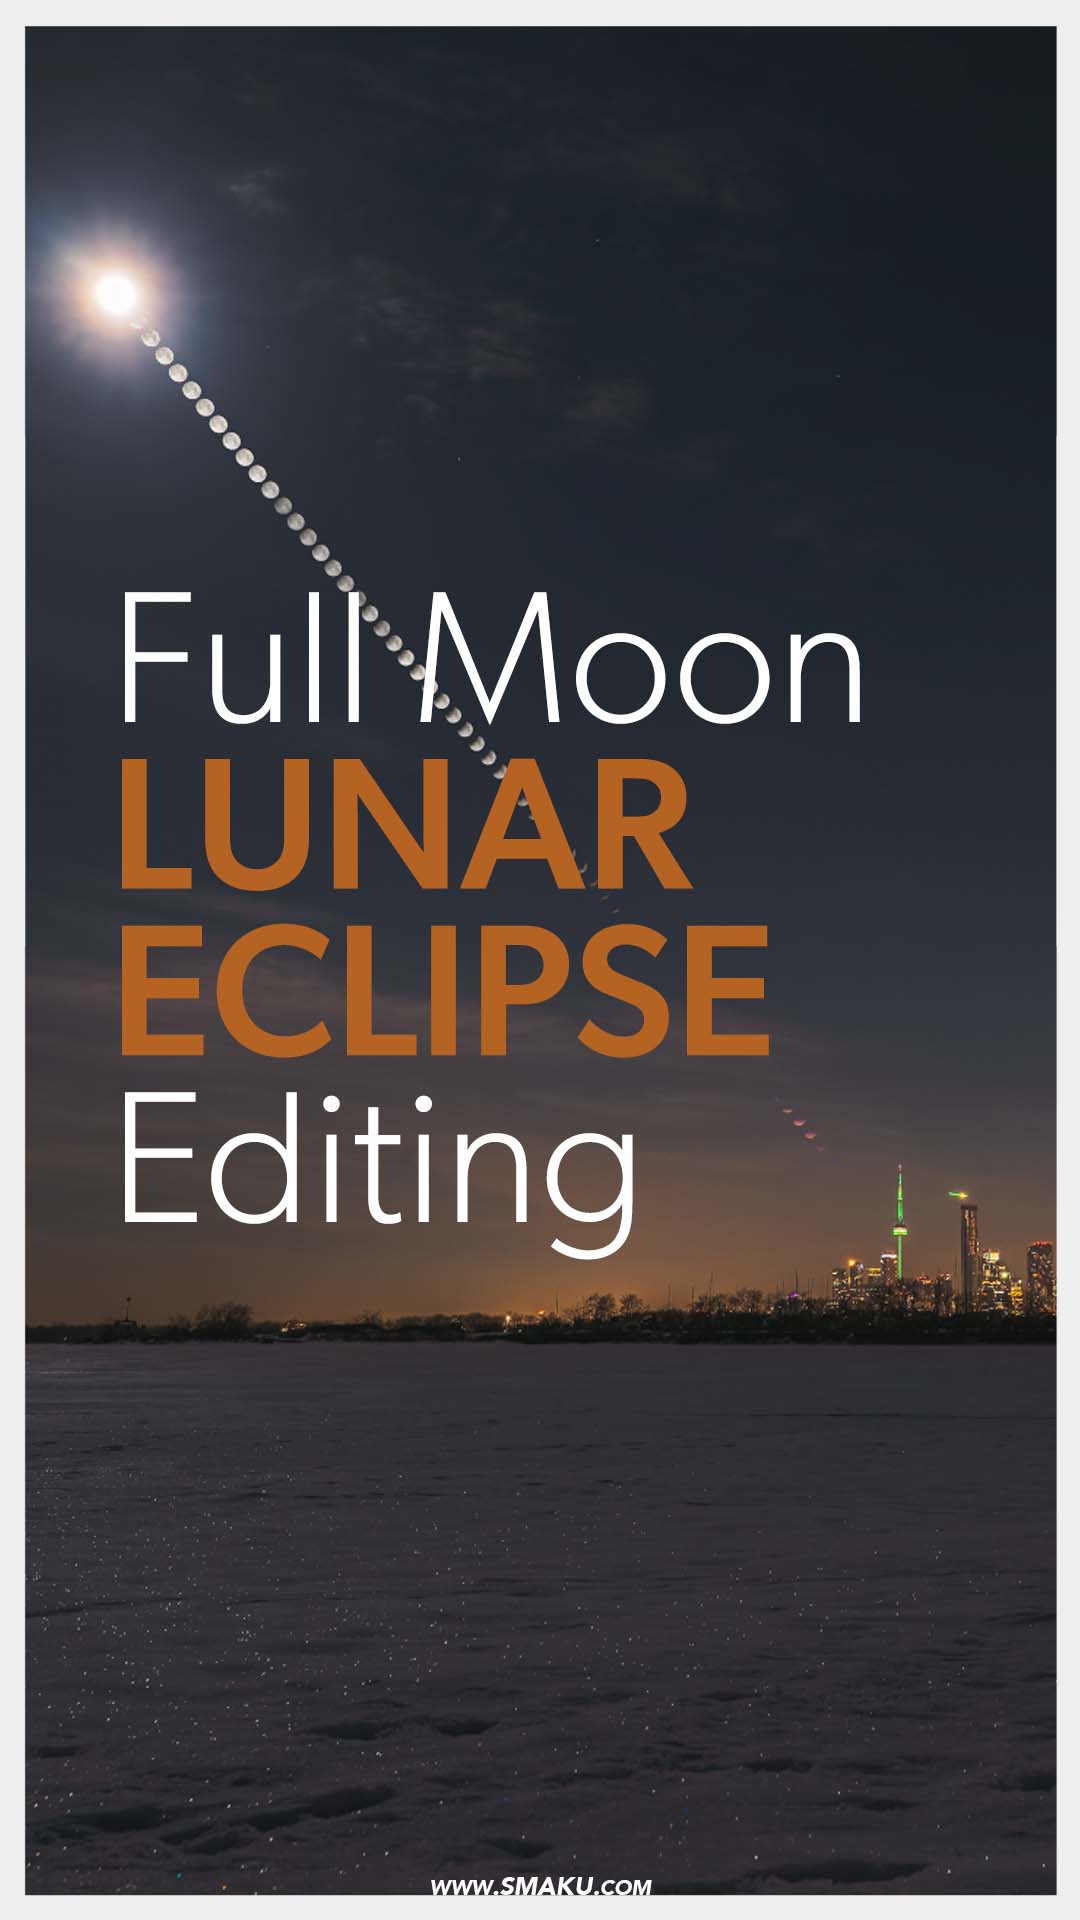
As the full moon slowly fades away into darkness, it slowly changes colours to a red-orange glow in the midnight sky.
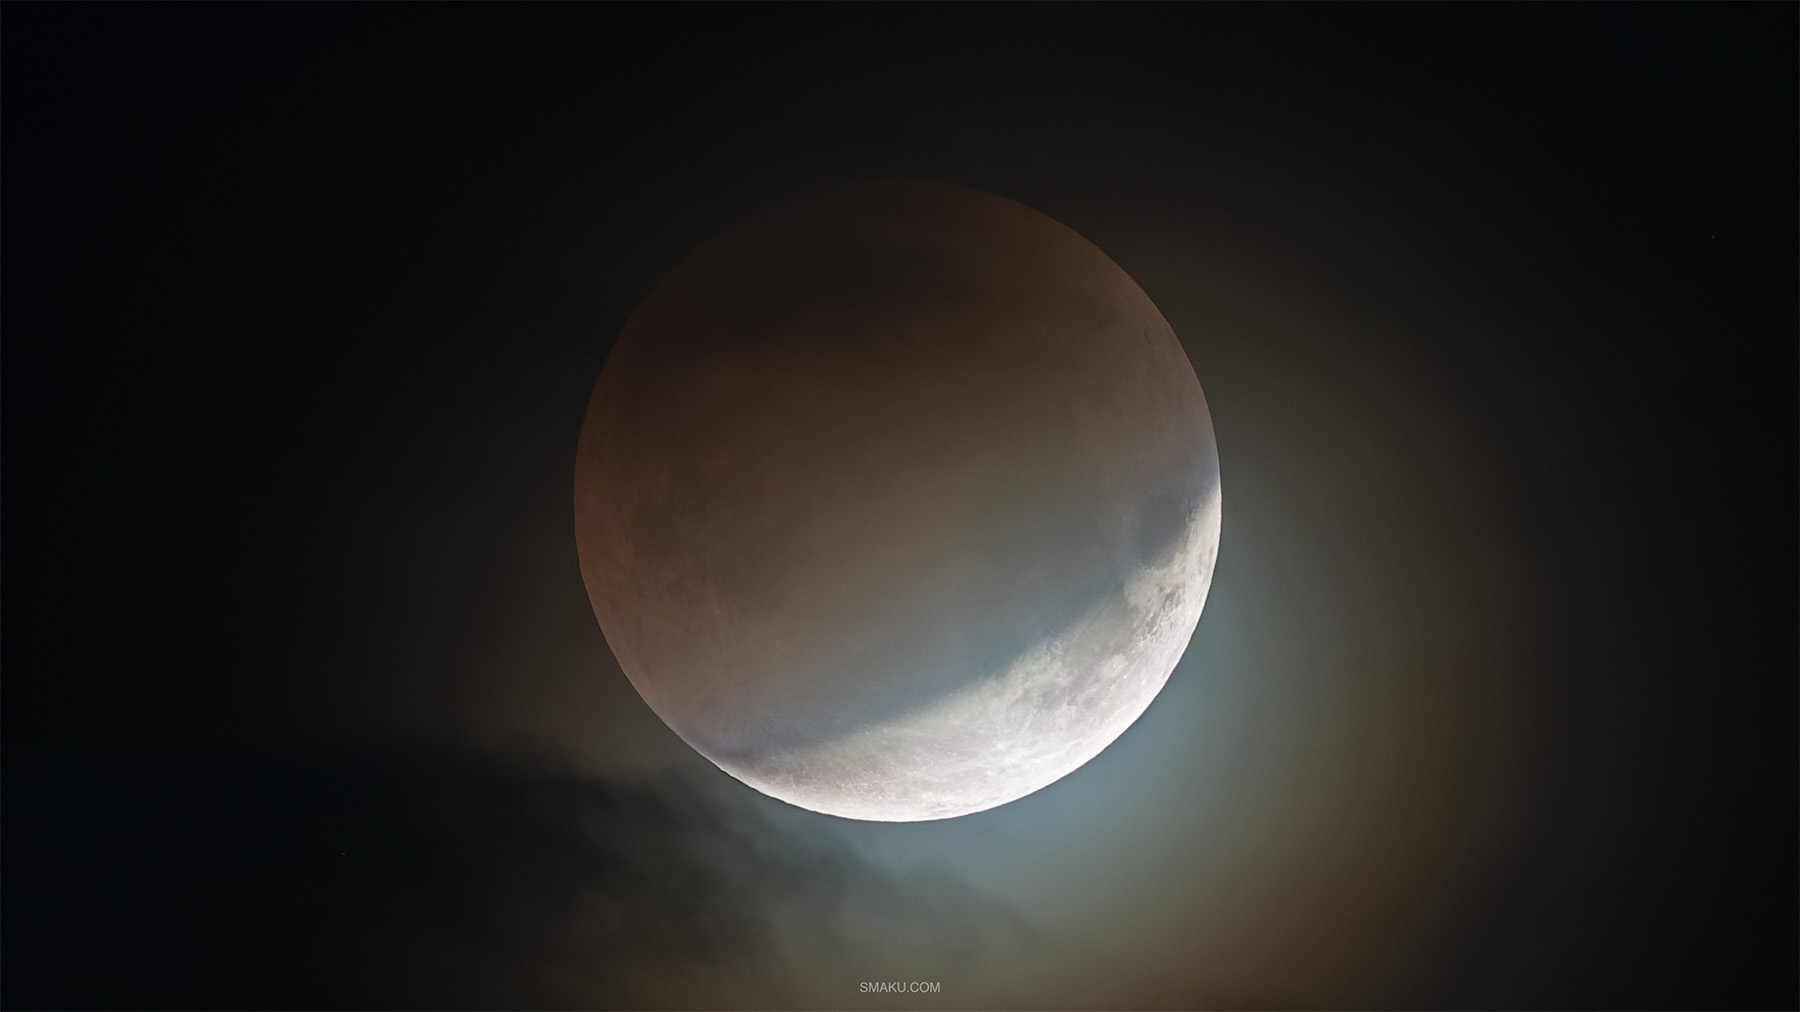
The total lunar eclipse of March 3, 2026 offered a chance to see the moon pass over the city of Toronto. One problem? Clouds. There’s really nothing we can do about it, but I decided to make the trek across the city, deep into a park to see if I can capture the trail of the lunar eclipse as it transitioned from the full moon to totality.
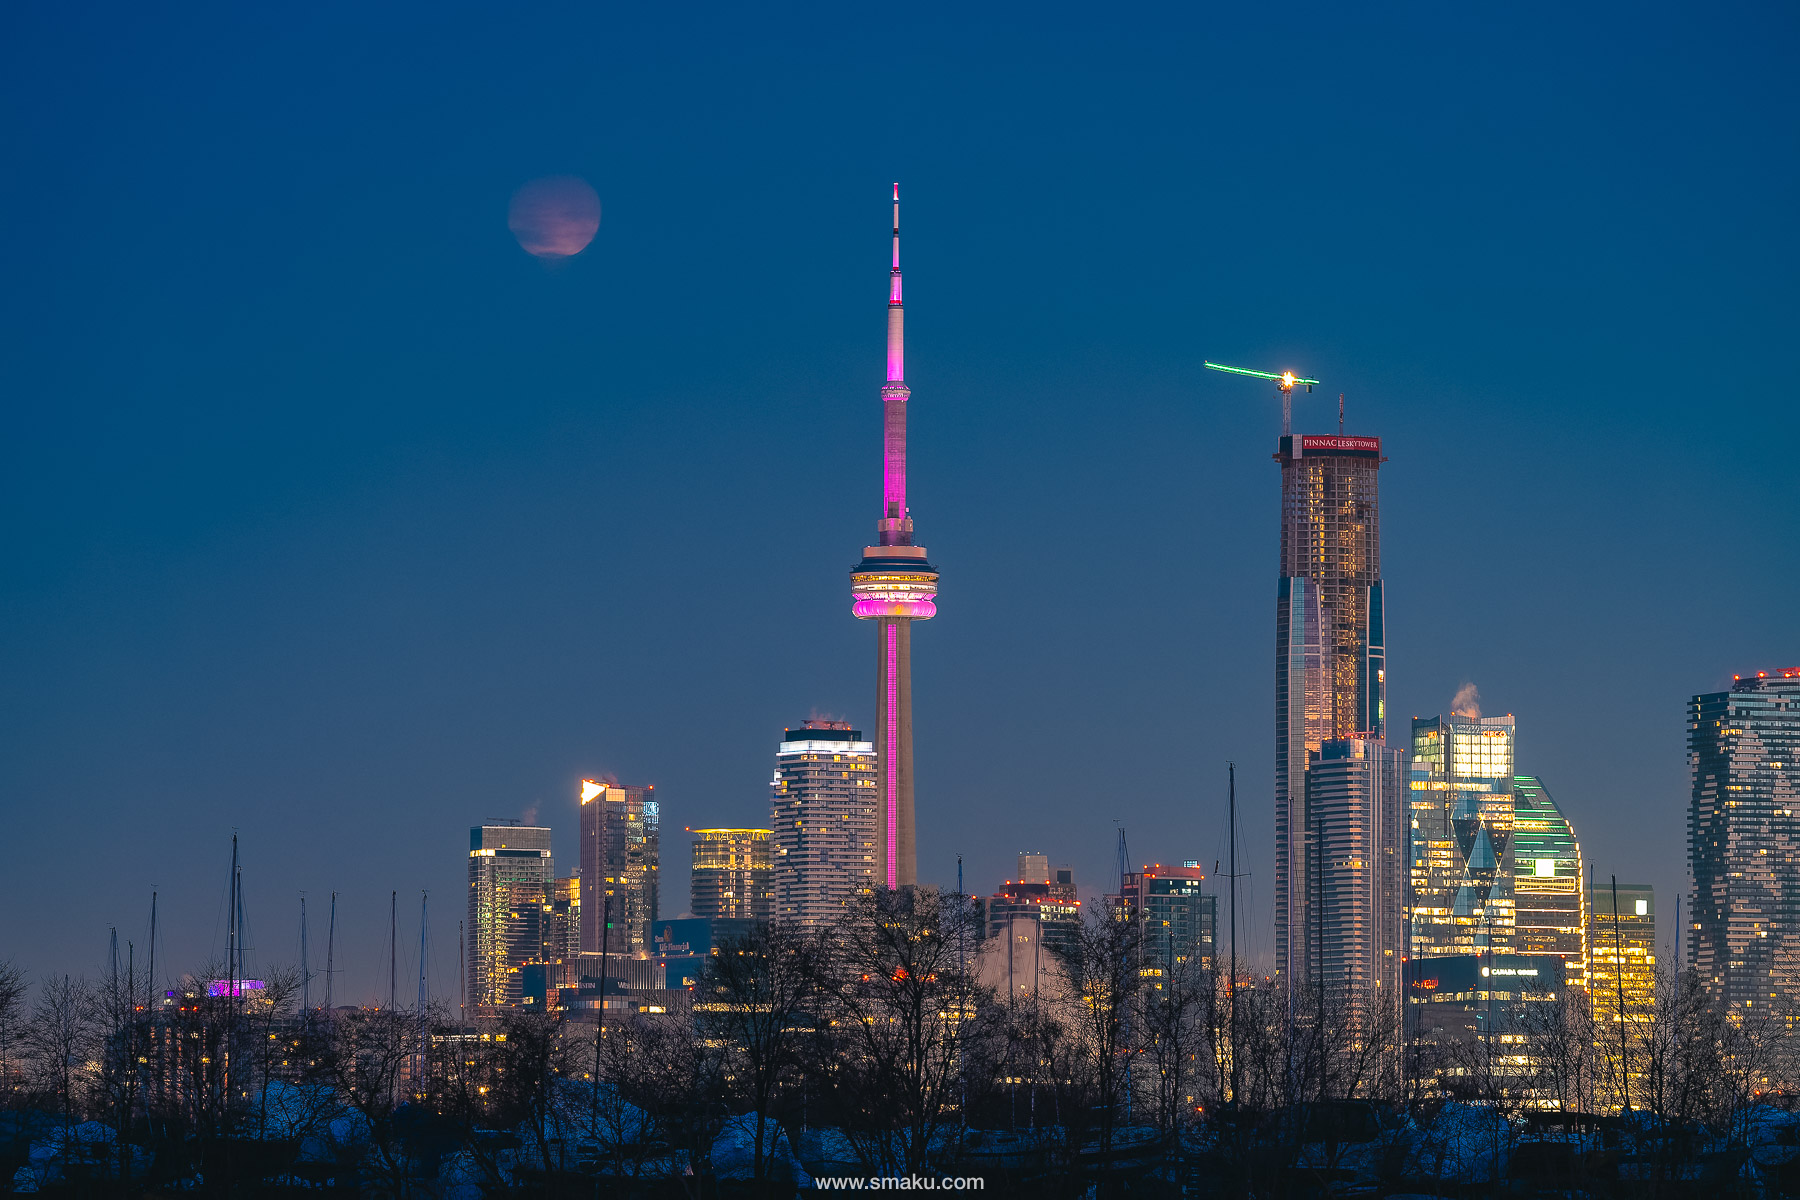
I had two different timelapses set up, as I was after a specific composition with the full moon phases. This one here was supposed to follow the full moon at totality, as it descended behind the CN Tower. The clouds quickly played their role as the moon disappeared shortly after this photo.
You can watch my YouTube video here.
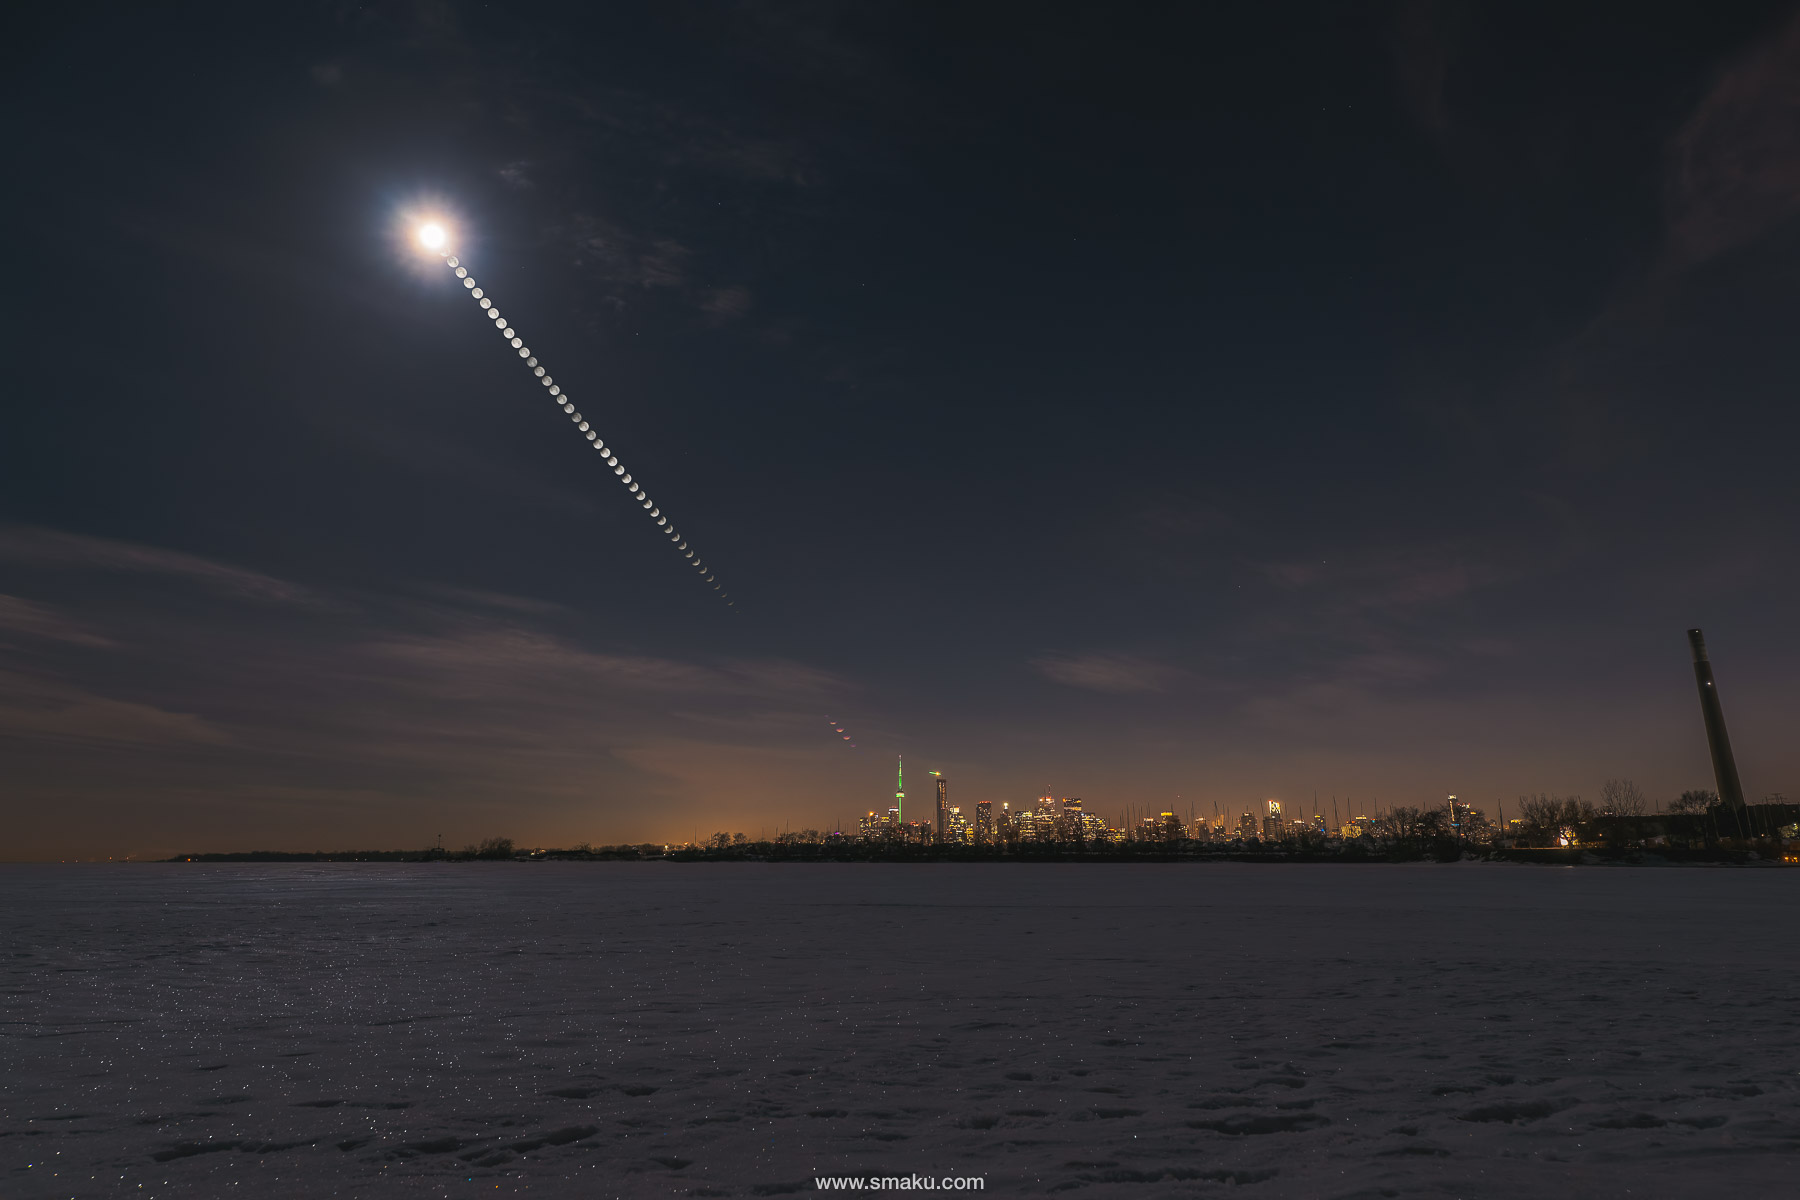
My idea was to make a composite image with the city and the trail of the moon throughout the eclipse high in the sky. The final result turned out—albeit with a few missing pieces thanks to the clouds.
How to create the final image
There are a couple ways of making this final image:
- Take clean, close-up images of the moon in different stages, and overlay these photos to your base image
- Take photos of the moon phases in the same composition as your base image, ensuring the exact spot the moon traverses through your frame
I opted for option 2 since option 1 always looks too artificial for me. The moon is too clear and crisp for the base image, which doesn’t make the scene look natural. I also don’t have a tracker so the intervals wouldn’t have been exact, essentially making that an image with randomly selected moon images pasted on to it.
The base image
The base image is the primary image you’ll use to overlay your photos of the moon. This base image will create the overall look of the image so make sure to take a clean image with the look and feel you want the overall image to take.
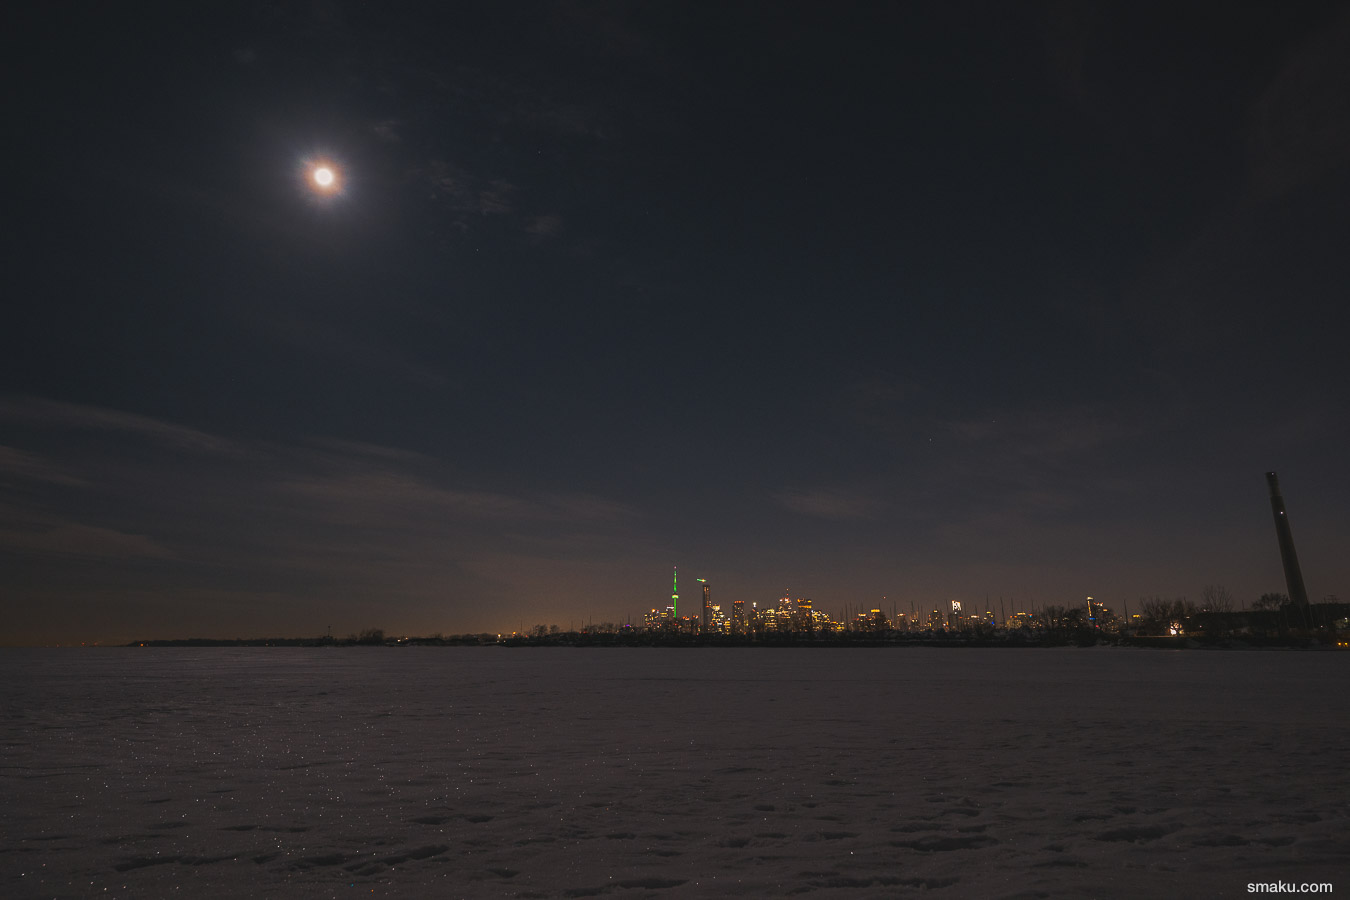
In my case, I simply took a long exposure to expose the overall image without totally blowing away the highlights. This resulted in a 0.8 second image. I used my 14-24mm lens and pointed it slightly upward so that I was sure to capture the beginning of the eclipse, high in the sky.
Once you take your base image, do not move the camera. You want the same composition for your moon transitions, so be sure not to move your tripod.
Moon Transitions
To capture the moon transition, I did a timelapse so the camera would take photos at a specified interval, ensuring the exact time in between each shot. I chose an interval of 15 seconds, however, as it turned out, I only needed an interval of 150 seconds in between shots to properly capture the movement of the moon.
For the timelapse, it’s important to expose for the moon and not the city. You want the moon to be crisp and clean since this is the only subject you’ll actually use from the timelapse. My exposure for the timelapse was for 1/1000 seconds, with an aperture of f/8.0, and ISO500.
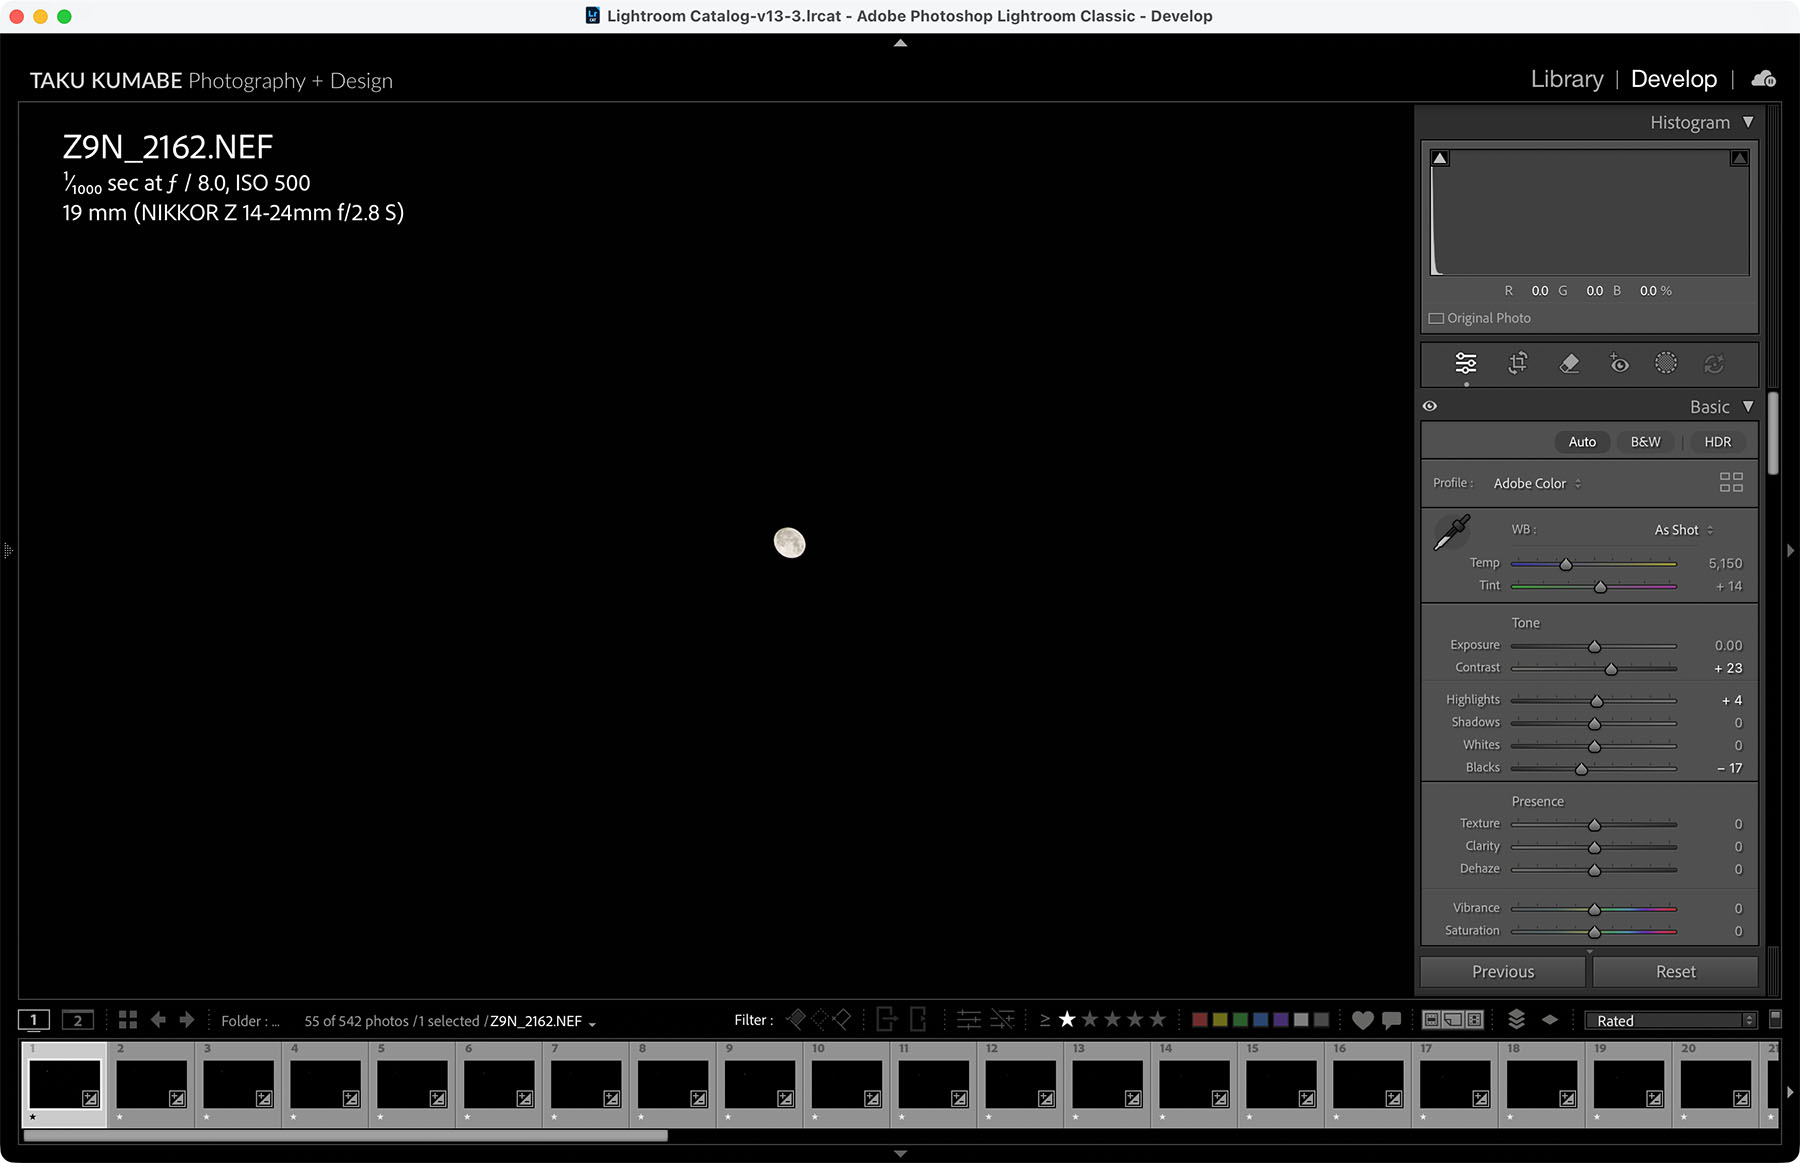
This exposure was ideal for the full moon at the start, which is at its brightest point. By exposing for the brightest phase of the moon, I’m assured that I won’t completely blow away the moon at any point during the long exposure. As the moon hid behind clouds though, I was no longer able to expose for the moon, thereby missing those exposures in my timelapse.
An Aperture Priority mode timelapse could also have been used, however, you would need to intentionally underexpose so that the city doesn’t take priority in the exposure. The moon behind the clouds wouldn’t be exposed with this method either.
Editing
After all the photographs have been taken, you’re now left with a set of images:
- Base image
- A timelapse of images of just the moon moving through the night sky
Open the Base Image and edit the base image to your liking in your favourite editing program.
I used DxO PureRAW to clean my initial RAW file to remove noise and sharpen the image. You can read my blog post on this program that excels in reducing noise by demosaicing your RAW files more accurately.
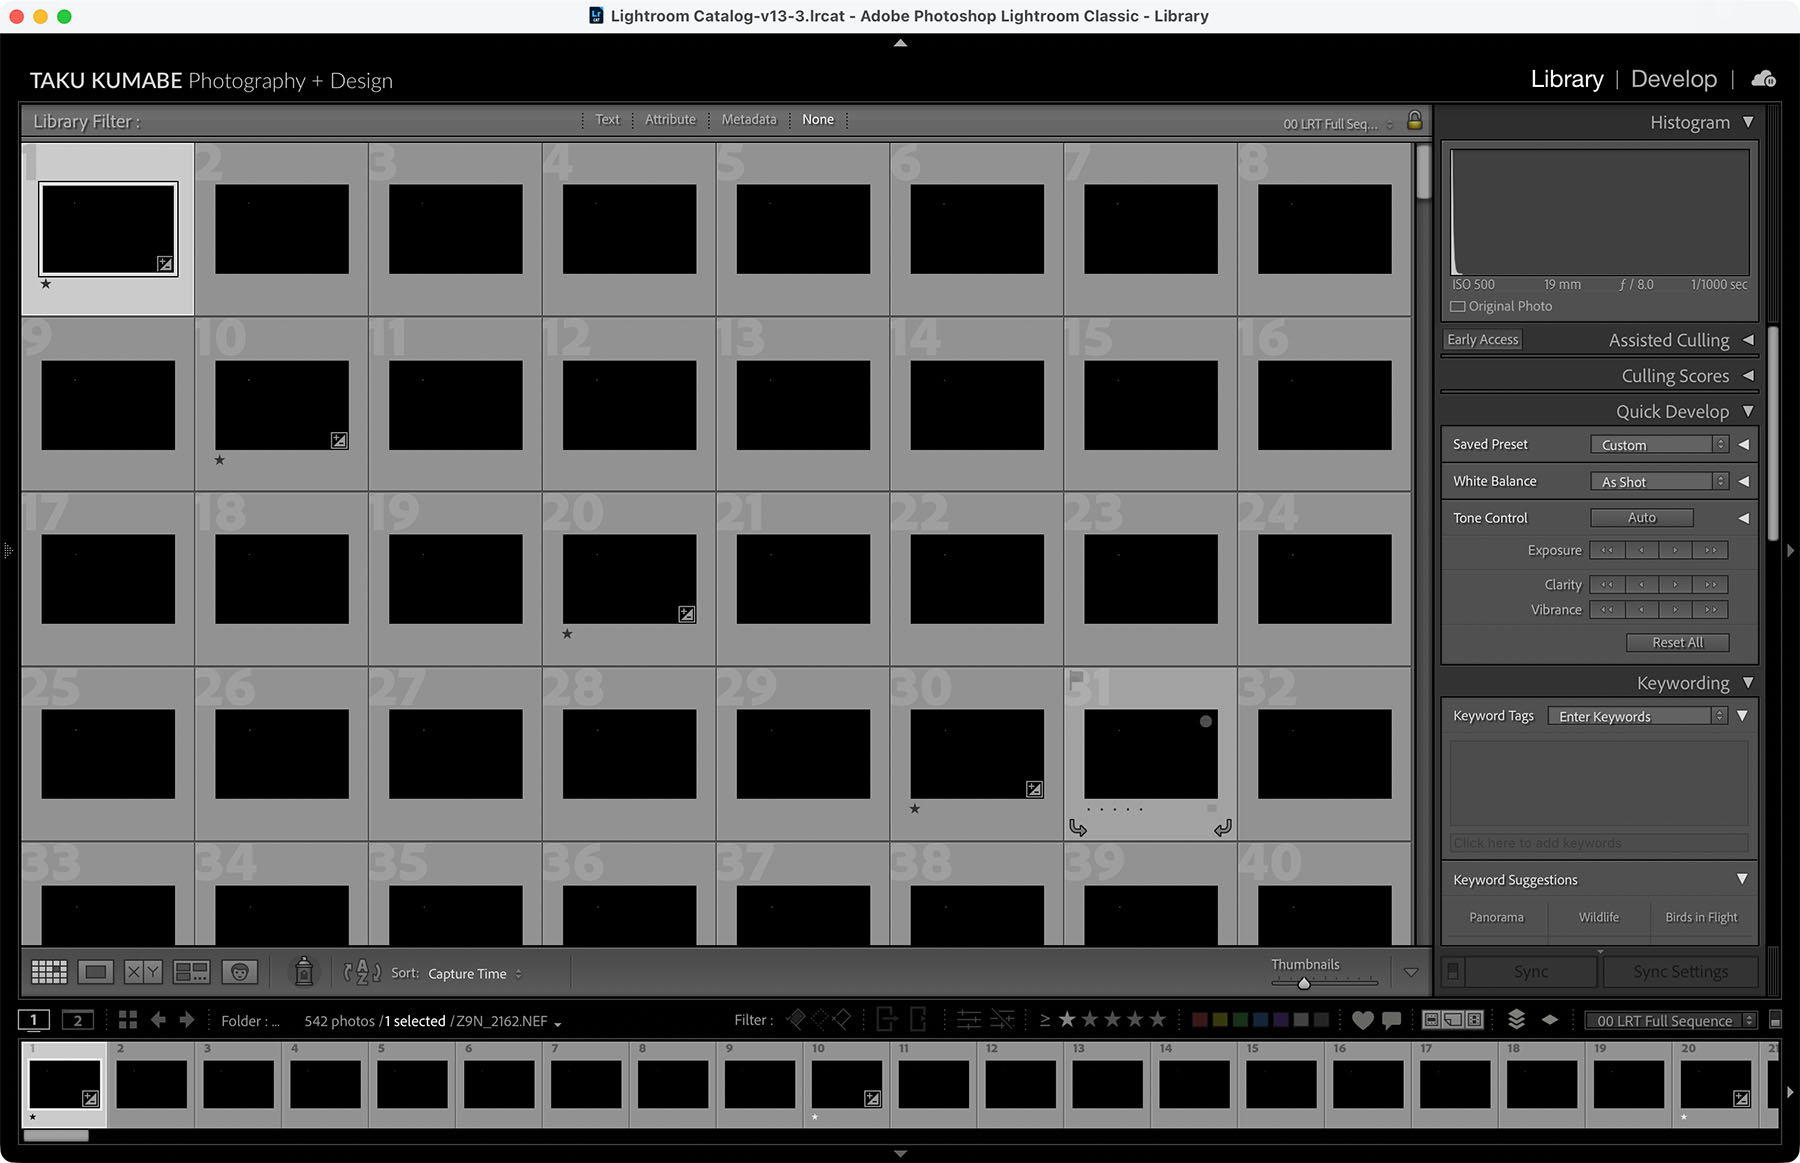
I opened all the timelapse images inside Lightroom to see which images I could use to stack the moon without overlapping them. By eyeballing the movement of the moon through the images, I noticed I could use every 10th image of my timelapse. So in essence, an interval of 150 seconds would have been sufficient for my needs in this case.
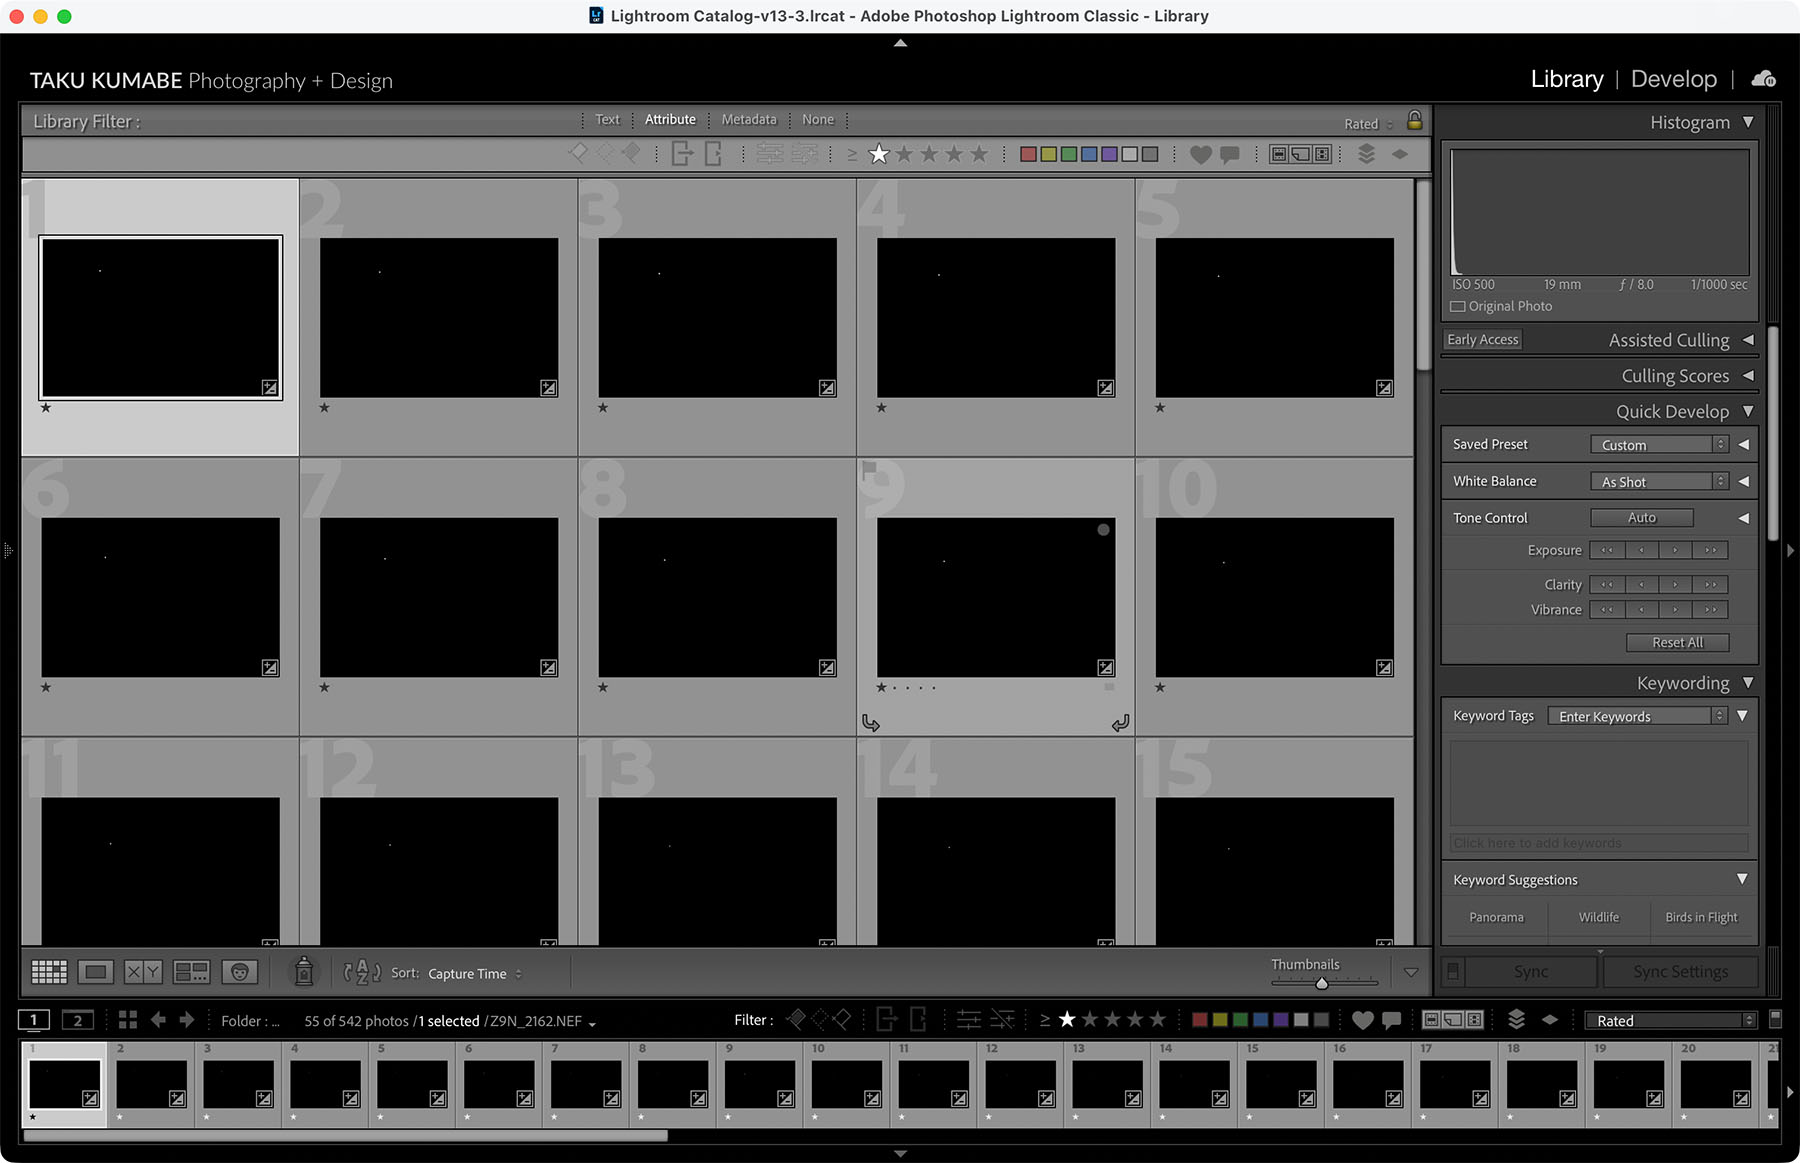
By filtering every 10th image, I was left with 55 images of the moon.
After editing these 55 images to my liking, the next step was to bring all of these photos into Adobe Photoshop to layer them one on top of another. You can do this any way that suits you, but I did them in five different sets of 10 images just out of convenience.

The importance here is the Blend Mode for each layer. Set this to Lighten, and you’ll be able to see the layer underneath. Change this for every moon photo and you will have your completed image.
YouTube
Watch my YouTube video on this Lunar Eclipse here:
Have you seen a total lunar eclipse before? How did you capture it? Let me know in the comments below!
If you’re interested in the DxO PureRAW that I used to clean my RAW files, you can head to their website and use my affiliate name TAKU at checkout for 15% off your purchase!