The tripod and gimbal head that I never knew I wanted makes wildlife photography more enjoyable.
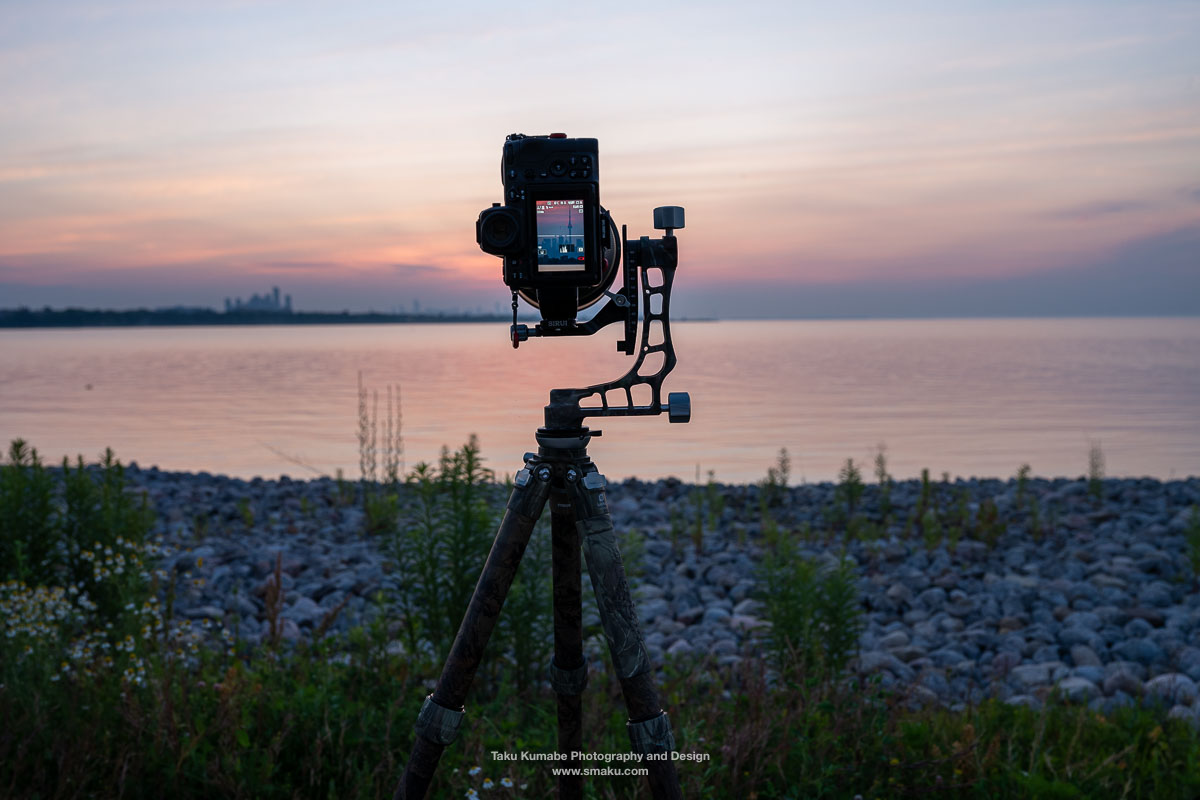
The Leofoto LS-365CEX carbon fibre tripod and PG-1 gimbal head can offer photographers more than what a traditional ball head or fluid head does. And it’s something you never knew you needed until you try it out for yourself.
Disclaimer
The LS-365CEX tripod and PG-1 gimbal head were provided to me from Leofoto Global for the purpose of this review. However, all opinions are my own, and nothing else was exchanged for this purpose.
The Look
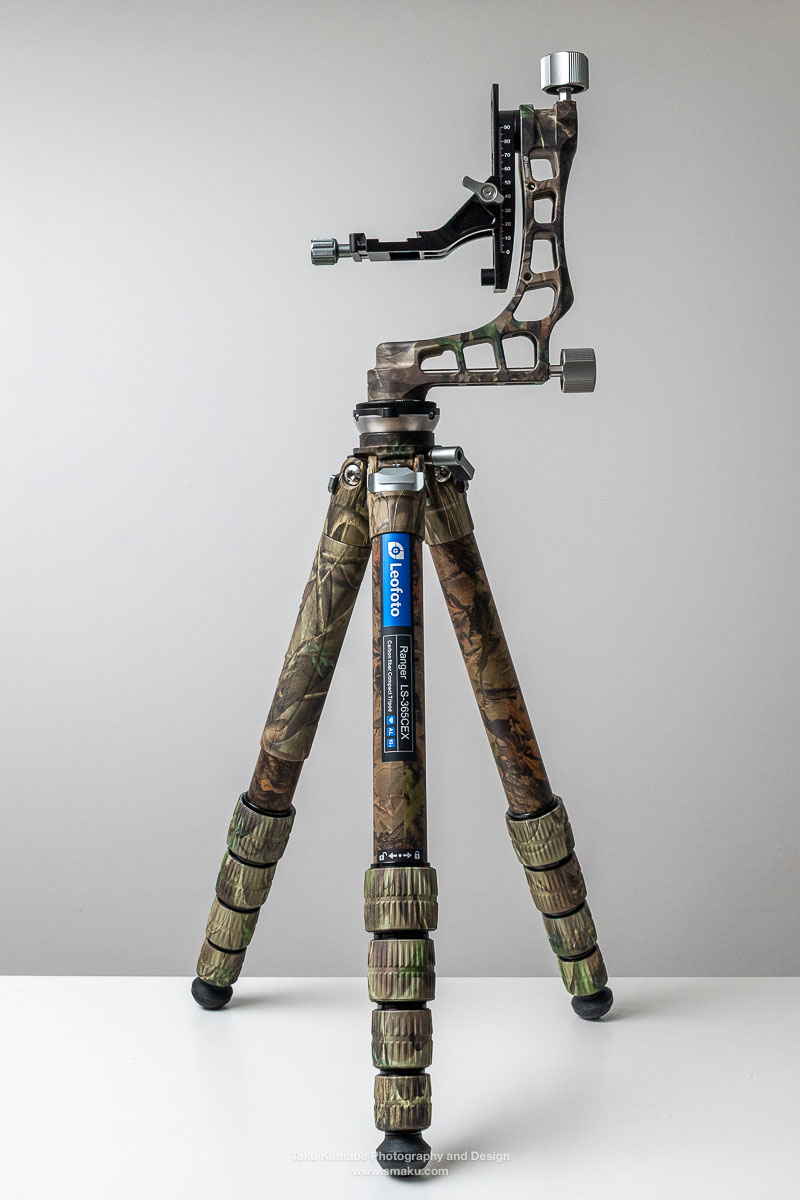
Let’s get this out of the way first. This combination of tripod and gimbal head are the full camouflage version. Leofoto does make a non-camouflage tripod and gimbal head for those that prefer this:
The camouflage, however, is a great addition for wildlife or bird photographers that prefer to keep their gear hidden from their subjects so they don’t disrupt the wildlife’s behaviour. I find camouflaged gear prevents birds from flying away as I move around, so having your tripod camouflaged is just one less thing to worry about when out in the field.
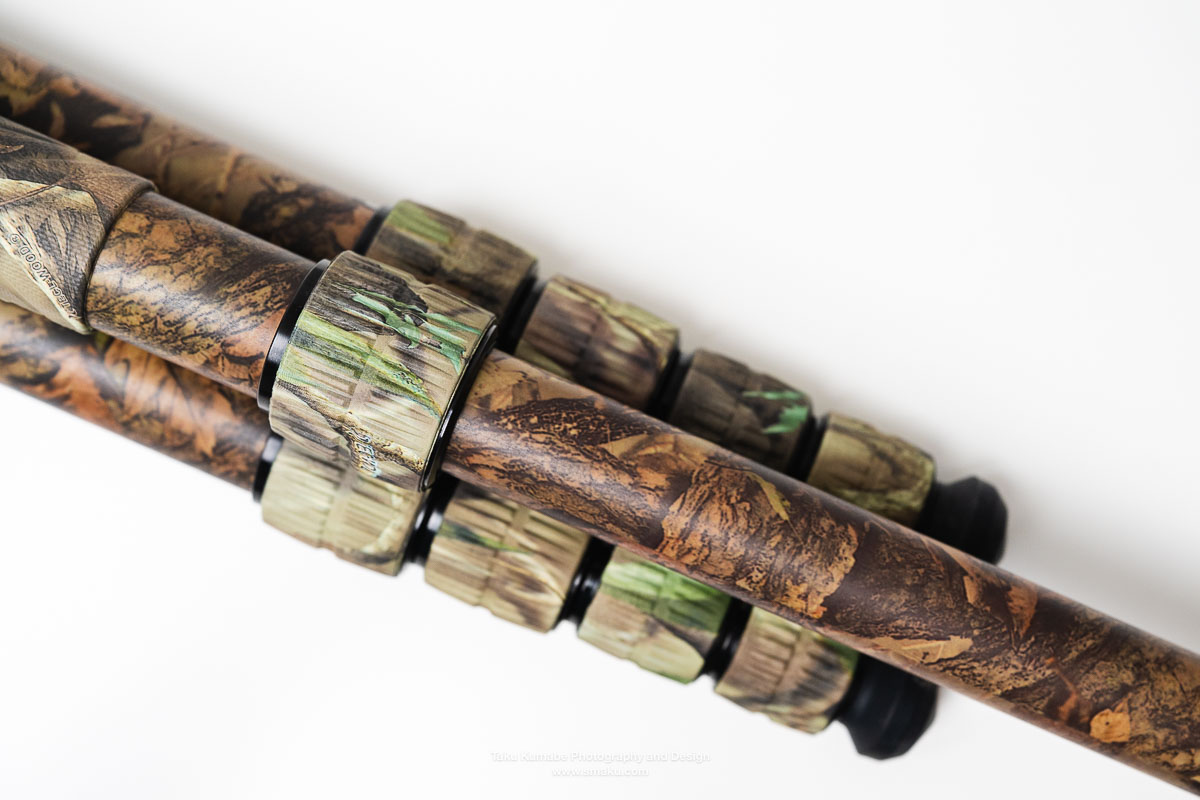
The added bonus is that non-wildlife subjects won’t care what a tripod looks like so I can still use this for any other use-cases as well. And yes, I have used this for non-wildlife photography, and it works great.
The Gimbal Head (PG-1)
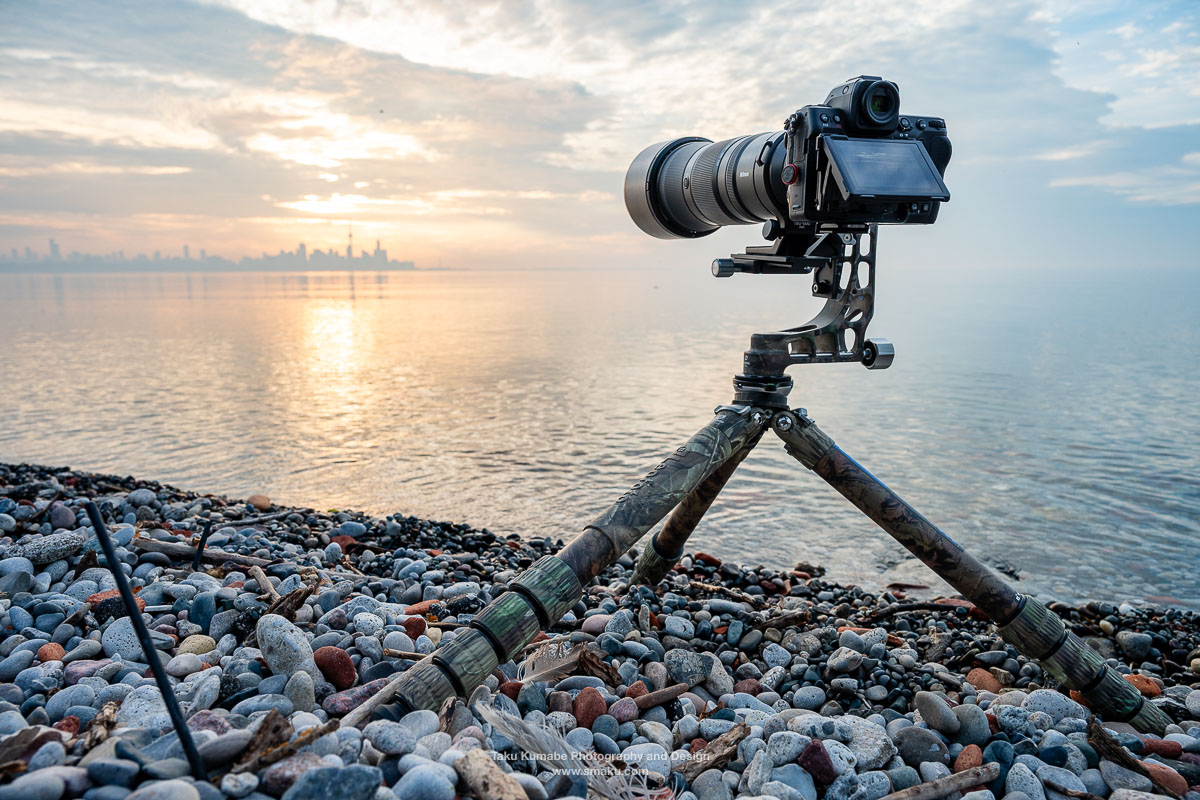
The PG-1 gimbal head is an aluminum-based gimbal head weighing only 1kg (2.2lbs). The aluminum cutout makes this head very light yet stable and robust enough to hold a maximum load of 25kg (55lbs).
The base has a diameter of 60mm, allowing you to put it on even a fairly small tripod.
Specifications
- Height: 255mm / 10″
- Max. load: 25kg / 55lbs
- Weight: 1kg / 2.2lbs
- Base: 60mm / 2.36″
The gimbal head is shaped like an “L” with a secondary base that holds your camera and lens combination. This mechanism is used to balance out the weight of your gear, so that you no longer have to carry its weight when you’re out shooting. It’s a great setup, but one that requires an initial setup for every camera and lens combination you put on it.
Knobs and Levers
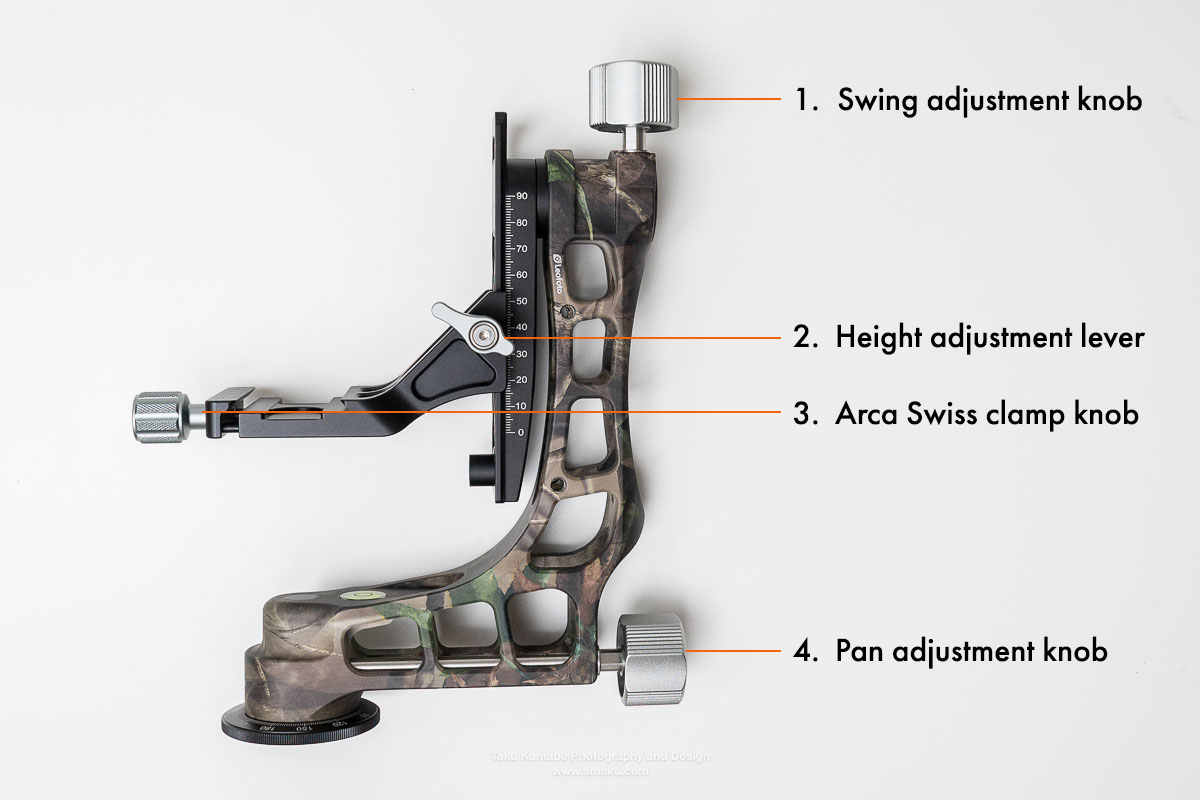
The two larger knobs (1 and 4 in above photo) serve as positioning knobs for your camera. The knob on the bottom (4) lets you rotate the camera left and right on the Z axis of the tripod. The knob on the top (1) lets you rotate the camera on the X axis, letting you swing the camera back and forth as needed.
The secondary plate has an Arca Swiss clamp and knob (3) to hold your camera. This plate also has a lever (2) that allows you to move the plate up and down. This adjustment—along with the positioning of your camera on the plate—balances out the weight of your gear so that no matter which angle you position the camera at, you can be rest assured that it will stay in place even when you let go of the camera.
This means you no longer have to bare the heavy weight of your gear when you’re out shooting, and you can concentrate more on getting the shot rather than keeping the camera balanced and level all the time.
The Legs (LS-365CEX)
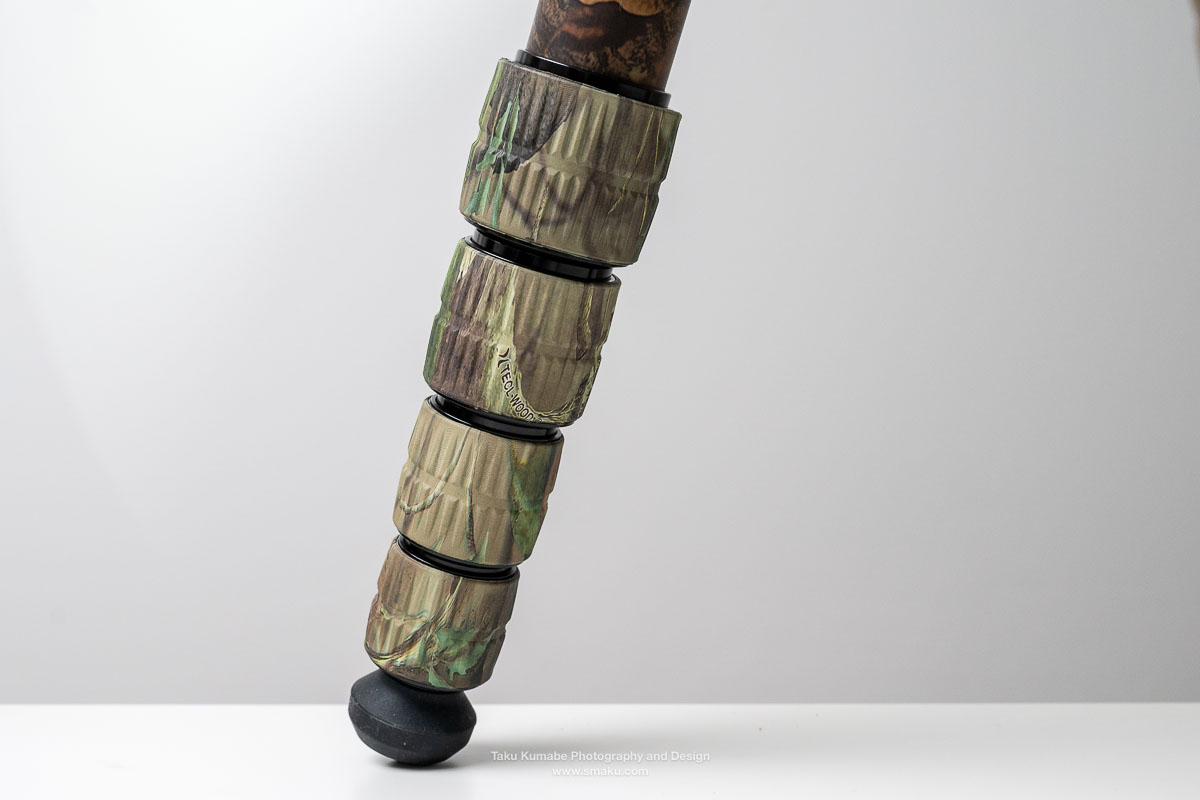
These tripod legs are 10-layer carbon fibre tubes divided into five sections with widths of 36mm, 32mm, 28mm, 25mm, and 22mm.
The 36mm top tube is fairly hefty in width so if you have small hands, it might literally be a handful to hold them. It fits snug in my large hands though.
Specifications
- 10x layer carbon fibre legs
- Max. height: 1555mm (61.22″)
- Min. height: 102mm (4.02″)
- Retracted height: 515mm (20.28″)
- Weight: 1.95kg (4.30lbs)
- Max. load: 15kg (33.07lbs)
Spread Angles
The tripod has three angle stops for the legs: 23°, 55°, 85°.
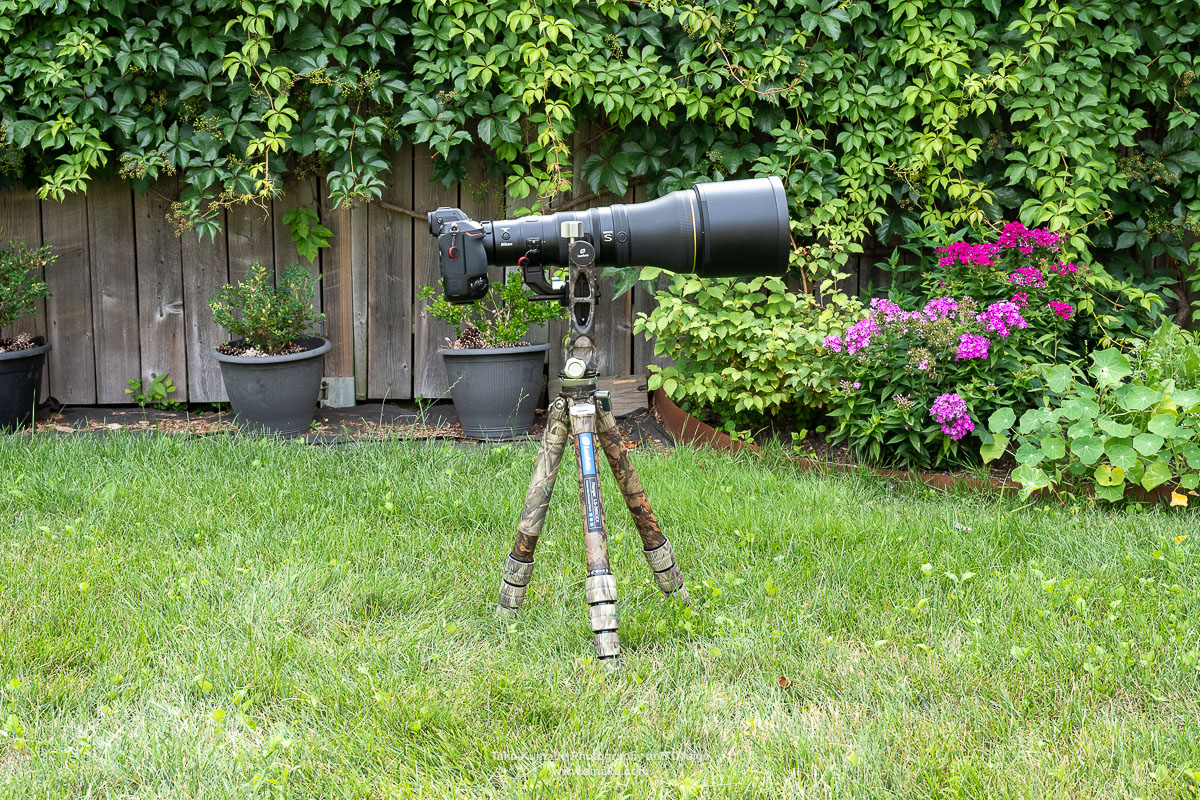
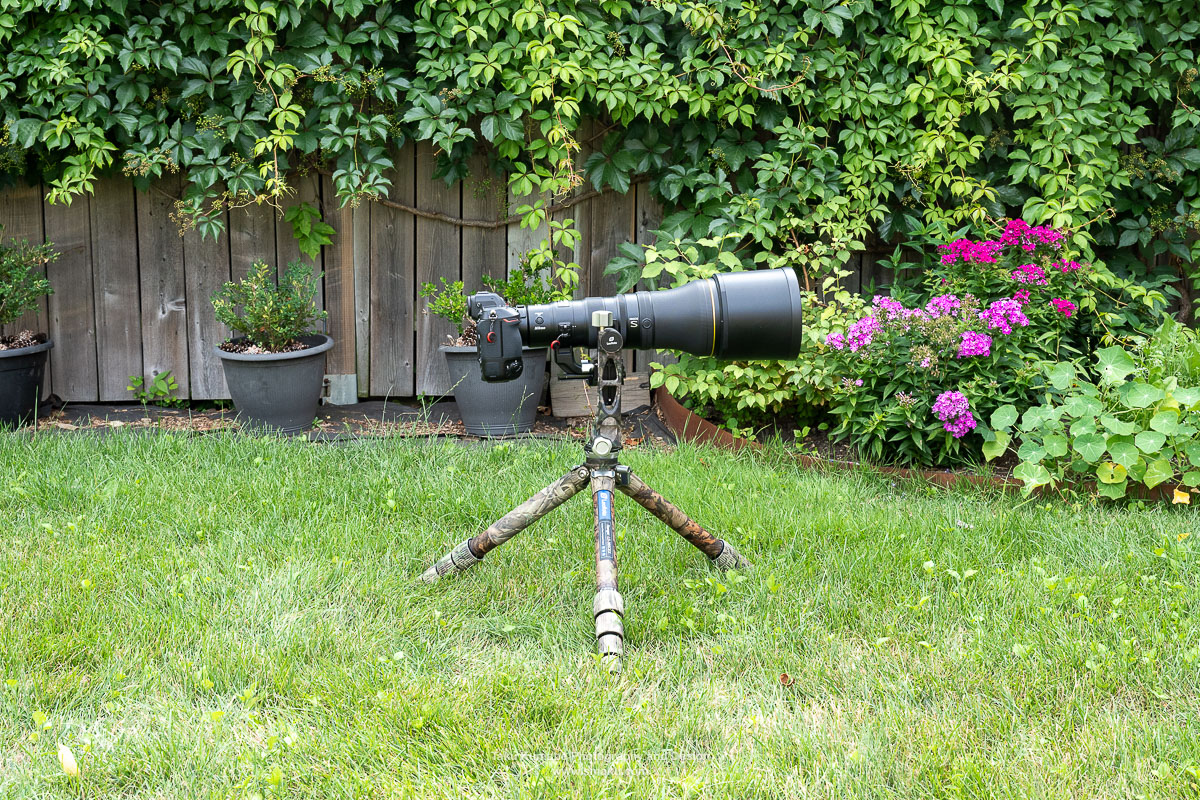
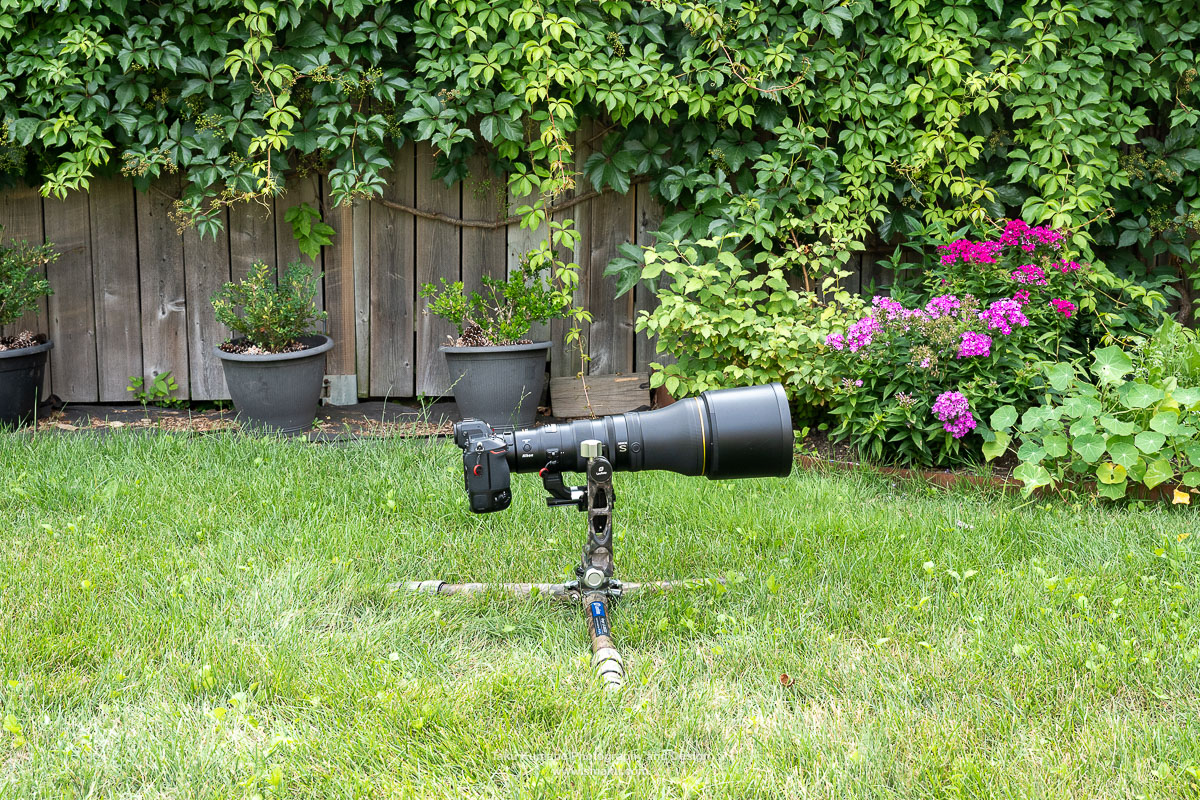
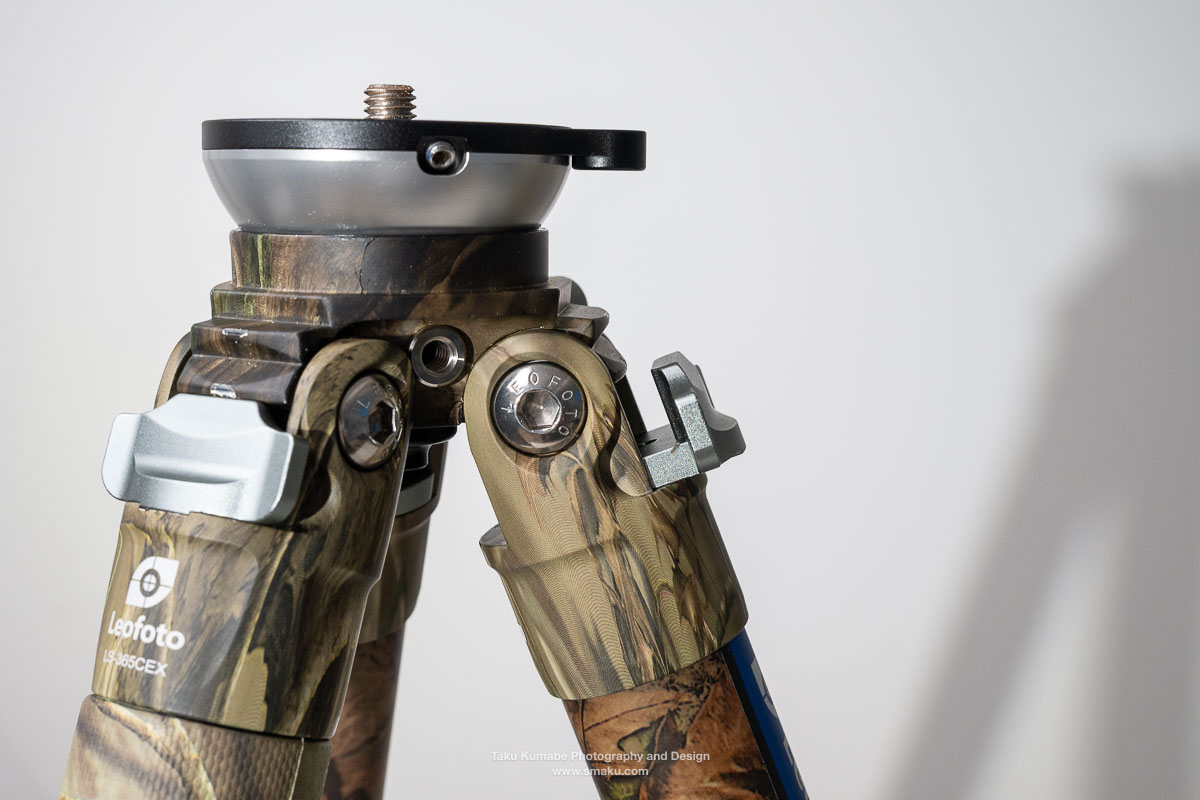
At 85°, the tripod legs are almost parallel to the ground, letting you get right down. With the added height of the gimbal head, you’re right there at the eye-level of many birds and wildlife, giving you that intimate feel to your photos.
Simply pull the latch out (shown in photo), change the angle of the leg, and press the latch in again. It’s really that simple.
Tripod Height
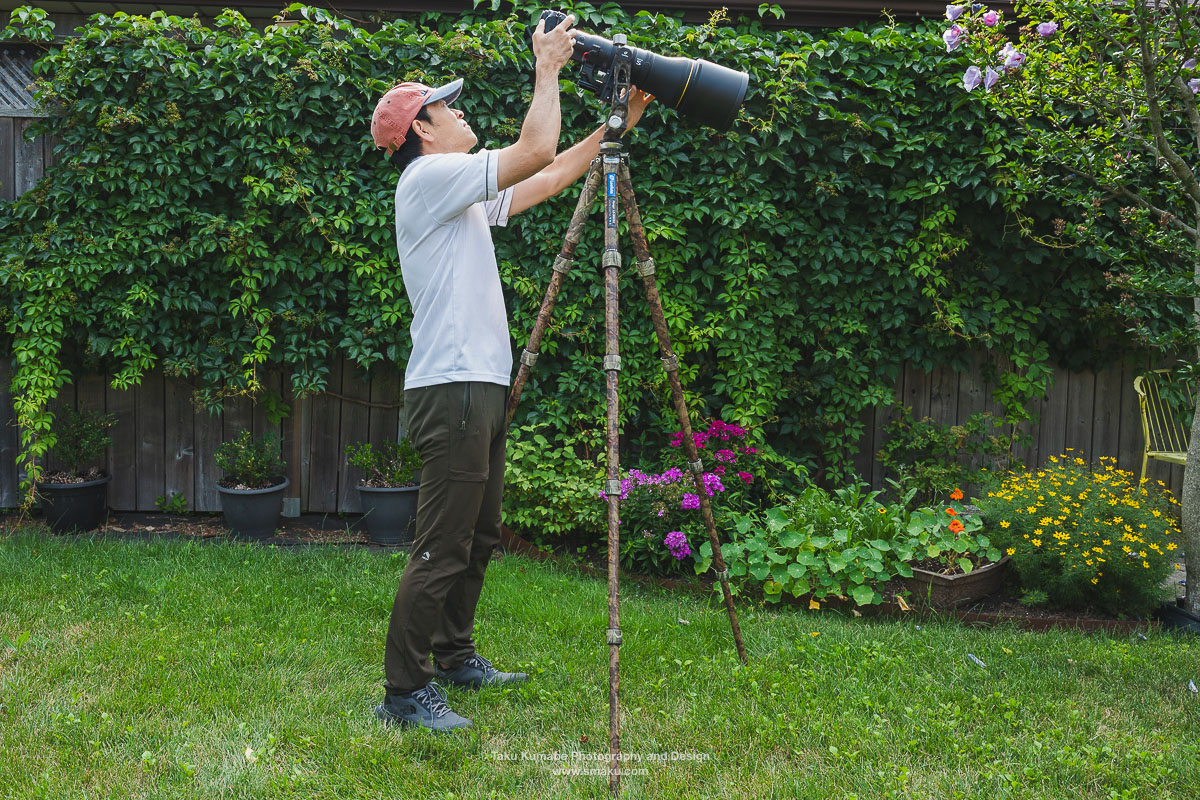
The maximum height of the tripod is 1555mm, with the tripod legs spread at the 23° angle and all five sections expanded. This is so high that the camera is high above my head. I am about 5 foot 9 inches as a reference.
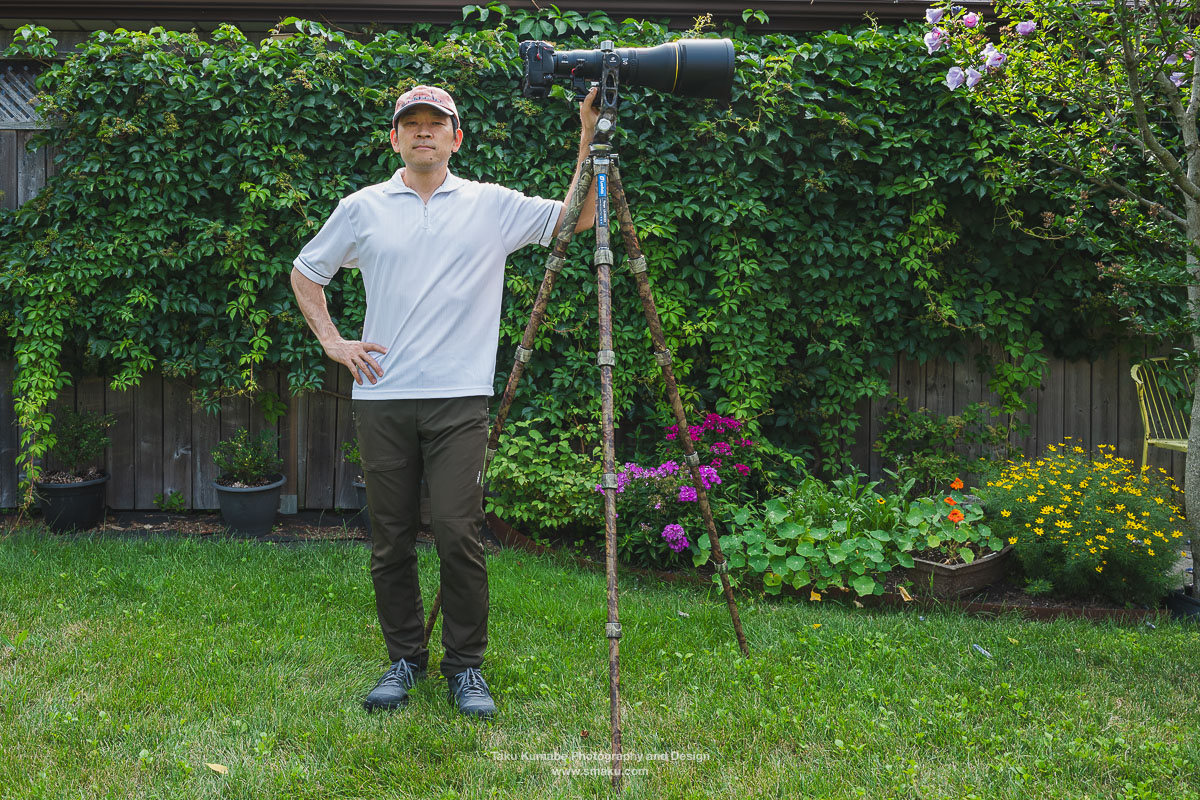
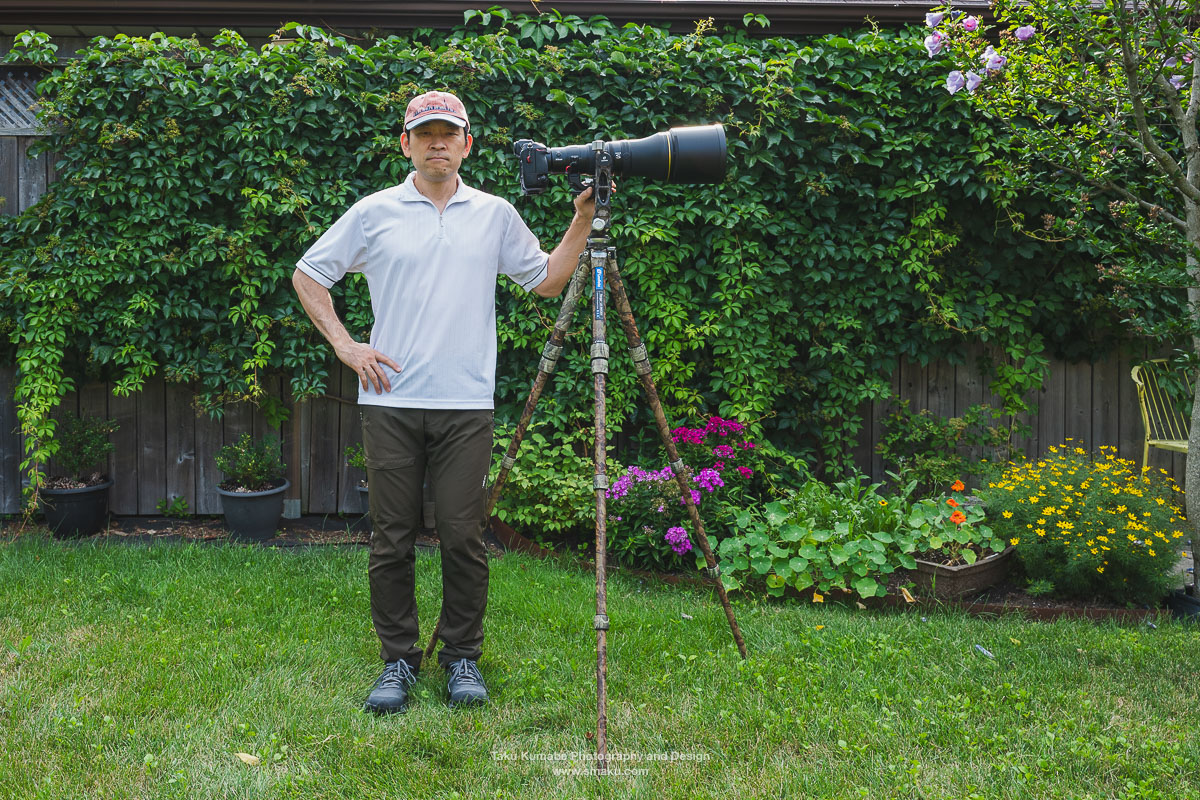
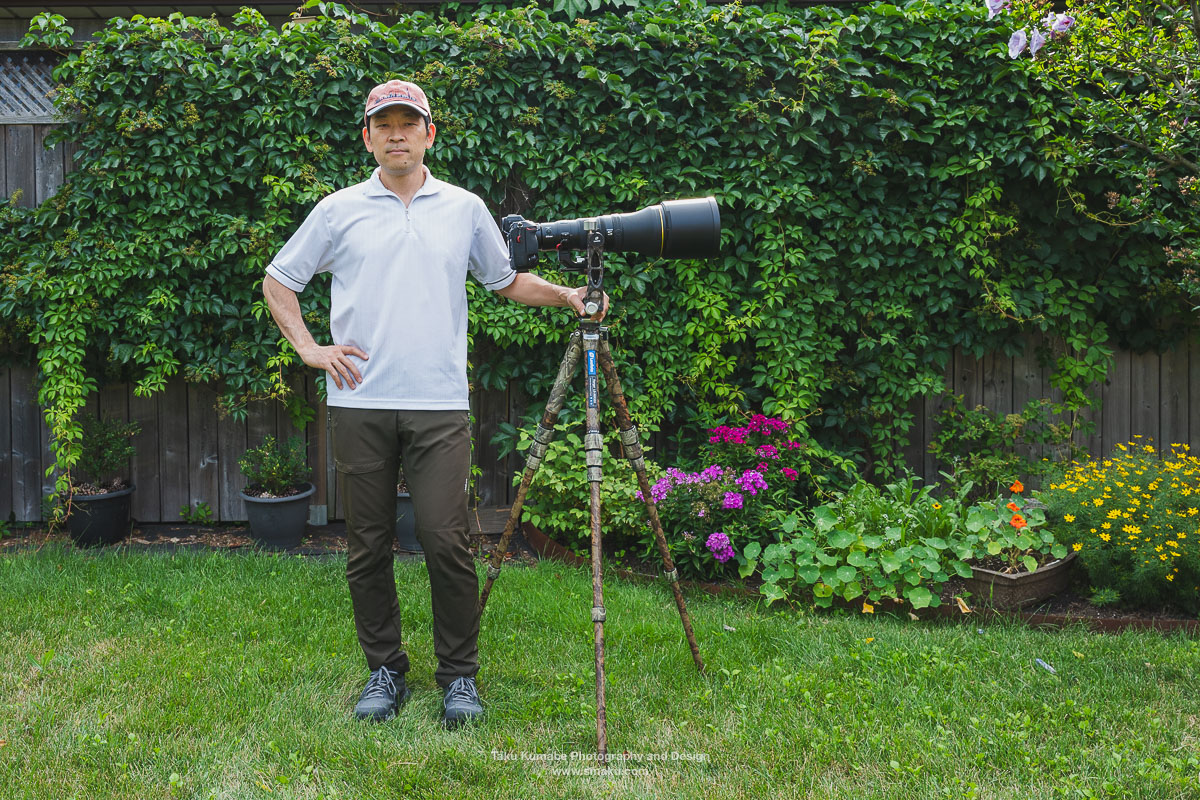
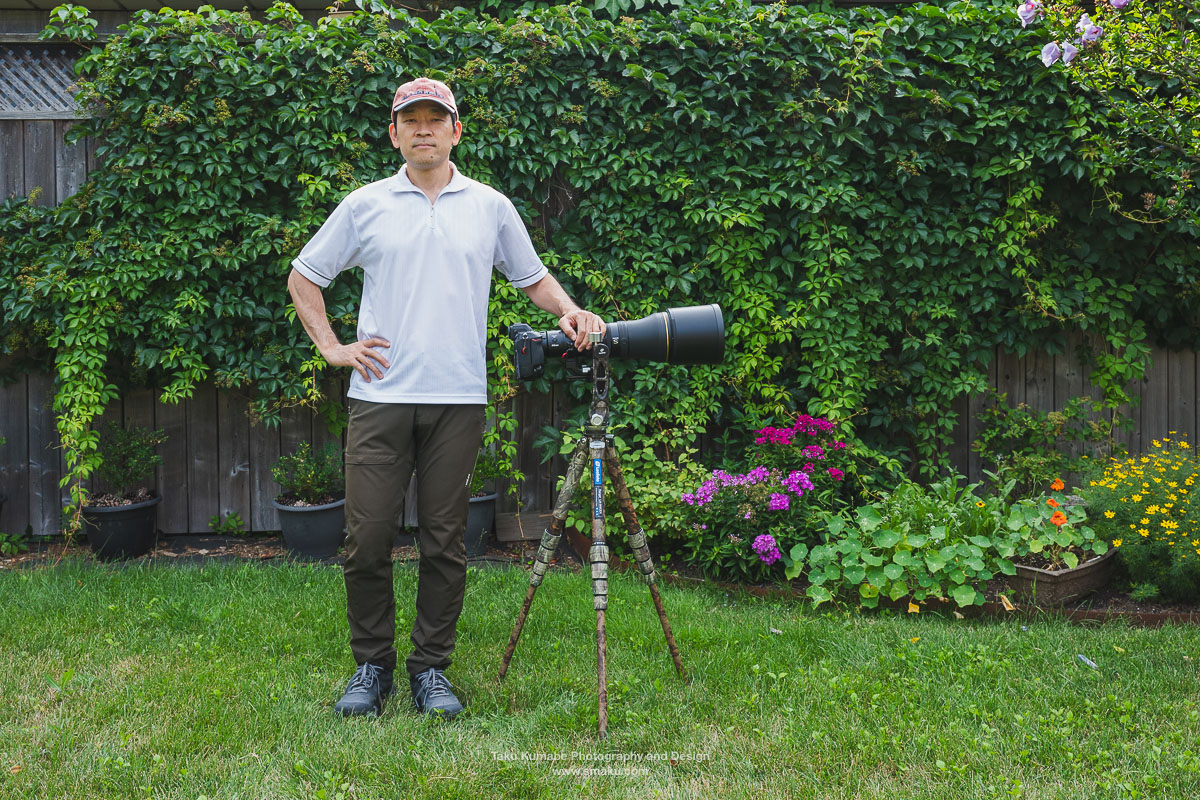
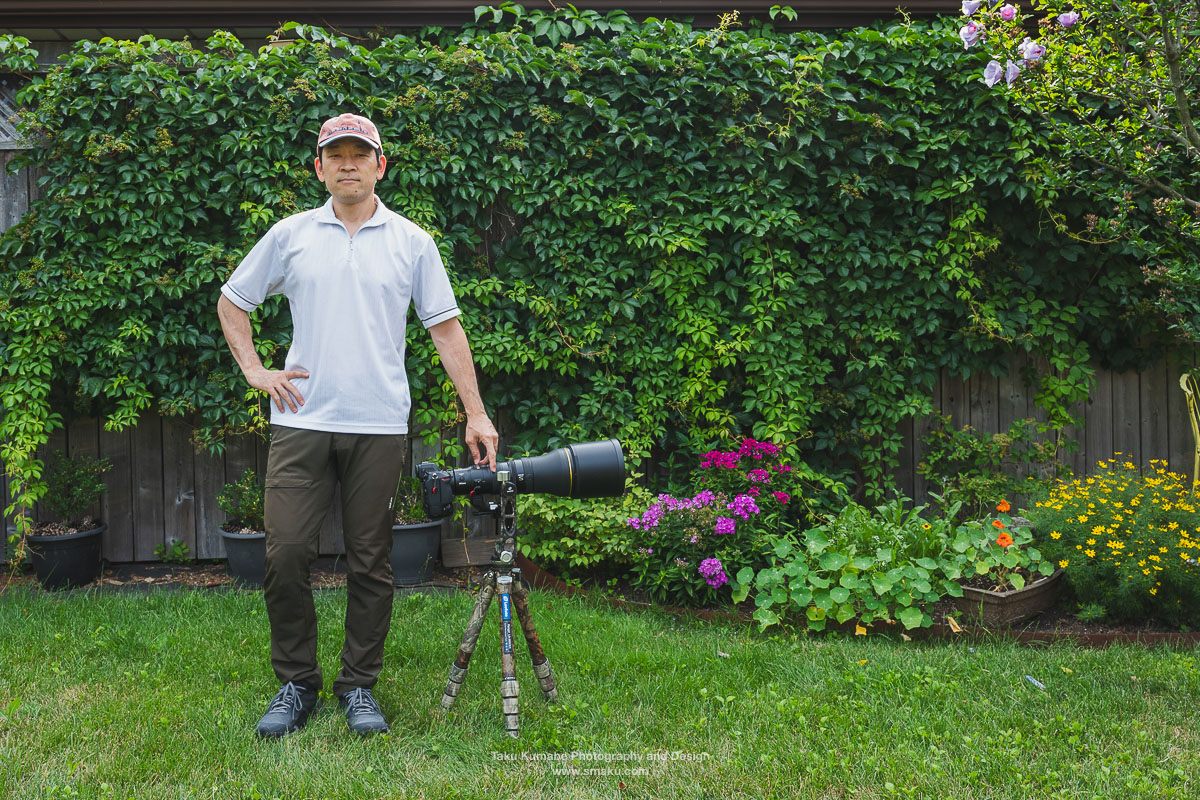
This height is more than enough for me, as you can see!
Center Columnless
While many tripods have centre columns that allow you to lift your camera up a little higher, this LS-365CEX has no center column. This does three things:
- Makes the tripod a little more compact when folded in
- Reduces overall weight of the tripod
- Allows for lowering of the tripod right to the ground
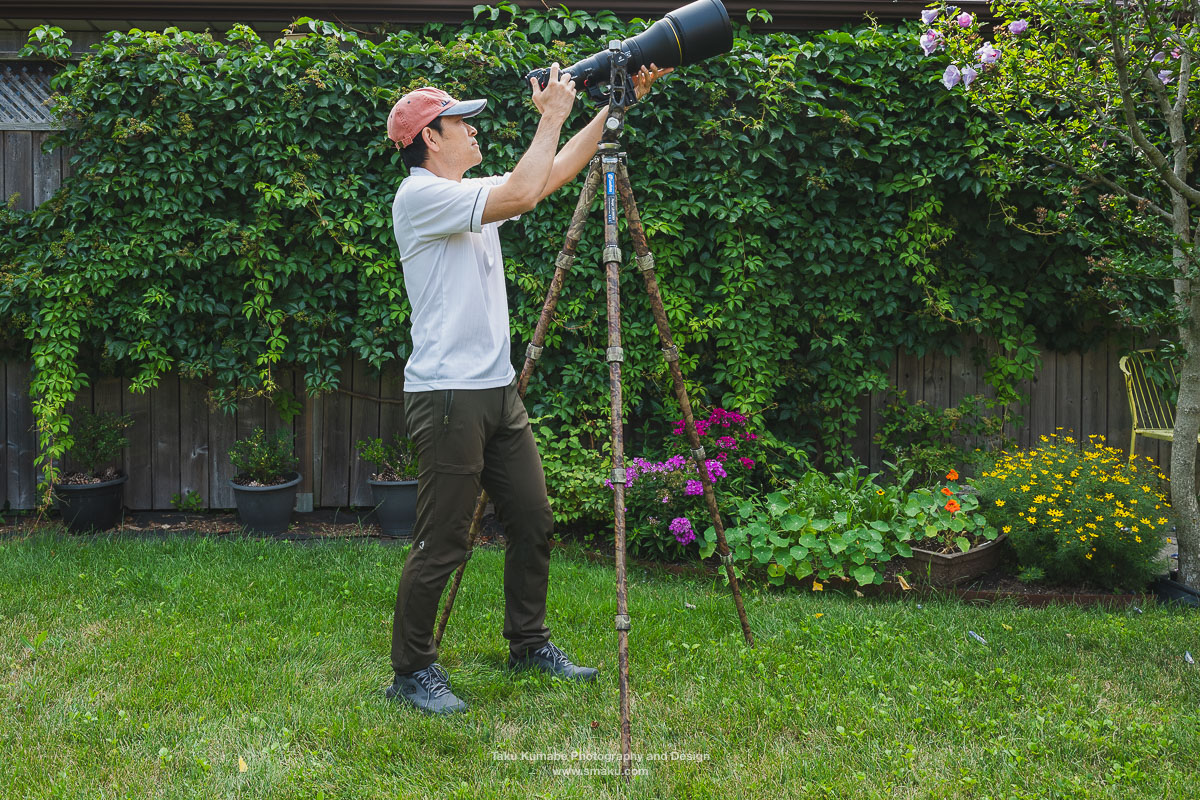
Because the tripod already goes well above my head just with the legs alone, I’m okay without having a center column.
The Feet
This tripod comes standard with large rubber feet that should be good for the majority of terrain you might encounter. Also included in the package is a set of stainless steel spiked feet, that are ideal for surfaces where you don’t want the legs to move, such as on softer ground.
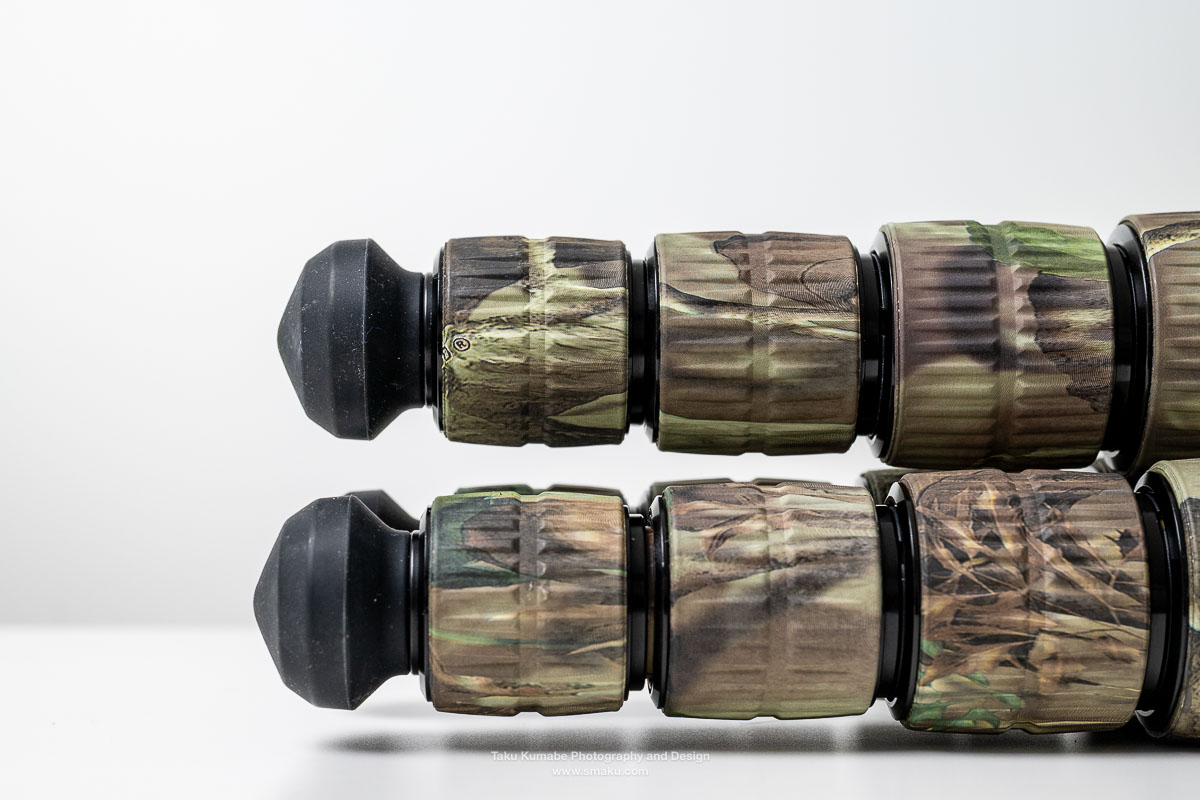
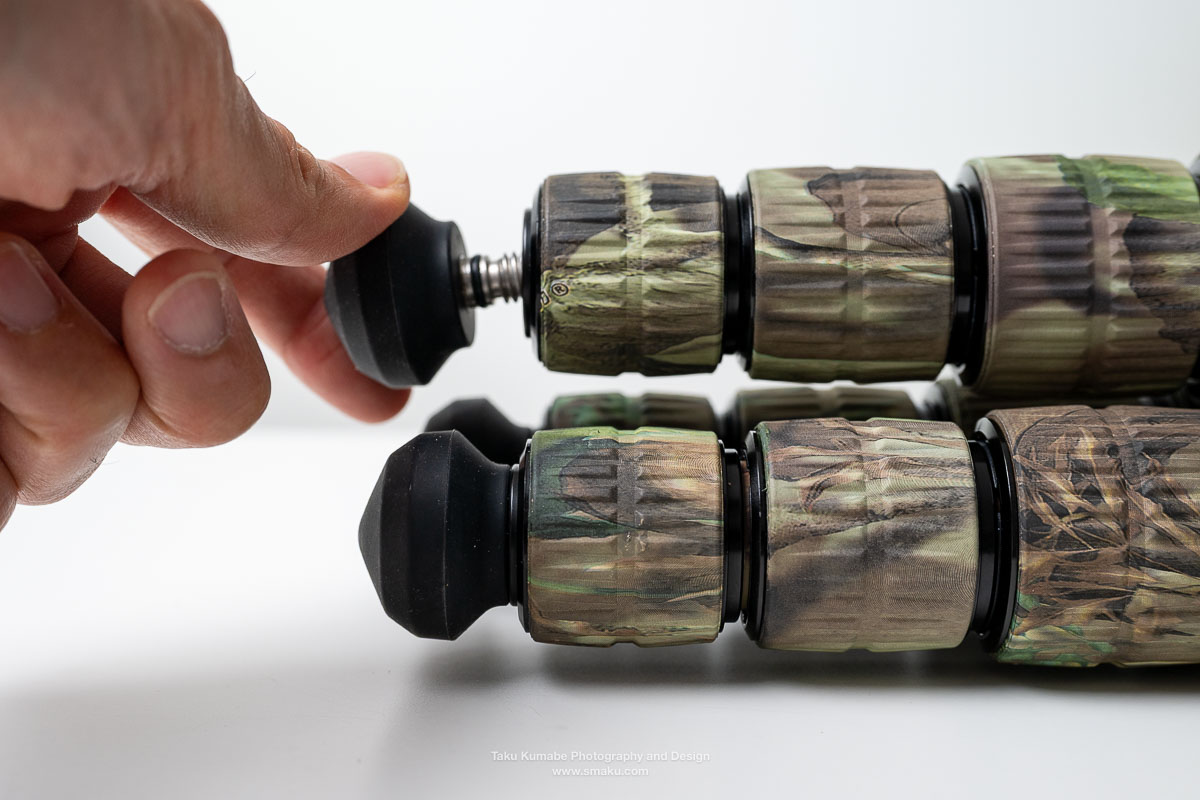
Changing from one foot to another is fairly straightforward as well. Simply twist off the existing rubber feet, and twist on the stainless steel spiked ones.
Levelling Base
One of the biggest perks of this leg and gimbal combination I believe is the integration of this levelling base. A levelling base allows you to level your camera on uneven terrain, without the need to individually adjust each leg of the tripod. The levelling base allows for 15° of movement all around, which is plenty enough to adjust for fairly uneven terrain.
If I had to say one thing about this levelling base, it’s that it is integrated within the tripod legs. If the tripod had an opening on the top that allowed a regular 75mm half bowl attachment (an industry standard diameter), this would allow for more flexibility in terms of accessories for a tripod.
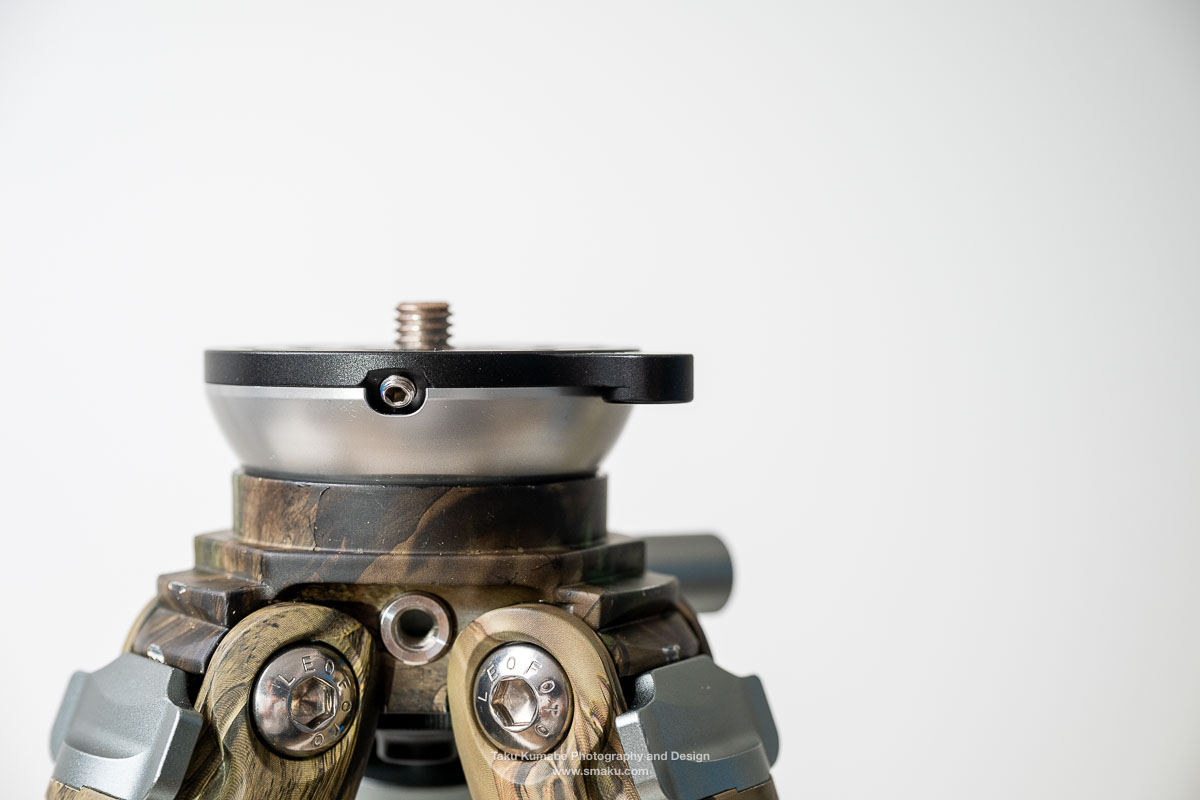
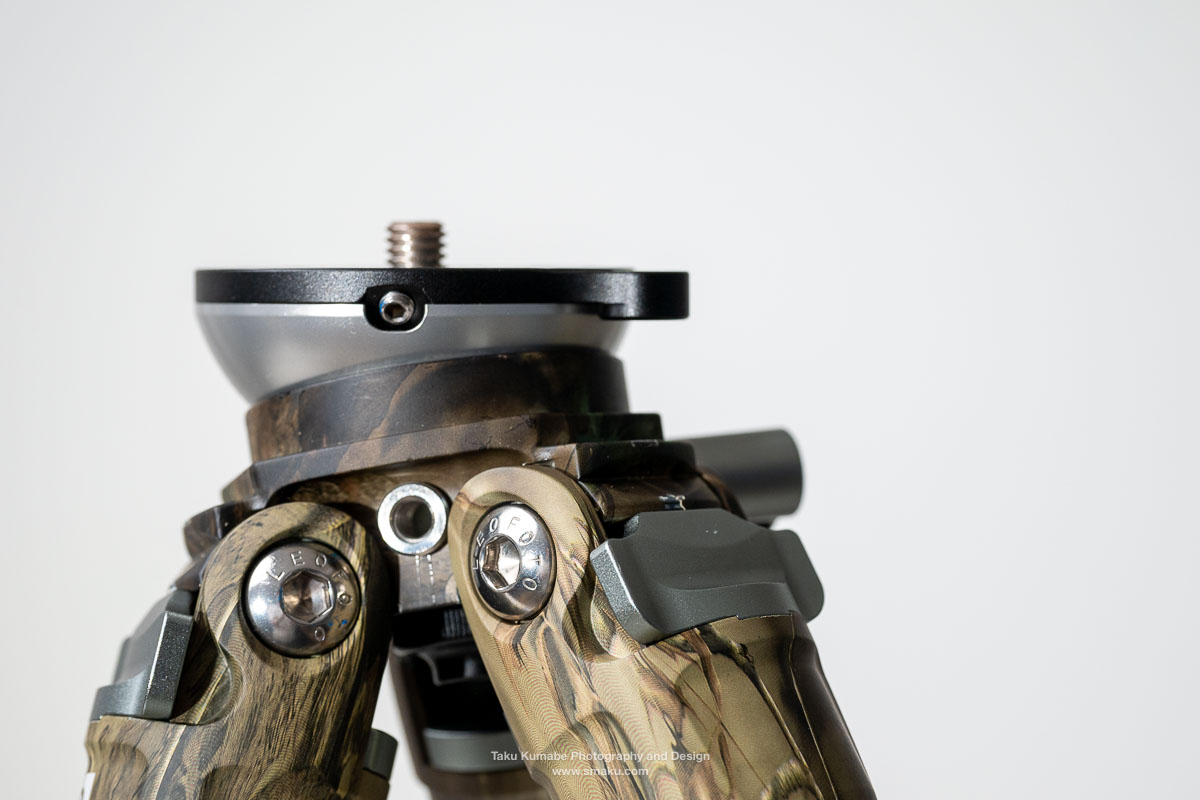
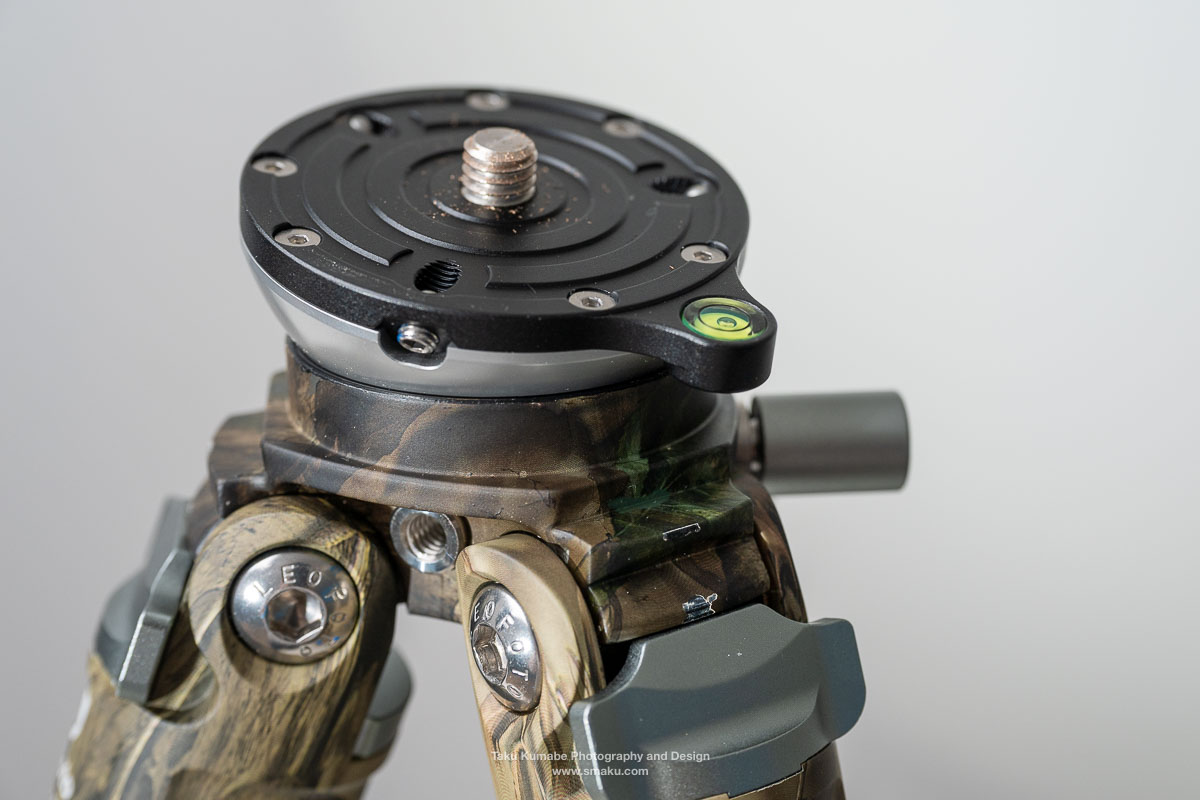
If I ever wanted to swap the gimbal with another head like my ball head, the ball head diameter being 75mm will extend beyond the base. Moreover, the levelling base functionality isn’t needed with a ball head so being able to take it out would have been nice at this point.
On this note, the LS-365CX model has a flat base for the head, allowing you to attach additional accessories like a separate levelling head (LBQ-60S) or another head of your choice.
Robustness
One thing that is evident as soon as you hold this combination is its sturdiness. With the thickness of the legs, robust construction of both the legs and gimbal, I am confident it will withstand the heaviest of my current gear: Nikon Z 9 with the Nikon Z 800mm f/6.3 (3735 grams or 8.2 pounds).
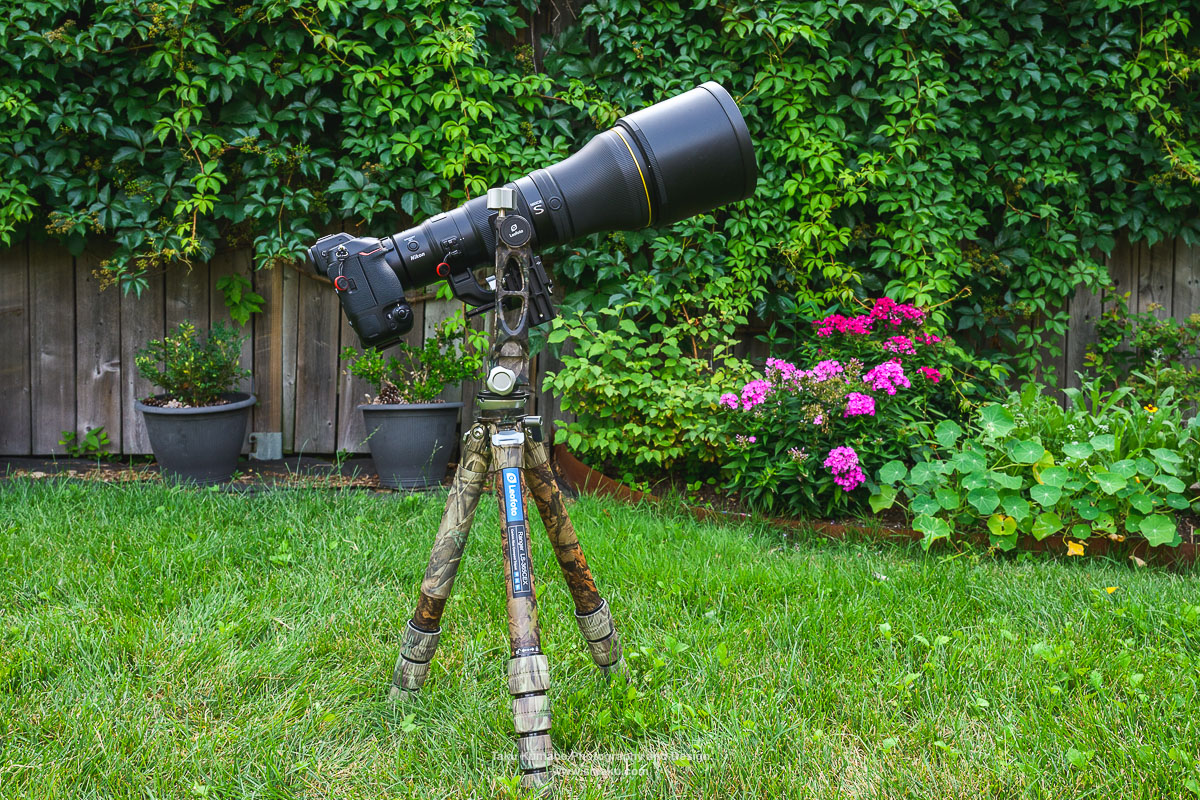
Pressing down firmly on the tripod, there was absolutely no flexion in the legs, standing strong as ever—even with all five sections extended to their maximum height.
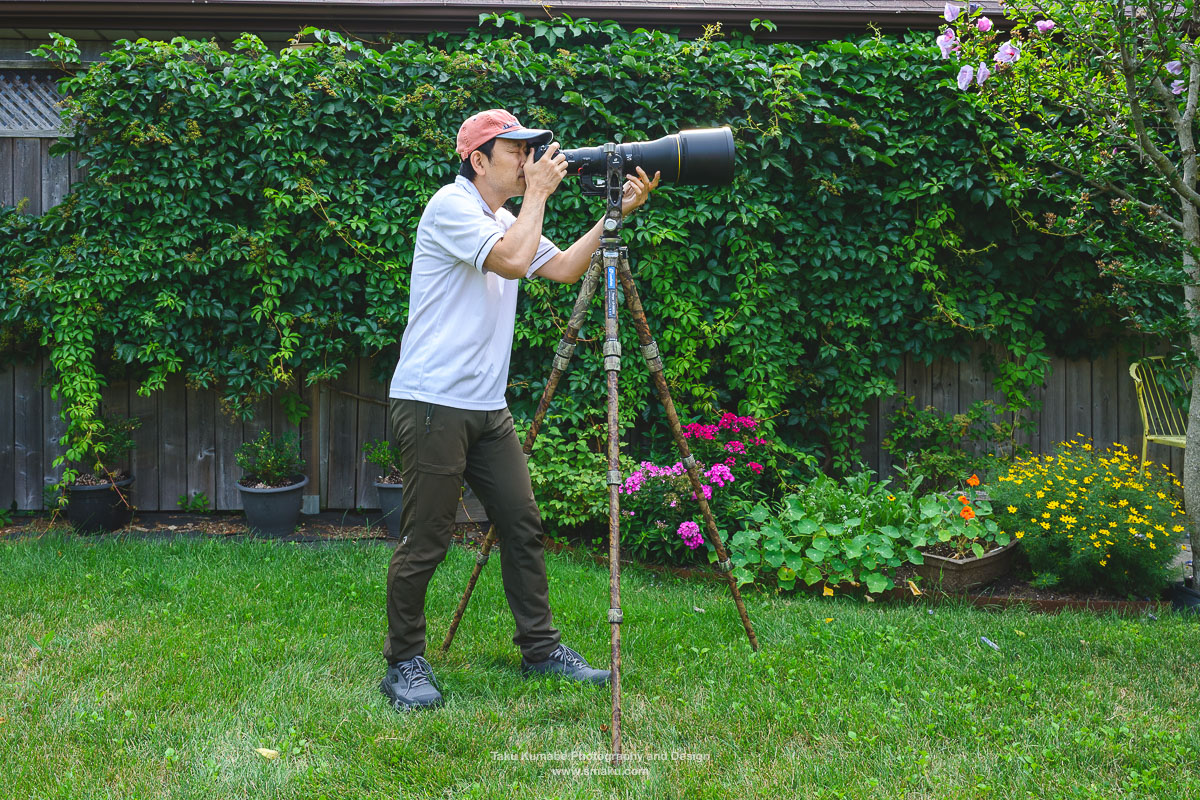
The gimbal is smooth, allowing for smooth panning when tracking that bird through the sky. Is this smooth enough for video though? Read my Final Thoughts for my thoughts on this.
Firmness
If there’s one thing I would complain about for this tripod, it’s the act of positioning the camera. When I tighten the larger knobs, I find the gimbal head moves ever so slightly, preventing me from precisely positioning the camera. Tightening both the top and side knobs tilt the camera minutely—but the movement is large enough that I need to loosen the knob, reposition the camera, and retighten it again.
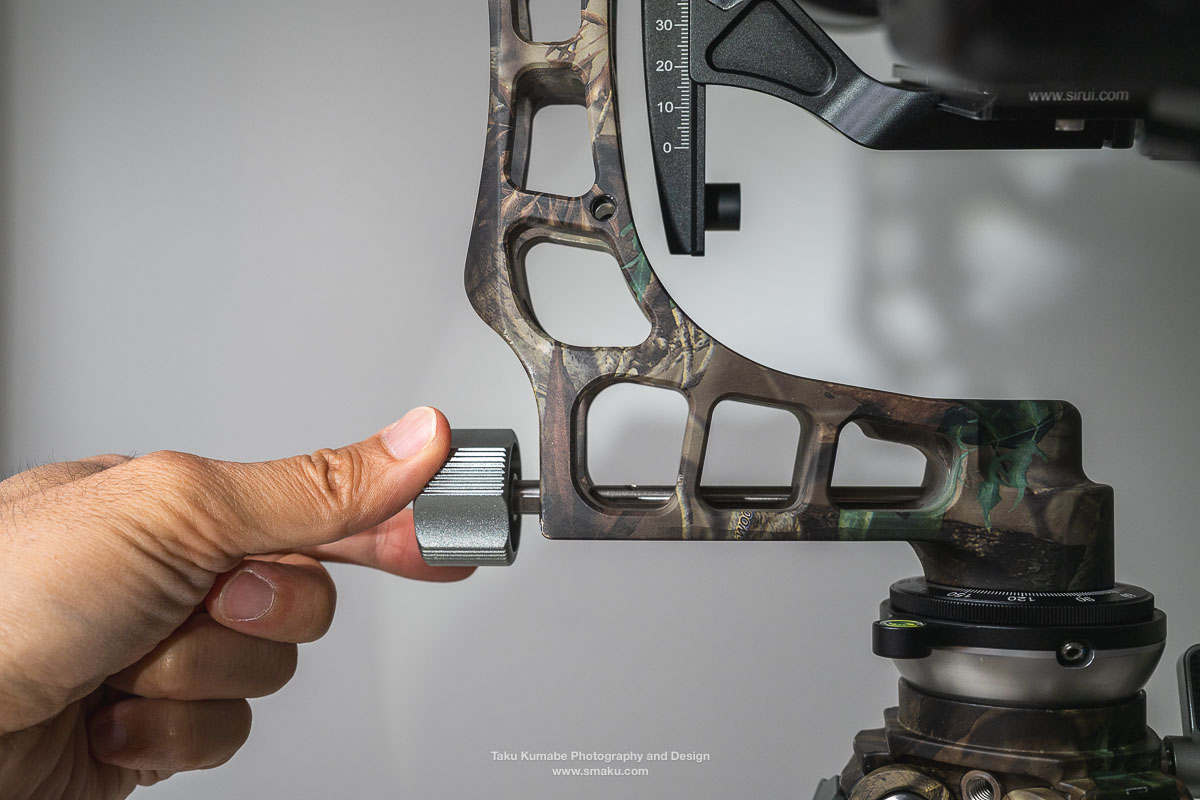
As I tighten the knob, whatever is applying pressure to the internal component, it’s causing the camera to move on my final couple twists of the knob. The more I tighten the knob, the more it moves. As I loosen the knob, the camera returns to the original position that I had it at.
The two workarounds I’ve come up with is:
- Over-compensate my initial positioning so that when I tighten the knob, it will move into my desired positioning.
- Tighten to the point where the camera just starts to move, then slightly loosen. This usually still allows for movement if I apply gentle pressure to the camera so it isn’t the most ideal solution.
Neither of these solutions are ideal, and it’s unfortunate I have to think about this to begin with. I have no problems with this on my other two tripods I use from other manufacturers.
I have reached out to the manufacturer regarding this, so hopefully they will fix this in their next iteration of the gimbal head.
Final Thoughts
Here’s a summary of Pros and Cons:
Pro
- Sturdy and robust, yet lightweight
- Ample height even without centre column
- Camouflage option beneficial for wildlife
- Levelling base is beneficial to have
- Leg angle of spread locks at convenient angles
- Lightweight gimbal head design
- Simple gimbal setup
Cons
- Integrated levelling base; separate pieces more efficient in adding more accessories
- Gimbal head moves upon tightening preventing exact compositions
- No smooth acceleration/deceleration when panning for video
A gimbal head is a specialized tool used primarily for wildlife photographers, making it easier for them to maneuver their hefty camera and weight combination. By balancing the centre of gravity of their gear, the weight is taken off from the photographer and managed by the gimbal head.
The carbon fibre tripod legs are hefty but lightweight, sturdy and reliable. The five-sections go high enough that I don’t mind not having a centre column on this tripod. The short turn of the leg release is welcome, although the stiffness of this material is something I still have to get used to.
While I would desire a non-embedded levelling base for more flexibility, I’m still thankful there is one on this tripod: the ease of adjusting a levelling base is unmatched by adjusting each leg individually.
The lightweight gimbal head performs well. Balancing is easy with the large, easy to hold knobs and ribbed smaller knob. The one fault of not being able to precisely position the camera is a large setback and one that I hope they have fixed on their other gimbal heads—or will fix in a future version of this PG-1.
As for video use, I can see it being useful in certain circumstances. Smooth panning works very well with this gimbal head. But if you’re looking for smooth acceleration and deceleration, it is a lot easier to do with a fluid head. The fluid head is designed for smooth motion which is made easier by the fluid resistance it provides. The gimbal head restricts movement by adding pressure so you are more prone to jagged motion when trying to decelerate or accelerate. This is not to say that it’s impossible to do; it is doable, but just easier done with a fluid head.
Up until this point, I had never used a gimbal head before so I never knew the convenience of using one. However, now that I know what it’s capable of doing, it will now be in regular use for when I go out photographing birds and other wildlife.
Do you use a tips for using a gimbal head? What do you like about it? Let me know in the comments!